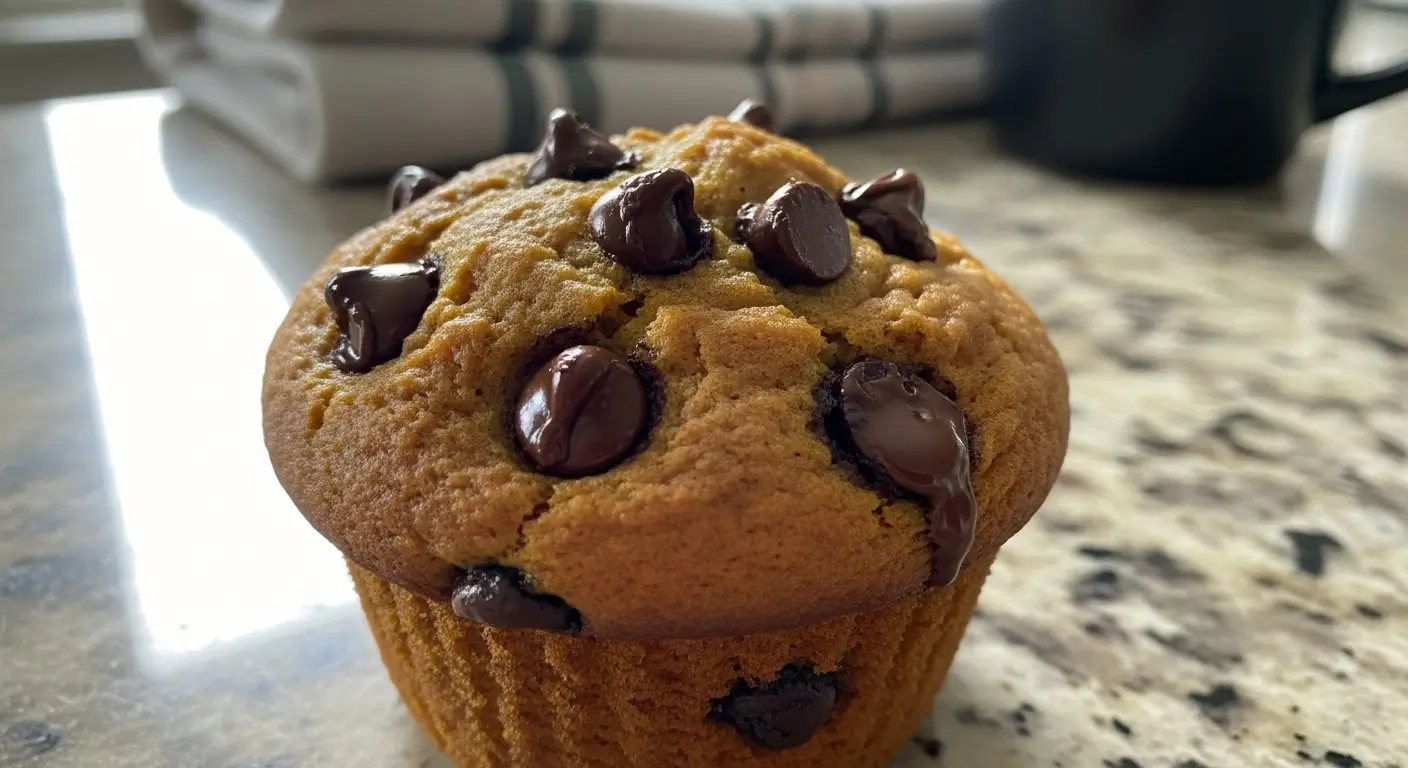
The Pumpkin Chocolate Chip Muffins That Actually Work (After Three Epic Fails)
Okay, so I’ve been making these pumpkin chocolate chip muffins for about two years now, and let me tell you—the first three attempts were disasters. Complete disasters. Like, smoke-alarm-going-off, dogs-hiding-under-the-table kind of disasters.
But here’s the thing. Everyone kept asking me for fall recipes, and I was getting tired of the same old pumpkin spice everything that tastes like cardboard with cinnamon. I wanted something that actually tasted good, you know? Something my kids would eat without making that face.
Now, I’m gonna be honest with you. I’m not a fancy baker. I don’t have a stand mixer or special pans or any of that Instagram-worthy stuff. I’ve got a hand mixer that’s probably older than my marriage, a set of measuring cups from Target, and determination. That’s it.
Table of Contents
How This Whole Thing Started
So last October—or maybe it was September? Time’s weird when you have kids—I was at the grocery store and saw these perfect little sugar pumpkins. You know the ones. They’re sitting there all cute and orange, basically begging you to take them home and do something Pinterest-worthy with them.
I bought three. Used exactly zero of them for actual cooking.
But I did have a can of pumpkin puree in my pantry from who knows when, and my neighbor Sarah mentioned she’d been craving fall flavors. And look, when Sarah mentions craving something, you listen. This woman once brought me homemade sourdough bread just because I mentioned liking carbs. She’s a treasure.
Anyway, I started googling recipes, which was my first mistake. Have you seen the pumpkin muffin recipes online? Half of them call for ingredients I can’t even pronounce, and the other half look like they were written by robots. “Fold gently until just combined.” What does that even mean? I’m not doing origami here, I’m making breakfast.
The Great Pumpkin Muffin Disasters of 2023
Attempt #1: Followed some fancy food blogger’s recipe exactly. Used fancy almond flour because apparently regular flour isn’t good enough anymore. They came out tasting like sweet cardboard. My 8-year-old took one bite and asked if we could order pizza instead.
Attempt #2: Decided to wing it. Added way too much pumpkin spice (learned that lesson the hard way), not enough flour, and forgot the baking powder entirely. Don’t ask me how I forgot baking powder. These things turned into pancake-flat orange frisbees. The dog wouldn’t even eat them.
Attempt #3: Got cocky and tried to make them “healthier” by substituting applesauce for oil and using some weird sugar alternative my sister-in-law brought over. They had the texture of damp sponges and tasted like regret.
At this point, I was ready to give up and just buy those overpriced muffins from the coffee shop down the street. But then I remembered something my mom always said: “Sometimes you just gotta keep it simple, stupid.”
Thanks, Mom. Really motivational.
The Breakthrough (AKA When I Stopped Overthinking)
The fourth attempt happened on a Tuesday morning when I was running late for work and just threw stuff together. No fancy ingredients, no complicated techniques, just basic pantry staples and a prayer.
And you know what? They were perfect. Fluffy, moist (I know people hate that word, but it’s accurate), with just enough pumpkin flavor without tasting like a candle. The chocolate chips didn’t sink to the bottom, which is apparently a miracle according to my mom’s baking group.
My kids ate them. My husband ate them. Even my picky neighbor Dave asked for the recipe, and this is a man who once told me my lasagna was “too cheesy.” Too cheesy! Can you believe that?
What You Actually Need (No Fancy Stuff)
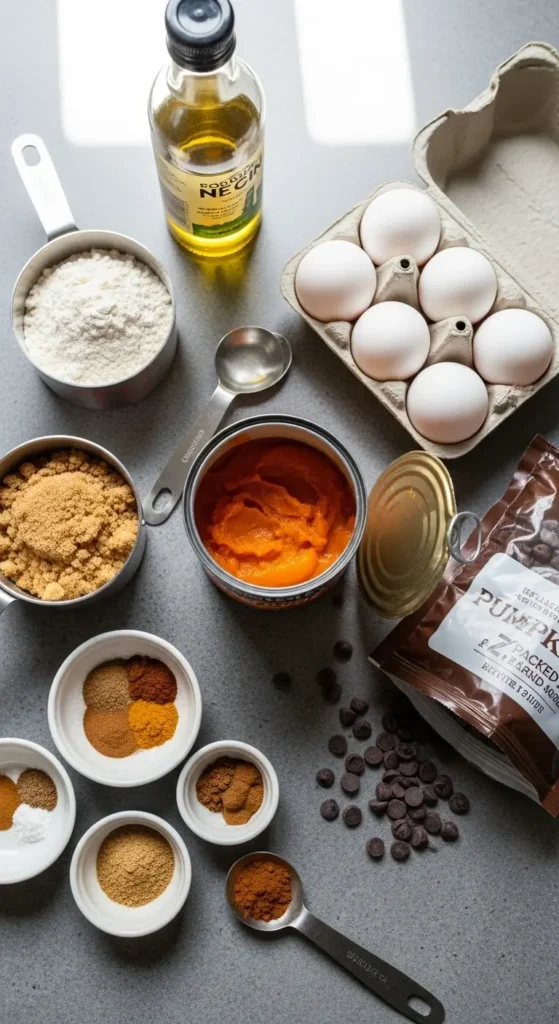
Here’s what I use, and I promise you probably have most of this already:
The Wet Stuff:
- 1 cup pumpkin puree (canned is fine, don’t be fancy)
- 1/2 cup vegetable oil (or melted butter if you’re feeling rich)
- 2 large eggs (room temperature works better, but cold is fine if you forgot)
- 1/4 cup milk (whatever kind you have)
- 1 teaspoon vanilla extract
The Dry Stuff:
- 1 3/4 cups all-purpose flour (don’t mess with alternatives here)
- 3/4 cup brown sugar (packed down, the way nature intended)
- 2 teaspoons baking powder
- 1/2 teaspoon salt
- 1 teaspoon cinnamon
- 1/2 teaspoon nutmeg (fresh grated if you’re fancy, ground if you’re normal)
- 1/4 teaspoon ginger
- 1/8 teaspoon cloves (or just skip it, honestly)
The Good Stuff:
- 1 cup chocolate chips (I use semi-sweet, but milk chocolate works too)
Now, here’s where people get weird about ingredients. “Oh, you have to use organic this” or “free-range that.” Look, I shop at regular grocery stores like a regular person. The fancy stuff is nice if you can afford it, but these muffins don’t care if your eggs came from happy chickens or stressed-out ones.
The only thing I’m picky about is the pumpkin puree. Don’t get the pumpkin pie filling by mistake—been there, done that, it’s too sweet and has spices already in it. Just plain pumpkin puree. Libby’s is fine. So is the store brand. Your muffins won’t judge you.
Actually Making These Things (The Easy Way)
Step 1: Preheat your oven to 375°F
Do this first. I cannot stress this enough. I’ve ruined so many batches by forgetting this step and then standing around with mixed batter wondering why nothing’s happening. Learn from my mistakes.
Step 2: Prep your muffin pan
Either spray it with cooking spray or use those paper liners. I prefer the spray because I’m cheap and liners are like 50 cents each or something ridiculous. Plus, my kids like peeling the papers off anyway and making a mess.
Step 3: Mix the wet ingredients
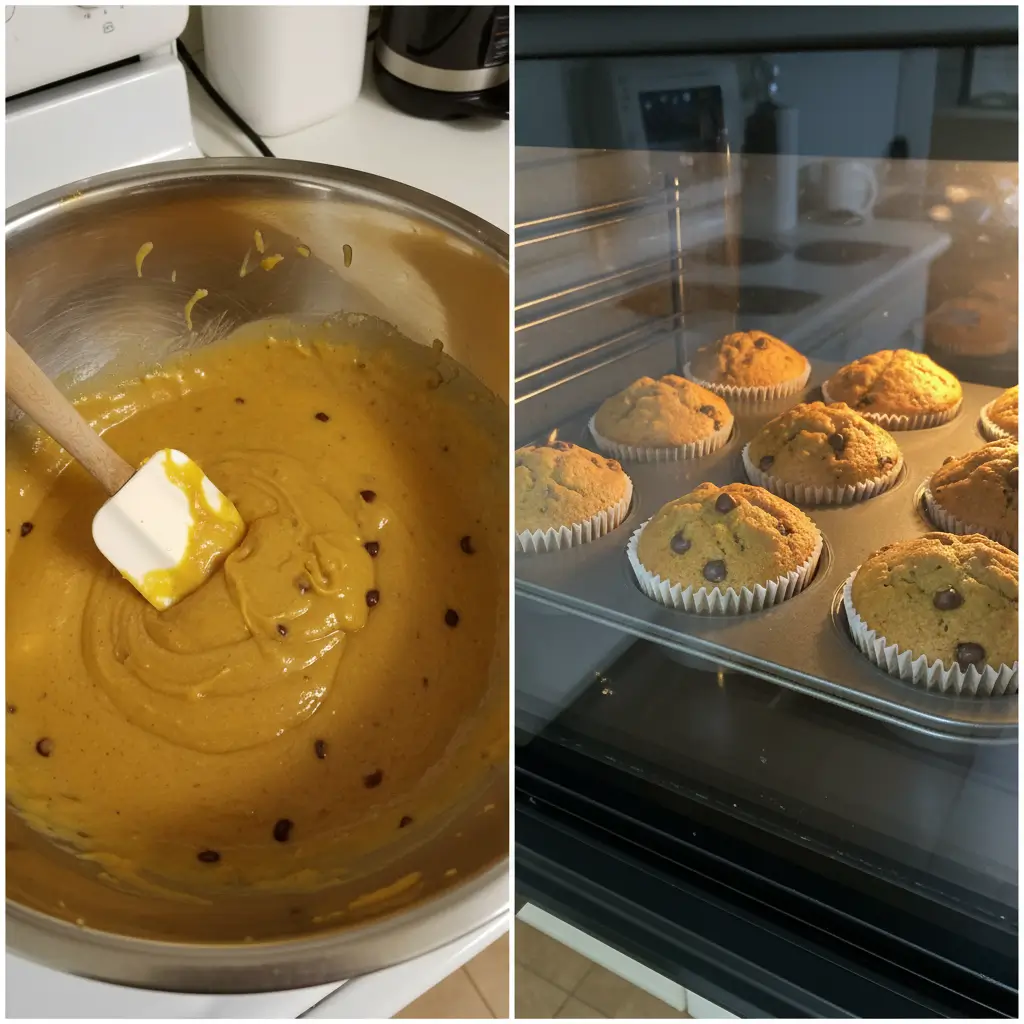
In a large bowl (and I mean large—don’t try to be cute with a small bowl), whisk together the pumpkin, oil, eggs, milk, and vanilla. It’s gonna look weird and orange, but that’s normal. Keep whisking until it’s smooth-ish. A few lumps won’t kill anyone.
Step 4: Mix the dry ingredients
In another bowl (I know, more dishes, sorry), whisk together flour, brown sugar, baking powder, salt, and all those spices. Make sure you break up any brown sugar clumps. Use your fingers if you have to. I won’t tell.
Step 5: The crucial part (don’t mess this up)
Pour the wet ingredients into the dry ingredients. Here’s where everyone gets fancy with their “fold gently” nonsense. Just stir it. Use a wooden spoon or spatula, whatever. Stir until you can’t see dry flour anymore, then stop. Don’t keep going. Don’t try to make it perfectly smooth. Lumpy is good here. Lumpy means tender muffins.
If you overmix, you’ll get tough, chewy muffins that taste like disappointment. Trust me on this one.
Step 6: Add the chocolate chips
Fold in the chocolate chips gently. Some people coat their chocolate chips in flour first to prevent sinking, but honestly? I’ve never had problems with sinking chips. Maybe I’m lucky, maybe my batter is thick enough. Either way, don’t stress about it.
Step 7: Fill those muffin cups
Fill each cup about 2/3 full. Not more, or they’ll overflow and make a mess. Not less, or you’ll get sad, flat muffins. I use a large spoon for this, but an ice cream scoop works great if you have one.
Step 8: Bake them
18-20 minutes at 375°F. Set a timer. Don’t trust yourself to remember—you’ll get distracted by laundry or social media and burn them. Been there.
They’re done when a toothpick stuck in the center comes out clean or with just a few moist crumbs. If it comes out goopy, give them another 2-3 minutes.
Step 9: Cool down
Let them cool in the pan for 5 minutes, then turn them out onto a wire rack. If you don’t have a wire rack, just put them on a plate. They’ll be fine.
The Things I’ve Learned the Hard Way
Temperature matters. Room temperature eggs mix better than cold ones. But if you forgot to take them out (like I always do), just put them in a bowl of warm water for 5 minutes. Works every time.
Don’t open the oven door. I know you want to peek. I know they smell amazing. Don’t do it. The temperature drop can make them fall, and then you’ll be sad.
They’re better the next day. I know, weird right? Something about the flavors melding overnight. Store them in a container or wrapped in plastic wrap. They’ll stay moist for about 4 days.
They freeze amazingly. Wrap them individually and freeze for up to 3 months. Just thaw at room temperature or give them 30 seconds in the microwave.
The Variations Nobody Asked For (But You Might Want)
Sometimes I add chopped walnuts instead of chocolate chips. My husband loves this version, my kids hate it. Can’t please everyone.
Once I ran out of chocolate chips and used butterscotch chips instead. Not bad, but not great either. Stick with chocolate.
You can substitute the oil with melted butter for a richer flavor, but they won’t stay moist as long. Your choice.
Greek yogurt can replace half the oil if you’re trying to be healthy. I’ve tried it. It works, but why lie to yourself? These are muffins, not health food.
Why These Actually Work
I think it’s because I stopped trying to make them perfect. The recipe is forgiving. The batter is thick enough to hold the chocolate chips but loose enough to create tender muffins. The spice blend is balanced—enough to taste fall without overwhelming the pumpkin.
And honestly? They just taste good. Not too sweet, not too spicy, with that perfect pumpkin flavor that doesn’t make you feel like you’re eating a seasonal candle.
My neighbor Sarah makes them now too, and hers are somehow even better than mine. I’m not bitter about it. Much.
The Real Talk
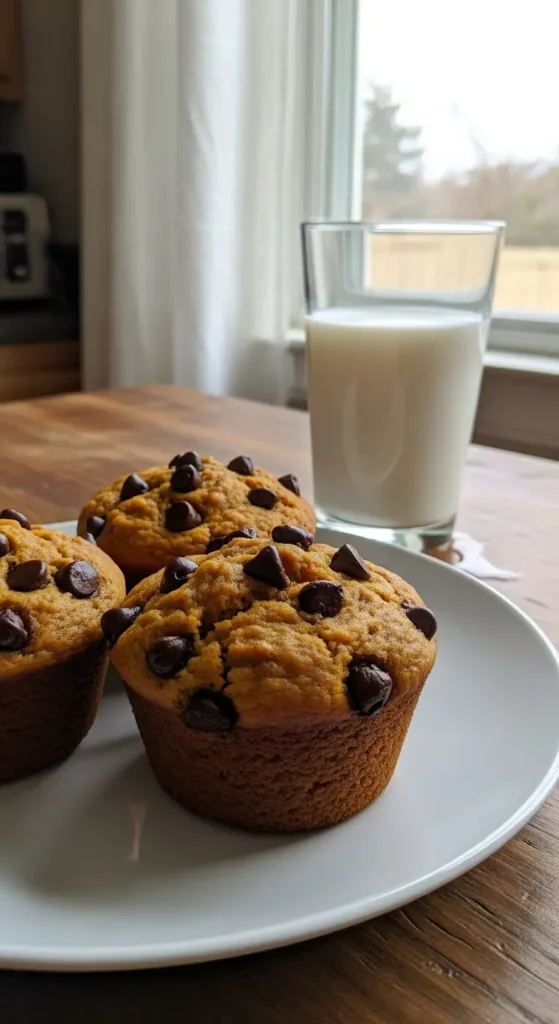
These aren’t going to win any baking contests. They’re not Instagram-perfect with their little chocolate chip placement and artisanal this-and-that. They’re just good, solid muffins that taste like fall and make your kitchen smell amazing.
My kids request them constantly now. My husband grabs them for breakfast on his way out the door. I’ve brought them to work potlucks and people actually ask for the recipe instead of just being polite.
Are they the best pumpkin chocolate chip muffins in the world? Probably not. But they’re reliable, they’re tasty, and they won’t make you want to throw your mixing bowls across the kitchen in frustration.
That’s worth something, right?
One Last Thing
If you make these and they turn out terrible, I’m sorry. But also, check your measurements and make sure your baking powder isn’t expired. I once spent an entire afternoon trying to figure out why my muffins weren’t rising, only to discover my baking powder was from 2019. Whoops.
If they turn out great, tell me about it! I love hearing when something actually works in someone else’s kitchen. And if you come up with any improvements, I’m all ears. I’m always looking for ways to make things better without making them more complicated.
Now go make some muffins. Your house is about to smell incredible.
Happy baking! (And may your chocolate chips stay exactly where you put them.)
If this dessert brought a little joy to your day, why stop here? I’ve got a whole collection of indulgent treats and easy bakes waiting for you to try. Take a peek at more of my favorite desserts Here
Makes: 12 standard muffins
Prep time: 15 minutes
Bake time: 18-20 minutes
Total time: About 35 minutes (plus cooling time)
Pumpkin Chocolate Chip Muffins
Easy pumpkin chocolate chip muffins that are moist, fluffy, and perfectly spiced. Made with simple ingredients and foolproof techniques, these fall-inspired muffins are perfect for breakfast or dessert.
Ingredients
- 1 cup pumpkin puree
- 1/2 cup vegetable oil
- 2 large eggs
- 1/4 cup milk
- 1 teaspoon vanilla extract
- 1 3/4 cups all-purpose flour
- 3/4 cup brown sugar, packed
- 2 teaspoons baking powder
- 1/2 teaspoon salt
- 1 teaspoon cinnamon
- 1/2 teaspoon nutmeg
- 1/4 teaspoon ginger
- 1/8 teaspoon cloves
- 1 cup chocolate chips
Instructions
-
Step 1Preheat oven to 375°F (190°C). Spray muffin tin with cooking spray or line with paper liners.
-
Step 2In a large bowl, whisk together pumpkin puree, vegetable oil, eggs, milk, and vanilla extract until smooth.
-
Step 3In another bowl, whisk together flour, brown sugar, baking powder, salt, cinnamon, nutmeg, ginger, and cloves.
-
Step 4Pour wet ingredients into dry ingredients and stir just until combined. Don't overmix.
-
Step 5Fold in chocolate chips gently.
-
Step 6Fill muffin cups about 2/3 full with batter.
-
Step 7Bake for 18-20 minutes, or until a toothpick inserted in center comes out clean or with just a few moist crumbs.
-
Step 8Cool in pan for 5 minutes, then transfer to wire rack to cool completely.

I’ve always found peace in the kitchen—it’s where I go to unwind, experiment, and reconnect. I started this blog because I wanted to share that feeling with others. My cooking journey started in a tiny apartment kitchen, with a second-hand skillet and a lot of trial and error.
Since then, I’ve learned that the best meals aren’t the most complicated—they’re the ones made with love (and maybe a little butter). Whether you’re a beginner or a kitchen pro, I hope you’ll feel right at home here.

