
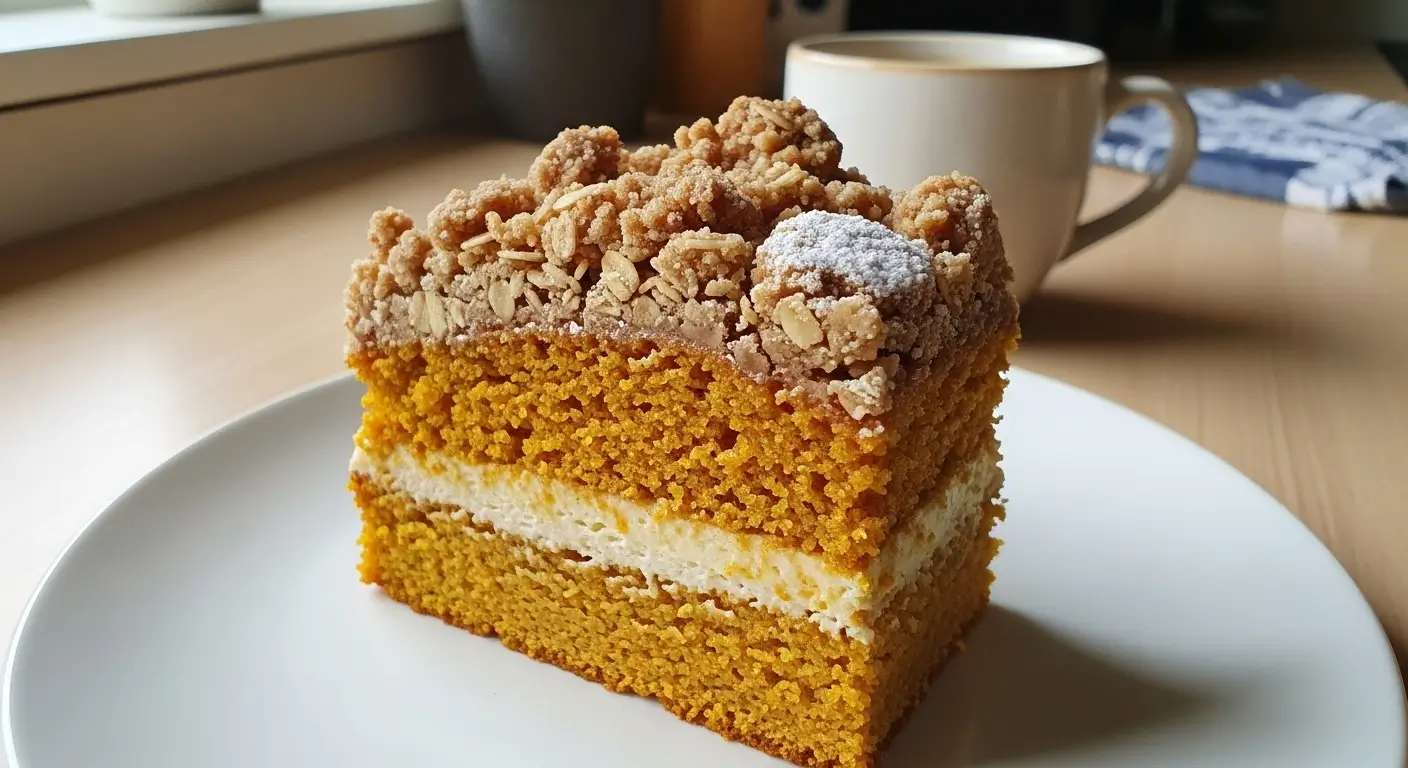
The Best Pumpkin Coffee Cake (That Actually Doesn’t Suck)
Okay, so here’s the thing. I’ve been making coffee cakes for like, forever, and most pumpkin versions are just… meh. Too dry, not enough spice, or they taste like someone just dumped a can of pumpkin into regular cake batter and called it a day.
But this one? This one’s different.
I stumbled across this combination completely by accident last October when I was trying to use up some leftover pumpkin puree. My original plan was to make regular coffee cake, but then I saw that opened can of pumpkin sitting in my fridge giving me major guilt vibes. You know the feeling.
Table of Contents
How This Whole Thing Started
So there I was, Sunday morning, still in my pajamas (the ones with the tiny coffee cups on them), and my sister was coming over for brunch. She’s got this thing where she pretends to be all healthy but then devours anything with cinnamon sugar on top. Anyway, I figured I’d try something new instead of my usual blueberry coffee cake routine.
First attempt? Disaster. Complete disaster. The batter was this weird orange paste that looked like baby food, and it came out of the oven resembling a hockey puck. Even my dog wouldn’t eat it, and that’s saying something because he once ate a whole stick of butter off the counter.
Second try was better but still not right. Too much pumpkin spice made it taste like a candle. And trust me, I love pumpkin spice everything, but there’s a line.
Third time though… chef’s kiss… finally nailed it.
What Makes This Coffee Cake Actually Good
Look, I’m gonna be honest with you. Most pumpkin coffee cake recipes online are written by people who clearly don’t bake much. They’ll tell you to add a cup of pumpkin to a regular coffee cake recipe and somehow expect it to work. Spoiler alert: it doesn’t.
The secret is balance. You need enough pumpkin to taste it, but not so much that your cake turns into a soggy mess. And the spices? Less is more. Way less than you think.
Also – and this is important – you can’t just substitute pumpkin for other wet ingredients without adjusting everything else. Learned this the hard way after my second failure when I was scraping cement-like cake off my pan with a spatula.
The Ingredients (And My Opinions About Them)
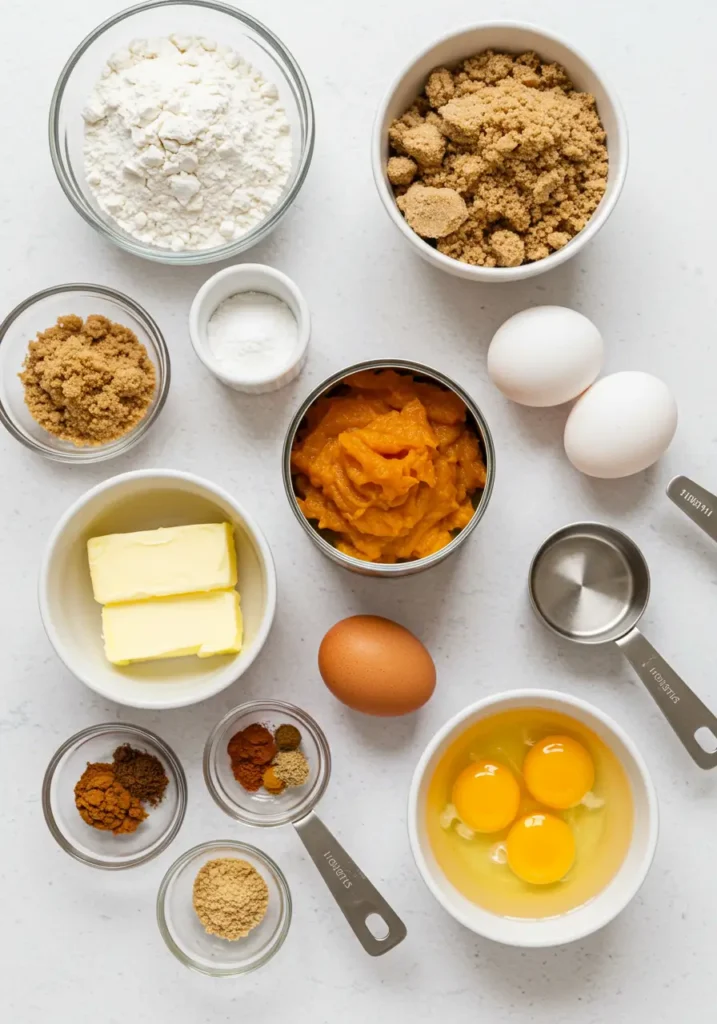
For the cake:
- 2 cups all-purpose flour (don’t get fancy with cake flour here, regular works fine)
- 3/4 cup granulated sugar
- 1/2 cup brown sugar, packed (the real stuff, not the artificial kind)
- 1/2 cup unsalted butter, softened (leave it out for like an hour, don’t microwave it)
- 1 large egg
- 1 teaspoon vanilla extract
- 3/4 cup pumpkin puree (NOT pumpkin pie filling, please)
- 1/2 cup sour cream (this is what keeps it moist)
- 1 1/2 teaspoons baking powder
- 1/2 teaspoon salt
- 1 teaspoon cinnamon
- 1/2 teaspoon nutmeg (fresh if you have it, but pre-ground is fine)
- 1/4 teaspoon ginger
- Pinch of cloves (seriously, just a pinch)
For the streusel topping:
- 1/2 cup all-purpose flour
- 1/2 cup brown sugar
- 1/3 cup cold butter, cubed
- 1 teaspoon cinnamon
- Pinch of salt
Now, about these ingredients… I always use Libby’s pumpkin puree because it’s consistent. I’ve tried the fancy organic brands and honestly? Can’t tell the difference. Save your money.
The sour cream is non-negotiable. I tried Greek yogurt once when I ran out, and it was fine, but sour cream gives you that perfect tang that balances the sweetness. Regular yogurt made it too tart.
And please, for the love of all that’s good, don’t buy pre-ground nutmeg if you can help it. Get a whole nutmeg and a microplane. Takes two seconds and tastes like actual nutmeg instead of sawdust.
How to Make This Thing (Without Screwing It Up)
Step 1: Preheat your oven to 350°F. Grease a 9×9 inch baking pan. I use butter and a paper towel because cooking spray makes everything taste weird to me. Maybe I’m crazy, but that’s my preference.
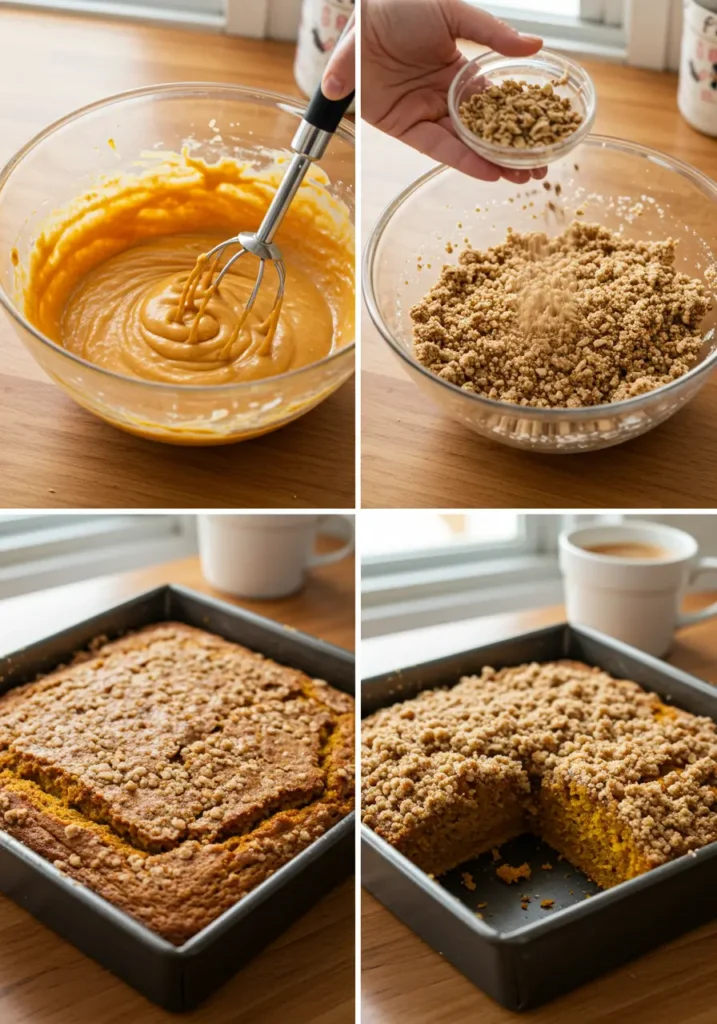
Step 2: Make the streusel first because you’ll want to get your hands messy now rather than later. Mix the flour, brown sugar, cinnamon, and salt in a bowl. Add the cold butter pieces and use your fingers to work it in until it looks like coarse crumbs. Some bigger chunks are fine – they make the topping more interesting. Stick this in the fridge while you make the cake.
Step 3: In a large bowl, cream the butter and both sugars together. I use my stand mixer for this, but a hand mixer works fine too. Beat it until it’s light and fluffy, about 3-4 minutes. Don’t rush this part.
Step 4: Add the egg and vanilla, mix until combined. Then add the pumpkin puree and sour cream. The mixture might look a little weird at this point – kind of lumpy and orange. That’s totally normal.
Step 5: In a separate bowl, whisk together the flour, baking powder, salt, and all the spices. I learned to do this after I made a batch with pockets of cinnamon that were basically inedible. Whisking prevents that.
Step 6: Add the dry ingredients to the wet ingredients and mix until just combined. Do NOT overmix. I made this mistake early on and ended up with tough, chewy coffee cake that was basically inedible.
The batter will be thick but spreadable. If it seems too thick, add a tablespoon of milk. Too thin? Add a bit more flour.
Step 7: Spread the batter in your prepared pan. It’ll be thick, so use an offset spatula or the back of a spoon to spread it evenly. Then sprinkle the streusel topping all over the top.
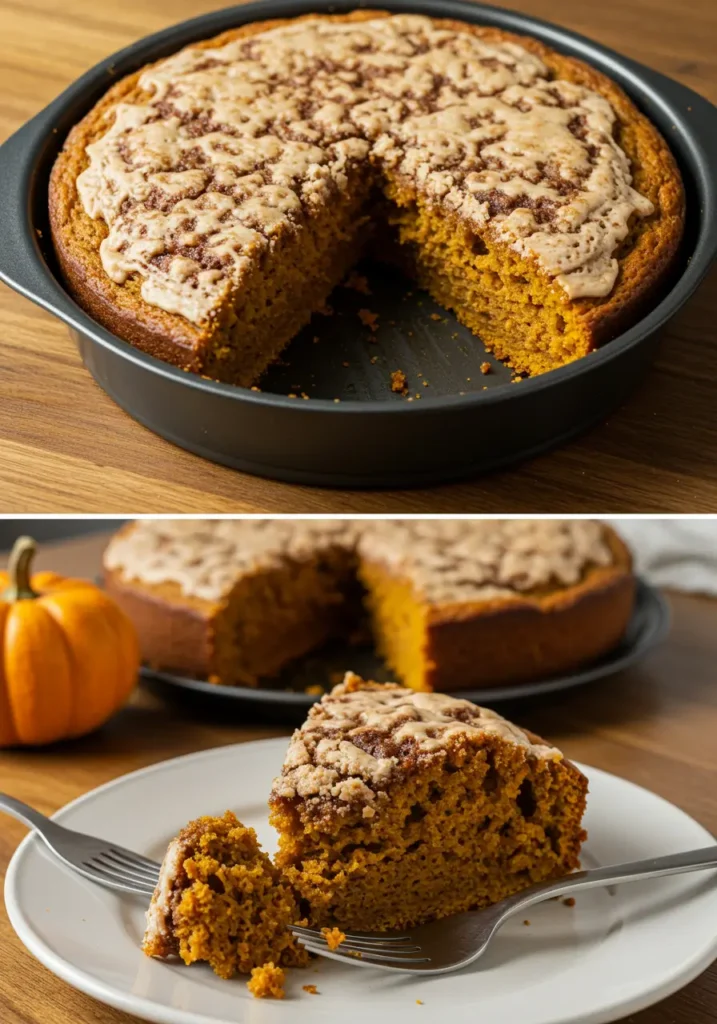
Step 8: Bake for 45-50 minutes. Start checking at 40 minutes with a toothpick in the center. It should come out with just a few moist crumbs. The top should be golden brown and the streusel should look set.
Step 9: Let it cool in the pan for at least 15 minutes before cutting. I know it smells amazing and you want to dive in, but trust me on this. Hot coffee cake falls apart and burns your mouth.
The Things I Learned (So You Don’t Have To)
First time I made this, I used way too much spice. Like, Thanksgiving candle levels of spice. My kitchen smelled incredible, but the cake tasted like I’d dumped a whole bottle of pumpkin pie spice into it. Start with less than you think you need.
Also, room temperature ingredients matter more than I thought they would. Cold eggs and butter don’t mix well and you’ll end up with a lumpy batter that never quite comes together properly.
Oh, and don’t overbake it. I did this once because the top didn’t look “done” to me, but coffee cake continues cooking in the pan after you take it out. Overbaked coffee cake is dry coffee cake, and nobody wants that.
The streusel should be cold when it goes on top. If your butter got too soft while making the cake, stick the streusel back in the fridge for a few minutes. Cold butter creates better texture.
Serving This Masterpiece
This is perfect for weekend mornings with coffee (obviously), but it’s also amazing as an afternoon snack. My neighbor Bob stops by every time I make it because he can smell it through our shared wall. I’ve started making two – one for us and one for him.
It keeps well covered on the counter for about three days, though it never lasts that long in our house. You can also freeze individual pieces wrapped in plastic wrap. Great for those mornings when you want something special but don’t want to bake.
Some people like to add a glaze, but honestly? I think it’s perfect as is. The streusel topping gives you that sweet crunch, and the cake itself is moist and flavorful without being too sweet.
Why This Recipe Works When Others Don’t
Most pumpkin coffee cake recipes I’ve tried fall into two categories: too dry or too wet. Too much flour and you get cardboard. Too much pumpkin and you get soup.
This recipe balances the moisture from the pumpkin and sour cream with just enough flour to give it structure. The brown sugar adds depth that white sugar alone can’t match, and the combination of spices enhances the pumpkin without overwhelming it.
The key is treating pumpkin as a flavor enhancer, not the main event. It adds moisture, subtle sweetness, and that cozy fall flavor we all love, but it shouldn’t taste like you’re eating a pumpkin.
Final Thoughts
Look, I’m not gonna lie and say this is the easiest thing you’ll ever make. It’s not a dump-and-stir situation. But it’s not complicated either, and the results are so worth it.
I’ve made this for potlucks, brunches, and random Tuesday mornings when I needed something comforting. Every single time, people ask for the recipe. That’s how you know you’ve got something good.
The best part? Your house will smell like fall magic for hours after you bake it. Even my teenage nephew, who usually lives on pizza and energy drinks, asked for seconds.
Give it a try and let me know how it turns out! Seriously, I love hearing about other people’s baking adventures, especially when they involve this cake.
Happy baking! (And may your streusel stay crunchy and your cake stay moist) 😊
If this dessert brought a little joy to your day, why stop here? I’ve got a whole collection of indulgent treats and easy bakes waiting for you to try. Take a peek at more of my favorite desserts Here

I’ve always found peace in the kitchen—it’s where I go to unwind, experiment, and reconnect. I started this blog because I wanted to share that feeling with others. My cooking journey started in a tiny apartment kitchen, with a second-hand skillet and a lot of trial and error.
Since then, I’ve learned that the best meals aren’t the most complicated—they’re the ones made with love (and maybe a little butter). Whether you’re a beginner or a kitchen pro, I hope you’ll feel right at home here.