
The Famous Moroccan Mint Tea: How I Finally Mastered This Perfect Brew
Okay, so I’m gonna be completely honest with you. I messed up Moroccan mint tea about four times before I finally got it right. And I’m talking really messed up – like, bitter as medicine, sugar that wouldn’t dissolve properly, and once I even managed to burn the mint somehow. Don’t ask me how.
But here’s the thing – everyone kept raving about this magical tea, and I was determined to figure it out. My neighbor Fatima (she’s from Casablanca) finally took pity on me after watching me struggle and basically taught me everything I know. Now I make it almost every afternoon, and people actually ask for the recipe instead of politely sipping and changing the subject.
Table of Contents
Why This Tea Is Worth the Effort (Trust Me on This)
Look, I’ve tried a lot of teas in my life. Earl Grey, chamomile, that weird detox stuff my sister brought over once. But Moroccan mint tea? It’s different. It’s not just a drink – it’s like a whole experience wrapped up in a glass.
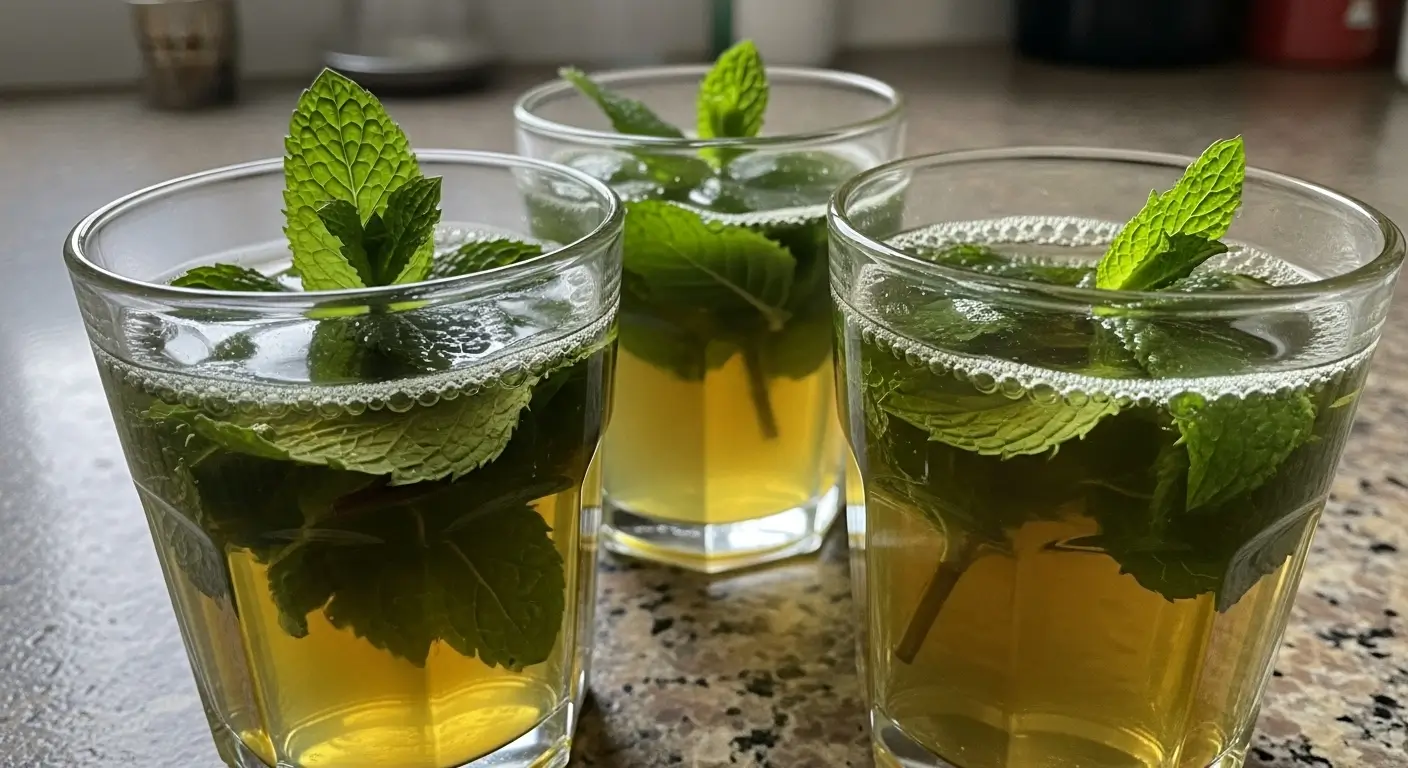
The first time I had real Moroccan mint tea was at this tiny café in our neighborhood. The owner, Hassan, made it right in front of me, and I watched him pour from this impossibly high teapot without spilling a single drop. The aroma hit me before I even took a sip, and when I did… man. It was refreshing, sweet, but not cloying, with this incredible mint flavor that wasn’t artificial or overpowering.
That was three months ago, and I’ve been obsessed ever since.
The Great Tea Learning Disaster (AKA My First Attempts)
Version 1.0 was basically green-tinted sugar water with floating mint leaves. I used regular tea bags (mistake #1), added the sugar at the end (mistake #2), and didn’t understand why everyone talked about “washing” the tea. Washing tea? What does that even mean?
Version 2.0 involved me buying actual loose green tea, but I steeped it for like ten minutes because I thought stronger = better. Wrong. So wrong. It was more bitter than my ex-boyfriend’s attitude.
Version 3.0 was closer, but I got impatient with the sugar dissolving process and basically created mint tea syrup. My 12-year-old took one sip and said, “Mom, did you put candy in here?” Not the compliment I was hoping for.
Version 4.0… let’s just say that’s when I burned the mint. Still not sure how that happened, but there was definitely smoke involved.
And then Fatima happened.
What You Actually Need (No Fancy Equipment Required)
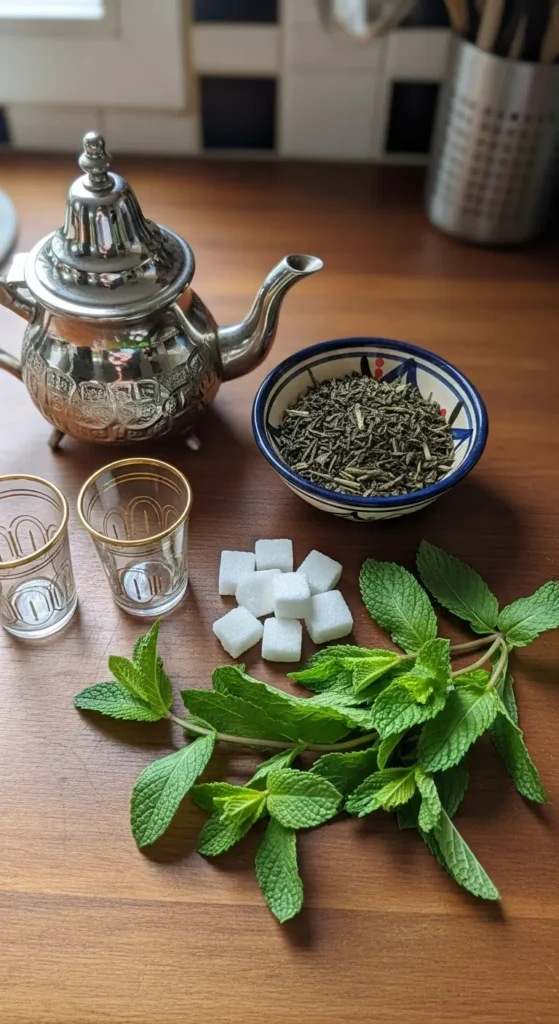
Here’s what I learned about Moroccan mint tea ingredients – it’s not complicated, but it IS specific:
The Tea:
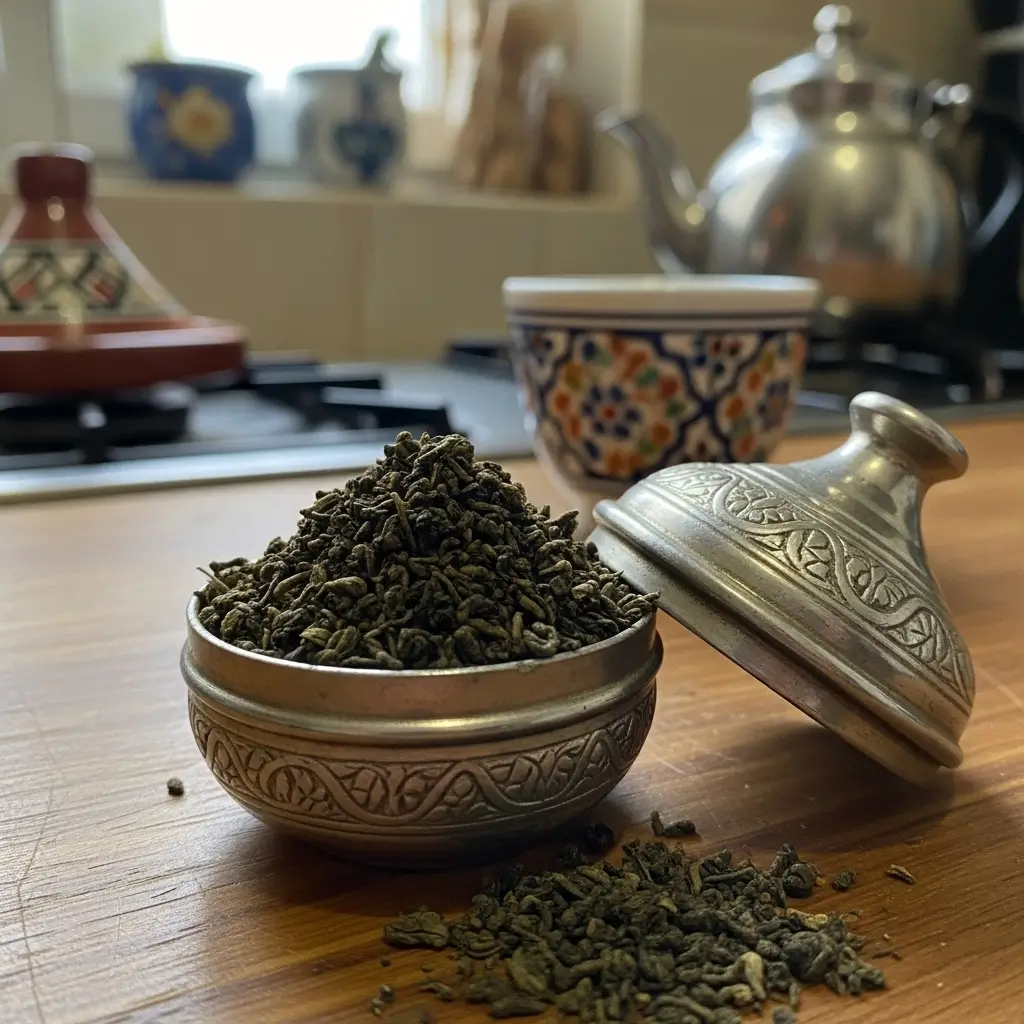
- Chinese green tea (gunpowder green tea if you can find it, but any loose green tea works)
- I get mine from the international aisle at our regular grocery store
- Don’t use tea bags for this. Just don’t. The leaves need room to breathe
The Mint:
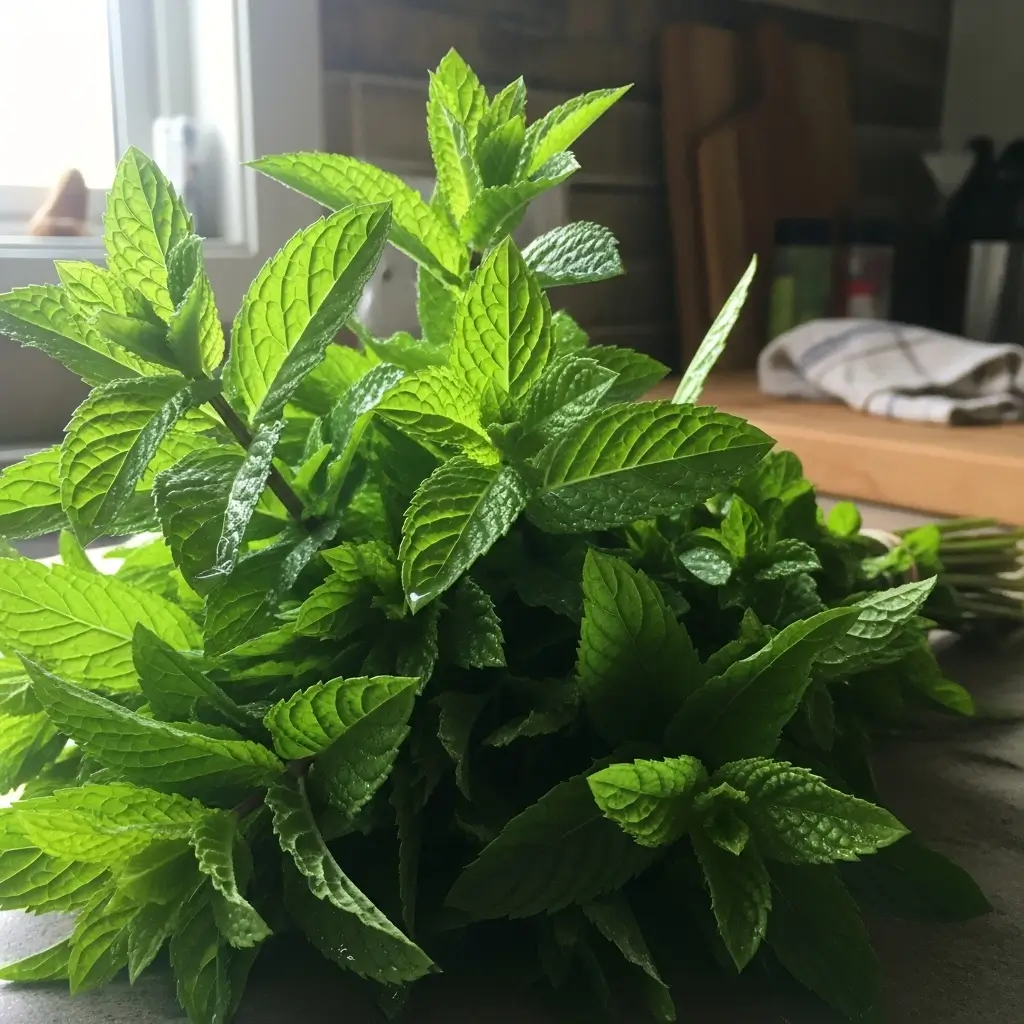
- Fresh spearmint (not peppermint – learned this the hard way)
- You want about a big handful per pot
- Look for bright green leaves without any brown spots
- If you can’t find spearmint, regular fresh mint works, but spearmint is traditional
The Sugar:
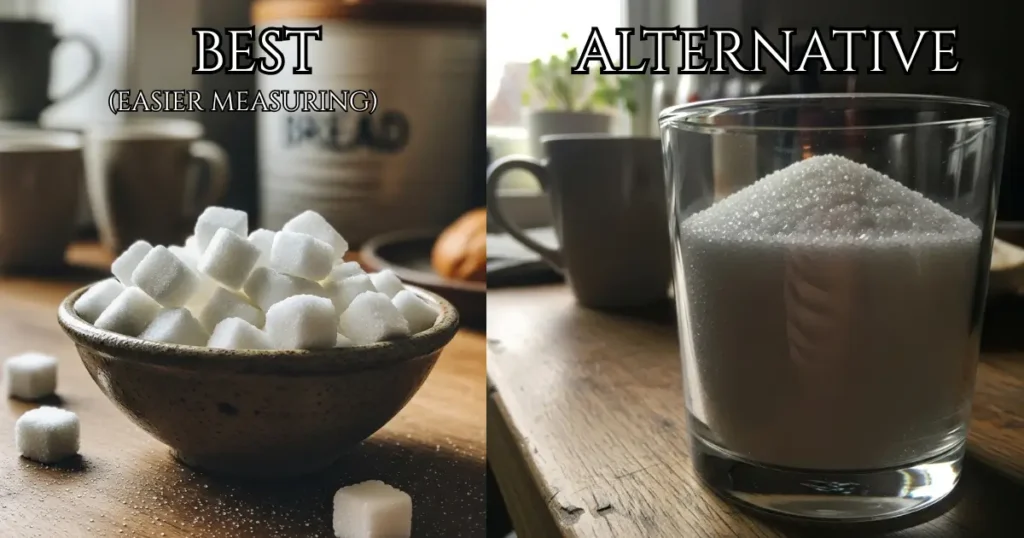
- White granulated sugar (lots of it – don’t judge)
- I use about 3-4 tablespoons per pot, but adjust to taste
- Some people use sugar cubes, which is fancy, but regular sugar works fine
The Water:
- Just regular filtered water
- Nothing special here, but don’t use tap water if yours tastes funky
Equipment You Need:
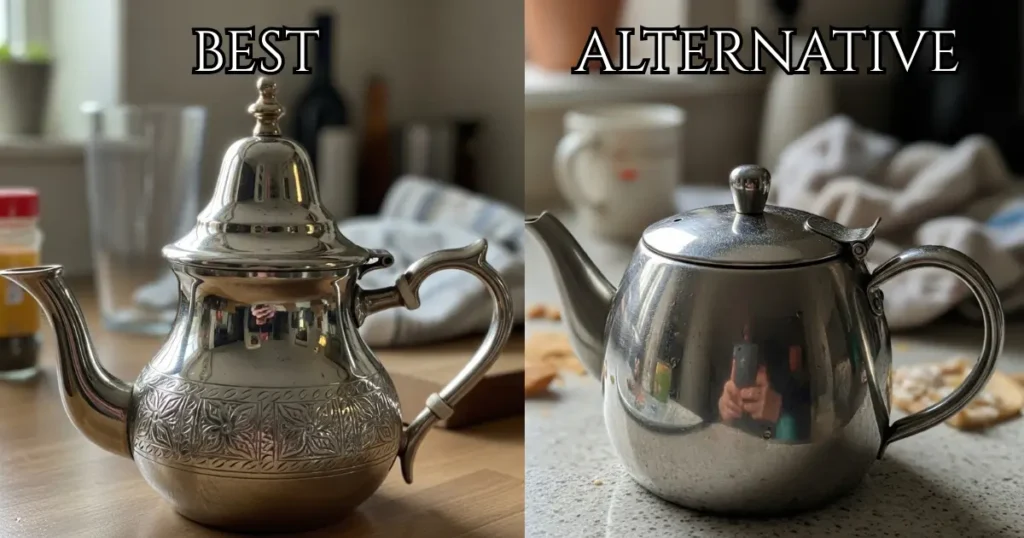
- A teapot (I use a traditional moroccan one, but you can use any teapot you have, nothing fancy)
- Small glasses (traditional ones are great, but any small heat-proof glasses work)
The Actual Process (Finally!)
Step 1:
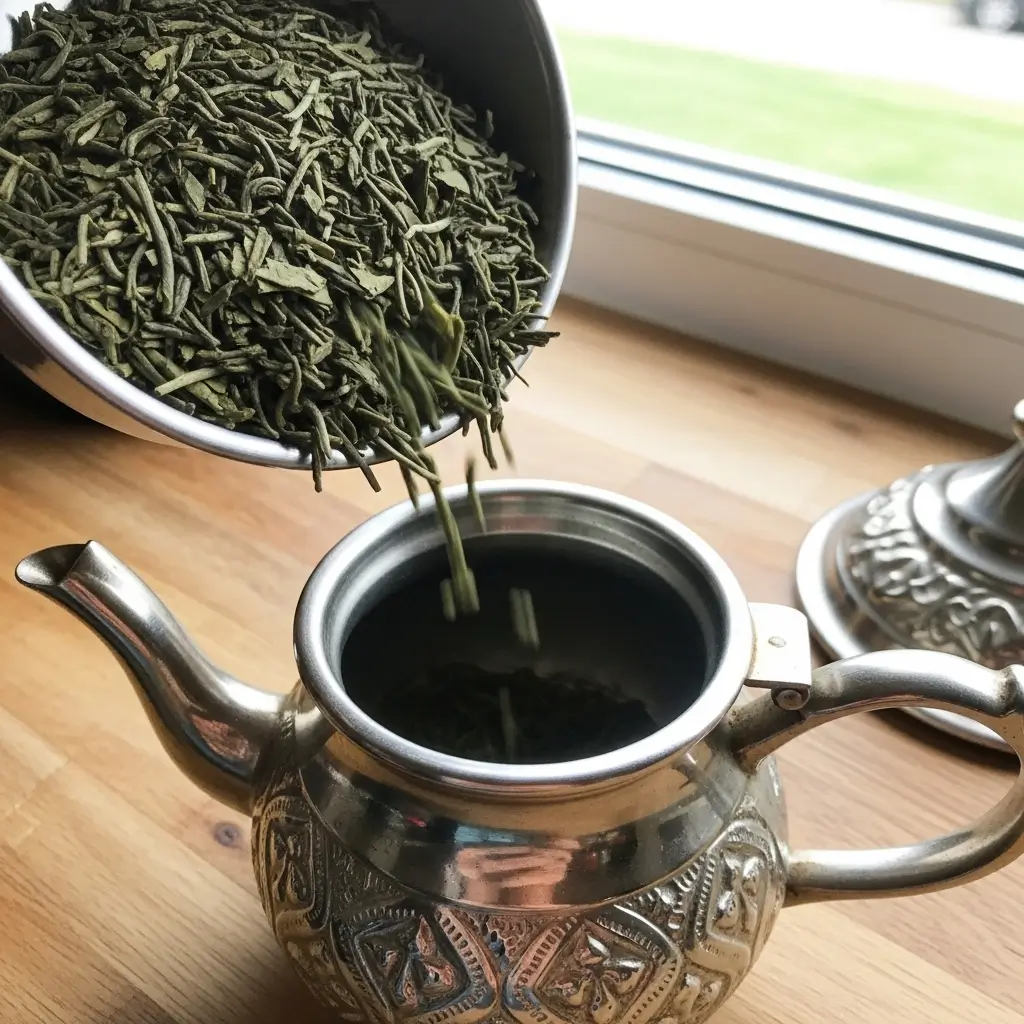
Getting Your Tea Started Grab about a tablespoon and a half of green tea leaves and dump them in your teapot. Now, here’s where I learned that not all green teas are created equal – some brands are way stronger than others, so don’t be afraid to adjust this amount. I started with exactly 1.5 tablespoons every time until I figured out my tea’s personality.
Step 2:
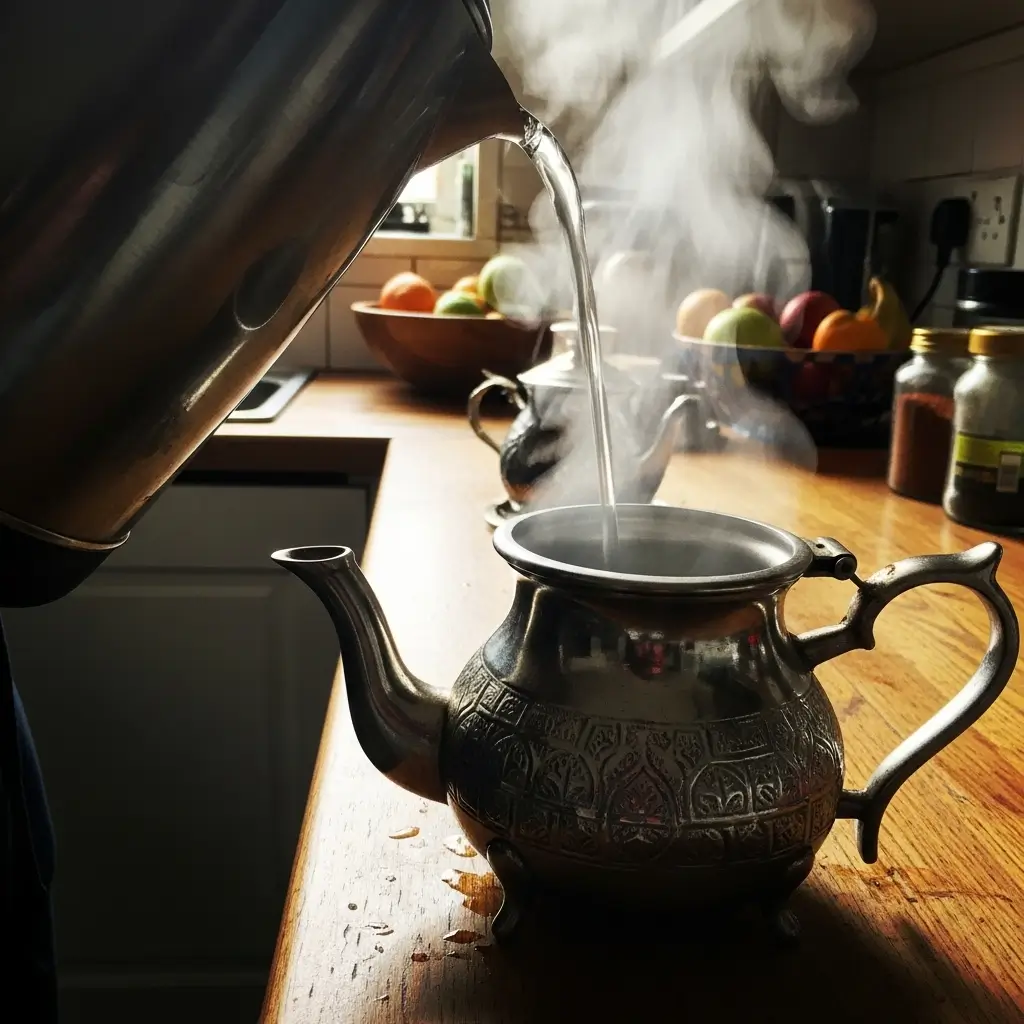
The Double Rinse Thing (Still Seems Weird, But Works) Okay, get your water boiling in a separate kettle first. Pour exactly one cup of that boiling water over your tea leaves and just… wait. Don’t stir, don’t poke it, just let it sit there for a full minute doing its thing.
Then – and this is where I thought Fatima was messing with me – pour that first cup of tea into a regular teacup and set it aside. She called this “the spirit of the tea,” and you’re gonna use it later. I know, I know, seems wasteful.
But wait, there’s more! Add another cup of boiling water to those same leaves, give it a good swirl, then toss this second batch completely. (My plants love this tea water, by the way.) This whole double-rinse situation gets rid of the bitter taste that made my early attempts so awful.
Step 3:
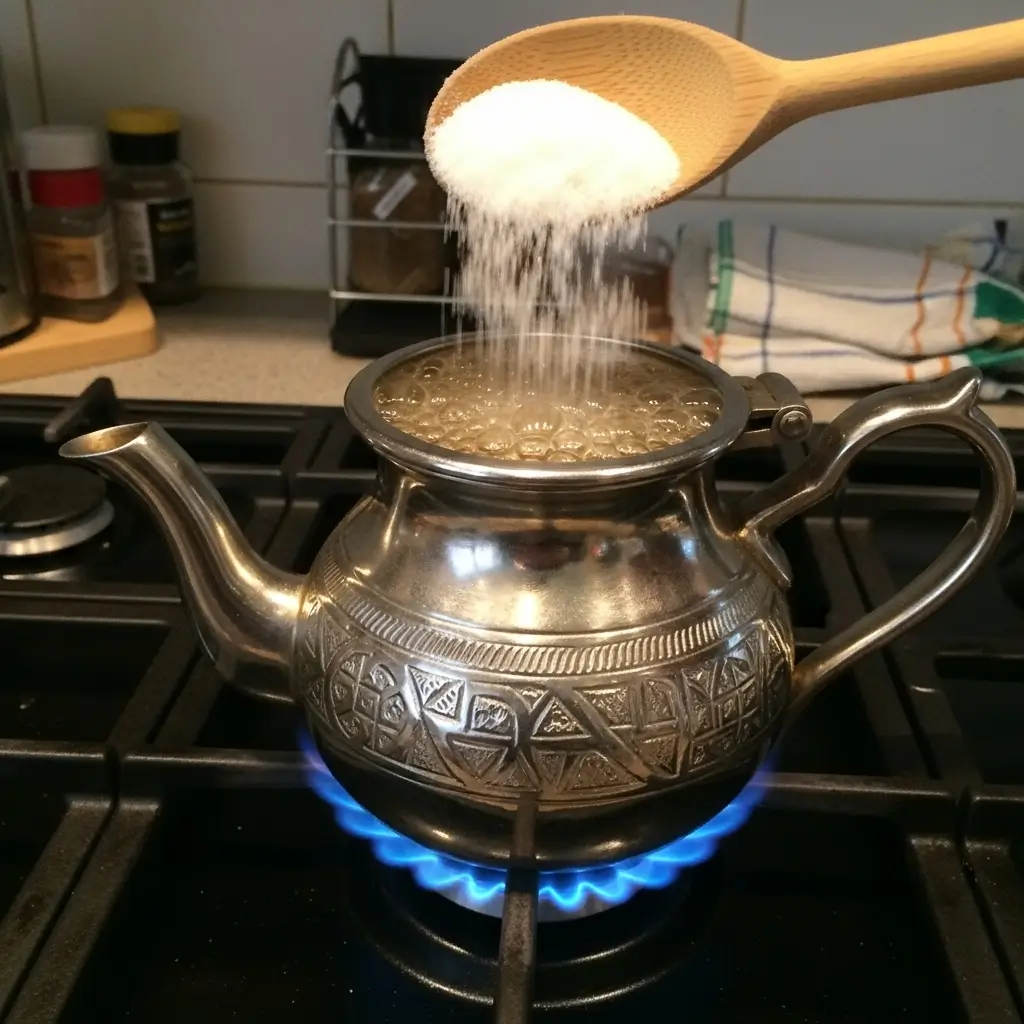
The Real Deal Brewing Fill your teapot with boiling water, but leave about three or four inches of space at the top – don’t pack it full. Now here’s the part that surprised me: put that whole teapot on your stove and bring it to a gentle boil.
I was skeptical about boiling tea AGAIN, but this actually makes the flavors way more intense. Once it’s bubbling lightly, add your sugar – I use 3 to 4 tablespoons, but honestly, go crazy if you want it sweeter. The sugar dissolves perfectly when the tea’s this hot.
Step 4:
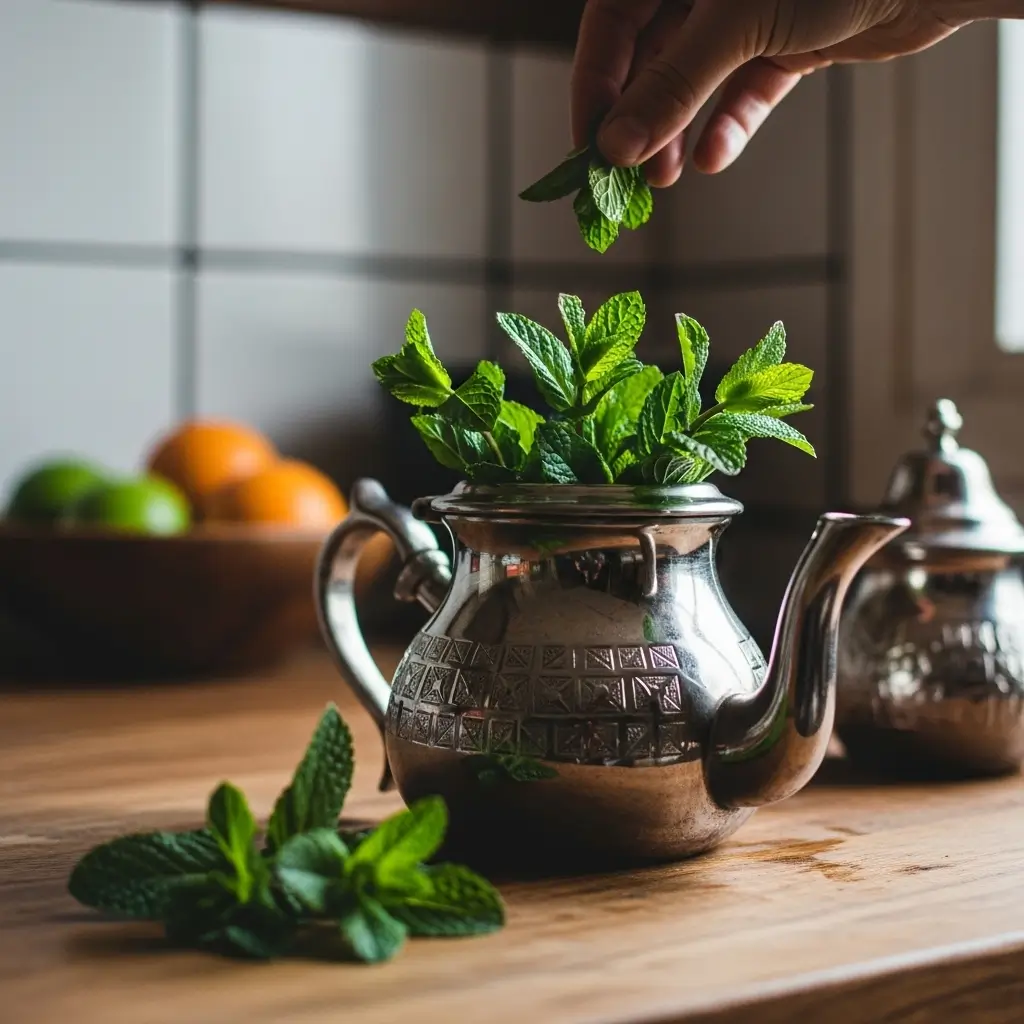
Mint Time! Turn off your burner as soon as you see those bubbles, then stuff a massive handful of fresh mint into the hot tea. I mean really go for it – more mint than seems reasonable. The leaves will wilt down, but that intense mint flavor is what we’re after.
Step 5:
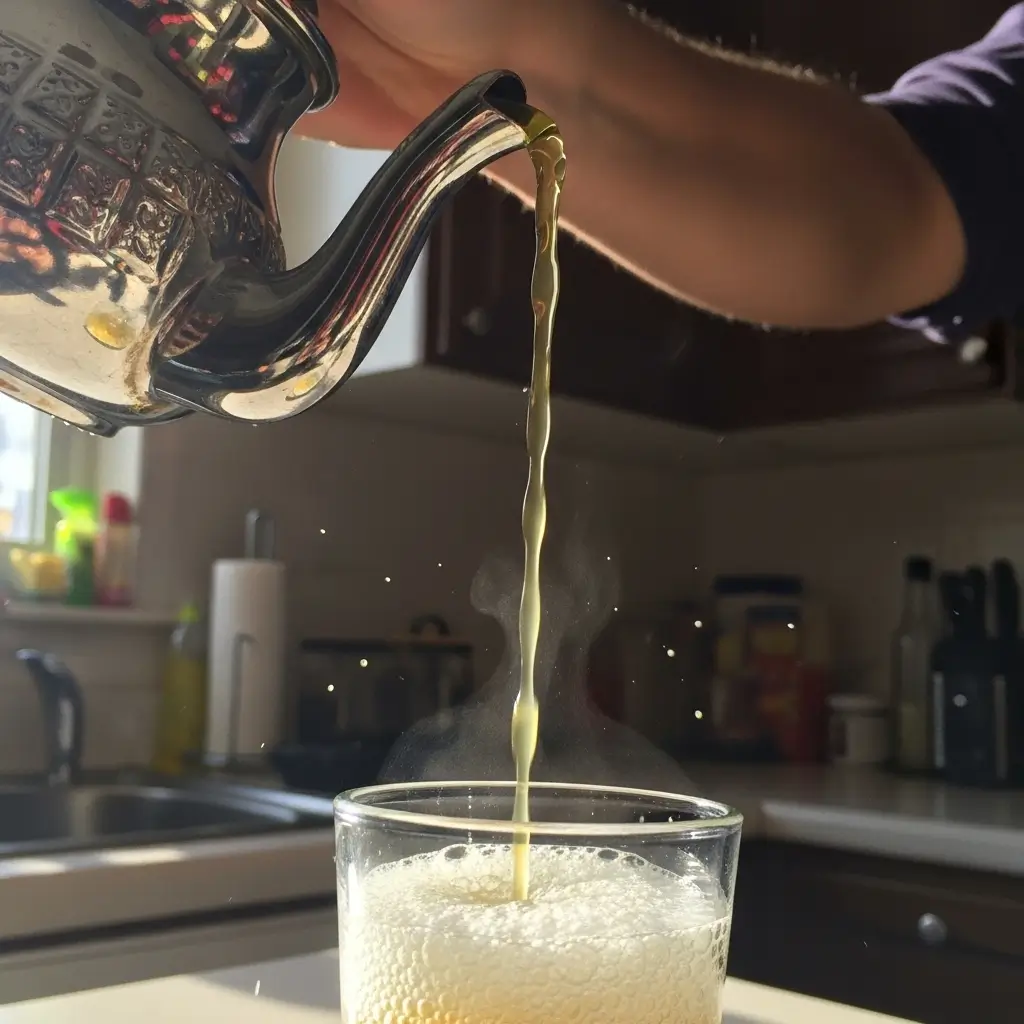
Creating That Fancy Foam (Kashkusha Magic) This is the show-off part, but also the most important for taste. You want that frothy layer on top that makes everyone think you’re some kind of tea wizard.
Hold your teapot way up high – like, uncomfortably high – and pour the tea down into a glass. The higher, the better for creating foam. Then pour that same tea back into the teapot from the glass.
Keep doing this back-and-forth dance between pot and glass until you see that gorgeous foamy texture forming on top. It usually takes me 4-5 rounds of this, and my arm gets tired, but the foam is totally worth it.
Remember that “spirit of the tea” you saved earlier? Sometimes I add a splash of that back in during this process – it deepens the flavor like crazy.
Tips I Learned the Hard Way
About the Sugar: Don’t be afraid of sweetness. Traditional Moroccan mint tea is sweet. Like, really sweet. I kept trying to make it “healthier” by reducing sugar, but it just doesn’t taste right. Start with 3 tablespoons per pot and adjust from there.
About the Mint: More is more. I was being conservative with mint at first, but Fatima uses what looks like half a garden’s worth. The mint flavor should be prominent, not just a hint.
About Timing: You can keep refilling the same tea and mint with hot water 2-3 times. Each brewing tastes slightly different. The first is strongest, the second is perfectly balanced, and the third is lighter but still flavorful.
About Storage: You can’t really make this ahead. It’s best fresh. But if you have leftover mint, it keeps in the fridge for a few days wrapped in slightly damp paper towels.
When Everything Goes Wrong (Because It Will)
Too Bitter: You probably didn’t wash the tea or you steeped it too long. Start over – I know it’s annoying, but there’s no real way to fix over-steeped green tea.
Too Sweet: Add more hot water or brew another pot with less sugar and mix them.
Mint Tastes Weird: Your mint might be old, or you got peppermint instead of spearmint. Fresh mint should smell bright and clean, not medicinal.
Won’t Pour in a Nice Stream: Practice with cold water first. Also, make sure your teapot has a good spout. Some are just terrible for pouring.
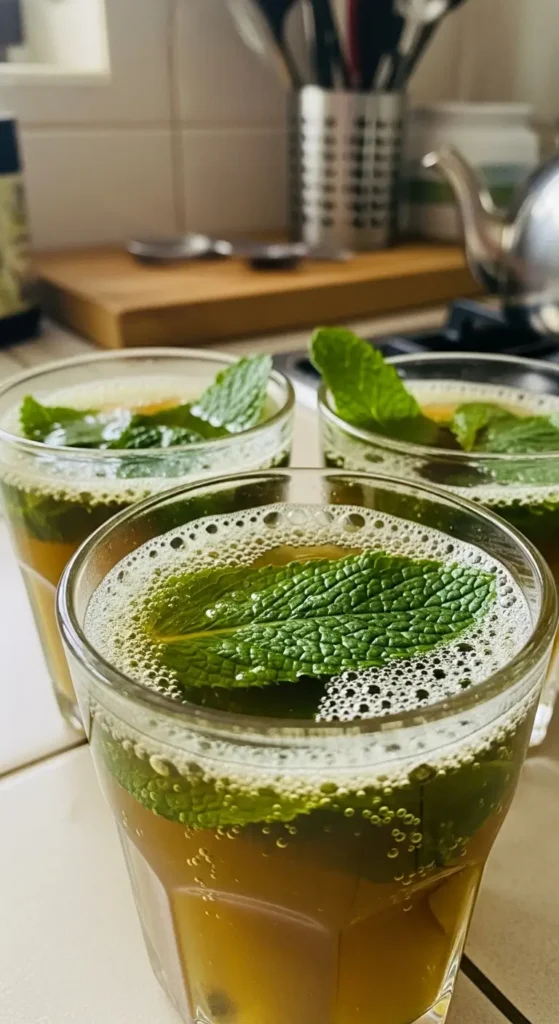
Why I’m Obsessed Now
This tea has become my 4 PM ritual. I make a pot, sit on my back porch, and just… breathe. It’s refreshing without being cold, sweet without being dessert, and that mint hits differently than any other tea I’ve tried.
My teenager actually requests it now, which is saying something because she usually thinks everything I make is “weird mom food.” Last week she brought two friends over and asked if I could make “that really good tea” for them. I may have teared up a little.
The smell alone transports me. It reminds me of that first café experience, but now I can recreate it whenever I want. And the whole ritual of making it – the washing, the steeping, the dramatic pour – it’s become this little meditation in my day.
Pro tip: Make extra because people will ask for seconds. Always.
The Social Element (Bonus Wisdom)
Here’s something I didn’t expect – making Moroccan mint tea has become this social thing. When friends come over, they want to watch me make it. They want to try the high pour. They want to know where I learned.
It’s become conversation starter, bonding activity, and comfort ritual all rolled into one. Way more interesting than offering someone a regular cup of coffee.
Fatima told me that in Morocco, tea time is sacred. You sit, you sip, you talk. No rushing. I’ve started adopting this philosophy, and honestly? Best life change I’ve made in a while.
Final Thoughts (And My Confession)
Look, I’m not claiming to be some kind of tea expert. Six months ago I was burning mint and making sugar syrup. But I’ve made this tea probably 50 times now, and I finally feel confident sharing what I’ve learned.
Is it exactly like what you’d get in Marrakech? Probably not. But it’s delicious, it’s authentic to the method I was taught, and it makes my kitchen smell incredible.
Try it. Mess it up a few times like I did. Learn from your mistakes. And when you finally get that perfect balance of tea, mint, and sweetness, with that gorgeous foam on top from your high pour… you’ll understand why I’m so obsessed.
Seriously, let me know how yours turns out! I’m always looking for new tips, and I love hearing about other people’s tea disasters and triumphs.
Happy brewing! ☕️🌿
Now I’m craving a glass and it’s only 10 AM. Thanks a lot, brain.

I’ve always found peace in the kitchen—it’s where I go to unwind, experiment, and reconnect. I started this blog because I wanted to share that feeling with others. My cooking journey started in a tiny apartment kitchen, with a second-hand skillet and a lot of trial and error.
Since then, I’ve learned that the best meals aren’t the most complicated—they’re the ones made with love (and maybe a little butter). Whether you’re a beginner or a kitchen pro, I hope you’ll feel right at home here.