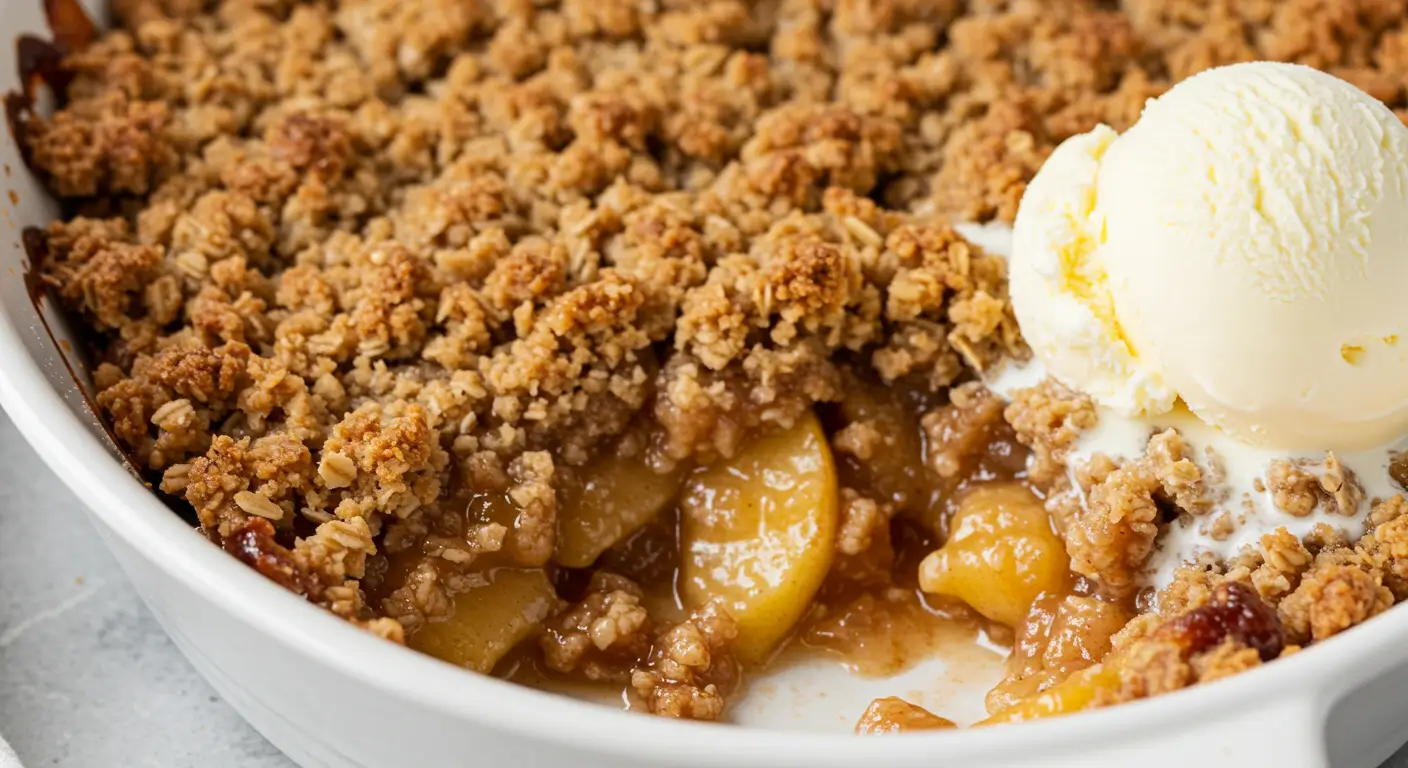
The Apple Crisp Recipe That Finally Worked (After 4 Epic Fails)
Okay, so I need to share this apple crisp recipe with you because honestly? I’m still a little shocked it actually turned out perfect. And by perfect, I mean my picky teenager asked for seconds. Miracle.
Look, I’m gonna be honest with you – I’ve been trying to nail the perfect apple crisp for like three years now. THREE YEARS. My first attempt back in 2022 was basically apple soup with sad, soggy oat chunks floating on top. Disaster. Complete disaster.
But last Sunday, something magical happened in my kitchen. Maybe it was the fact that I finally stopped overthinking everything, or maybe it was because I used my neighbor Janet’s secret ingredient (spoiler alert: it’s brown butter). Either way, this apple crisp is now my go-to fall dessert, and I’m never making another recipe again.
Table of Contents
Why This Apple Crisp Actually Works
Here’s the thing about most apple crisp recipes online – they lie to you about the timing. They’ll say “bake for 35 minutes” and you’ll end up with either burnt edges or mushy apples. There’s no in-between. I learned this the hard way when I served my book club what basically looked like apple cement last October. So embarrassing.
This recipe? It’s foolproof because I’ve already made every possible mistake for you. You’re welcome.
The secret is really in three things: getting the apple-to-crisp ratio right, not skipping the brown butter step (even when you’re in a hurry), and knowing when your oven is lying about its temperature. My oven runs hot, so I always bake at 350°F instead of 375°F. Figure out your oven’s personality – it’ll change your life.
The Apple Situation
Now, about the apples. Everyone’s gonna tell you to use Granny Smith, and sure, they’re fine. But honestly? I use whatever’s on sale at the grocery store. Last week it was Honeycrisp (expensive but whatever), and the week before it was some random mixed bag that was about to expire.
Here’s what I’ve learned: tart apples are better than sweet ones because you’re adding sugar anyway. And please, for the love of all that’s holy, don’t buy those pre-sliced apple bags. They taste like sadness and chemicals. Just don’t.
You’ll need about 6-8 medium apples, depending on how big your baking dish is. I use a 9×13 because I’m feeding a family of four plus whoever randomly shows up at dinner time (looking at you, neighbor kids).
Ingredients That Actually Matter
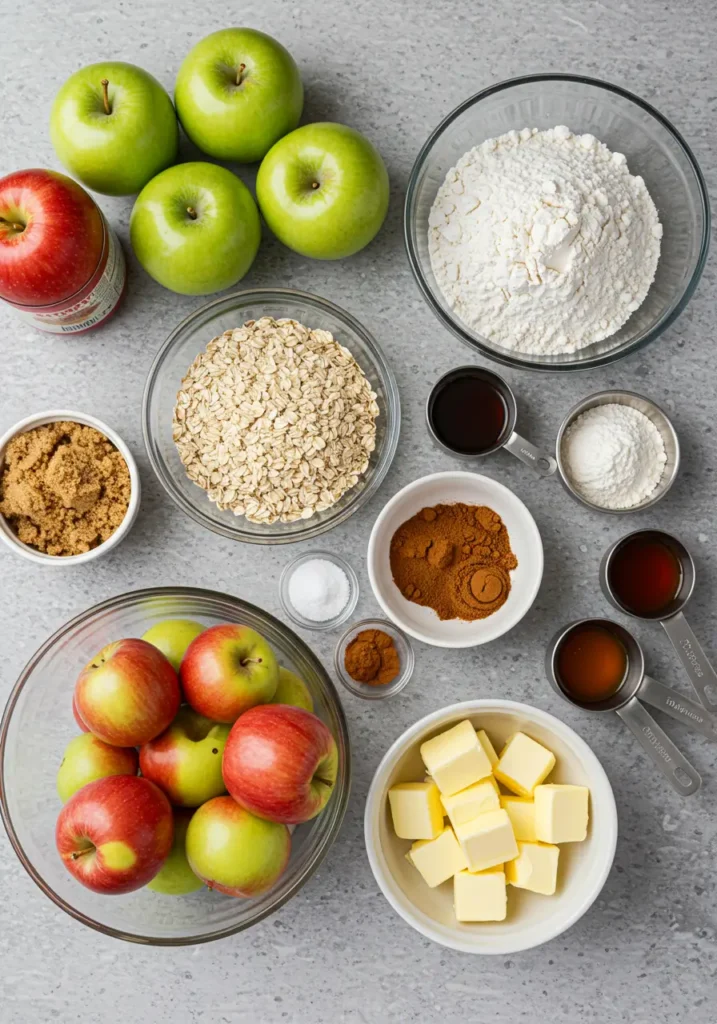
For the Apple Filling:
- 6-8 medium apples, peeled and sliced (I use an apple peeler thing I got on Amazon – life changing)
- 1/2 cup granulated sugar
- 2 tablespoons brown sugar
- 1 tablespoon lemon juice (prevents browning, but also adds a nice zing)
- 1 teaspoon cinnamon
- 1/4 teaspoon nutmeg (don’t skip this, it makes it taste like fall)
- 2 tablespoons flour (this is KEY for thickening)
For the Crisp Topping:
- 1 cup old-fashioned oats (not the quick ones, they get mushy)
- 1 cup flour
- 1 cup brown sugar (packed)
- 1/2 cup cold butter, cubed
- 1/2 teaspoon salt
- 1 teaspoon cinnamon
And here’s Janet’s secret: brown 2 tablespoons of that butter first. Trust me on this one.
Let’s Actually Make This Thing
Step 1: Preheat your oven to 350°F. Or 375°F if your oven runs cool like my mom’s ancient thing. You know your oven better than I do.
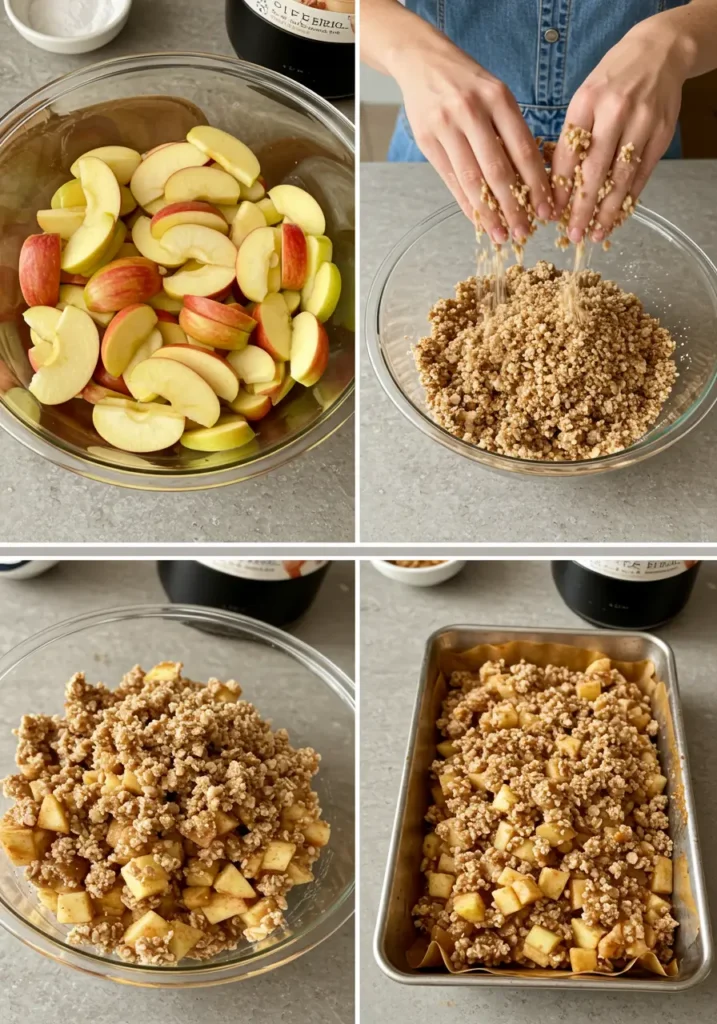
Step 2: Peel and slice your apples. This takes forever and I hate it, but it’s necessary. My 8-year-old sometimes helps, which makes it take twice as long but at least she’s not on her iPad.
Step 3: Toss the sliced apples with both sugars, lemon juice, cinnamon, nutmeg, and flour in a big bowl. Mix it all up until the apples are coated. It’ll look weird and clumpy at first – that’s totally normal.
Step 4: Dump the apple mixture into your greased 9×13 pan. Spread it out somewhat evenly, but don’t stress about perfection.
Step 5: Here’s where the magic happens. Take 2 tablespoons of your cold butter and brown it in a small saucepan until it smells nutty and amazing. This takes maybe 3 minutes. Don’t walk away or you’ll burn it (learned this lesson while trying to answer a work email).
Step 6: In another bowl, mix the oats, flour, brown sugar, salt, and cinnamon. Add the cold cubed butter AND the cooled brown butter. Use a pastry cutter or two forks to work it all together until you get chunky, crumbly bits. Some people use their hands – I find this messy but effective.
Step 7: Sprinkle the crisp topping evenly over the apples. Don’t pack it down, just let it sit there looking all rustic and perfect.
Step 8: Bake for 40-45 minutes until the top is golden brown and the apples are bubbling around the edges. If the top starts getting too dark, cover it with foil for the last 10 minutes.
The Waiting Game (AKA The Hardest Part)
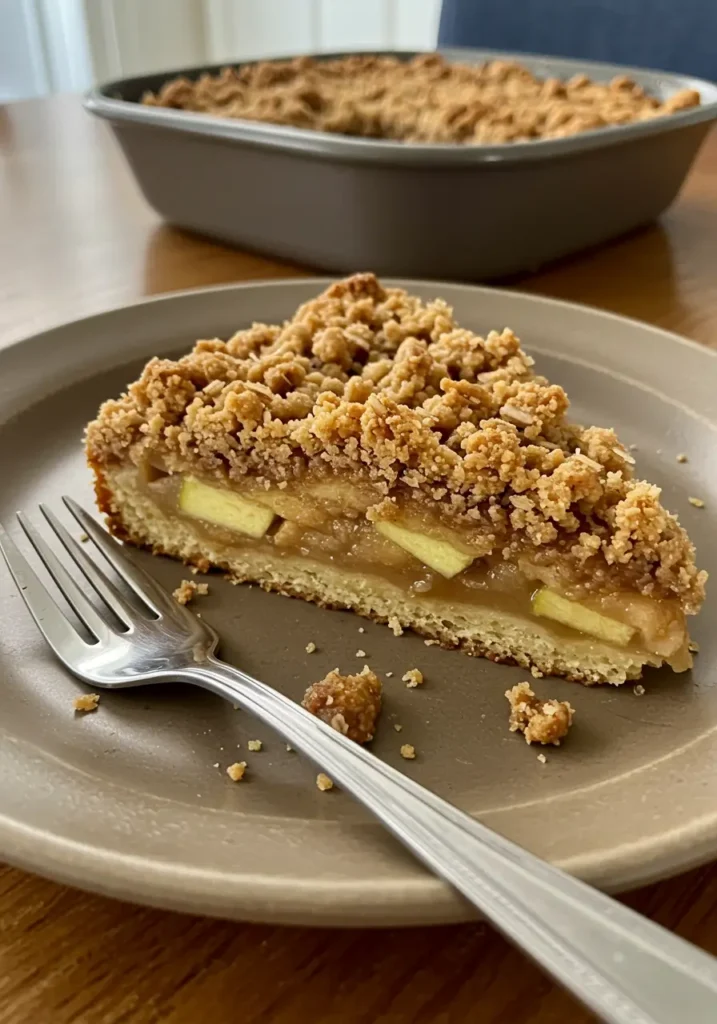
Let it cool for at least 15 minutes before serving. I know this is torture when your house smells like a candle store, but trust me – the filling needs time to thicken up. First time I made this, I dug in immediately and it was like apple lava. Not cute.
Serve it warm with vanilla ice cream if you’re feeling fancy, or just eat it straight from the pan with a spoon like I do when no one’s looking.
Things I Learned the Hard Way
The Brown Butter Thing: Seriously, don’t skip this step. It adds this incredible nutty flavor that makes people think you’re way more sophisticated than you actually are. I discovered this by accident when I was making cookies and had leftover brown butter sitting around.
Oat Selection: Use old-fashioned oats. Quick oats turn to mush. Instant oats are basically oat dust. Steel-cut oats are too chewy. There’s a whole oat hierarchy and I’ve tried them all.
Apple Prep: Cut your apples roughly the same size so they cook evenly. I used to just hack them up randomly and wonder why some pieces were crunchy while others were complete mush.
The Flour Trick: That tablespoon of flour mixed with the apples? Game changer. It soaks up the apple juices and creates this perfect sauce instead of a watery mess at the bottom of your pan.
When Things Go Wrong
Because they will, and that’s okay.
Too Soggy: Your apples probably released more juice than expected. Next time, use less juicy apples or add an extra tablespoon of flour to the filling.
Burnt Top: Your oven runs hot like mine. Cover with foil next time and lower the temperature by 25 degrees.
Bland Flavor: You skimped on the spices, didn’t you? Double the cinnamon next time and make sure your spices aren’t from 1987.
Topping Won’t Get Crispy: Your butter was too warm or you overmixed the topping. Cold butter is essential for those perfect crispy chunks.
The Real Talk Section
This apple crisp isn’t going to win any beauty contests. It’s rustic and homey and sometimes the topping slides around a bit. But you know what? It tastes like childhood and Sunday afternoons and everything good about fall.
My kids fight over the corner pieces because they get extra crispy. My husband literally hides leftovers from me because he wants it for breakfast (yes, apple crisp for breakfast is totally acceptable). And my mother-in-law, who’s never complimented my cooking before, asked for the recipe. Win.
Is it the healthiest dessert? Absolutely not. There’s butter and sugar and more butter. But sometimes you need something that just makes you happy, you know?
Make It Your Own
Once you’ve mastered the basic recipe, feel free to get creative:
- Add chopped walnuts or pecans to the topping
- Throw in some cranberries with the apples for tartness
- Use maple syrup instead of some of the brown sugar
- Add a splash of vanilla extract to the apple mixture
- Mix in some pears with the apples (my neighbor swears by this)
Actually, you know what? Start with this exact recipe first. Get it right once, then experiment. I spent way too much time trying to be creative before I understood the basics.
The Bottom Line
This apple crisp recipe works. It’s not fancy, it’s not Instagram-perfect, but it’s reliable and delicious and makes your house smell amazing. Sometimes that’s all you need.
I’ve made this probably twenty times in the past few months, tweaking little things here and there. This version is what I consider the final draft – the one I’m actually proud to serve to people.
So try it, let me know how it goes, and don’t panic if it’s not perfect the first time. Took me four tries to get here, and I’m supposedly an adult who can follow directions.
Now I’m craving this again just from writing about it. Thanks a lot, brain.
Happy baking! (And may your smoke alarms stay quiet) 🍎
If this dessert brought a little joy to your day, why stop here? I’ve got a whole collection of indulgent treats and easy bakes waiting for you to try. Take a peek at more of my favorite desserts HERE
P.S. If you make this, take a picture and tag me or something. I love seeing how other people’s versions turn out. Plus, I’m weirdly competitive about whose apple crisp looks better.
Perfect Apple Crisp with Brown Butter
A foolproof apple crisp recipe with a secret brown butter ingredient that creates the perfect crispy oat topping and tender spiced apples. This family-tested recipe includes real cooking tips and troubleshooting advice from years of kitchen experiments.
Ingredients
- 6-8 medium apples, peeled and sliced
- 1/2 cup granulated sugar
- 2 tablespoons brown sugar
- 1 tablespoon lemon juice
- 1 teaspoon cinnamon
- 1/4 teaspoon nutmeg
- 2 tablespoons flour
- 1 cup old-fashioned oats
- 1 cup flour
- 1 cup brown sugar, packed
- 1/2 cup cold butter, cubed
- 1/2 teaspoon salt
- 1 teaspoon cinnamon
Instructions
-
Step 1Preheat oven to 350°F (175°C). Grease a 9x13-inch baking dish.
-
Step 2Peel and slice apples into uniform pieces.
-
Step 3In a large bowl, toss sliced apples with granulated sugar, 2 tablespoons brown sugar, lemon juice, 1 teaspoon cinnamon, nutmeg, and 2 tablespoons flour until evenly coated.
-
Step 4Spread apple mixture evenly in prepared baking dish.
-
Step 5Brown 2 tablespoons of butter in a small saucepan until nutty and fragrant, about 3 minutes. Set aside to cool.
-
Step 6In another bowl, combine oats, 1 cup flour, 1 cup brown sugar, salt, and 1 teaspoon cinnamon.
-
Step 7Add cold cubed butter and cooled brown butter to dry ingredients. Mix with pastry cutter or forks until mixture forms chunky, crumbly bits.
-
Step 8Sprinkle crisp topping evenly over apples without packing down.
-
Step 9Bake for 40-45 minutes until top is golden brown and apples are bubbling around edges.
-
Step 10Cool for 15 minutes before serving to allow filling to thicken.
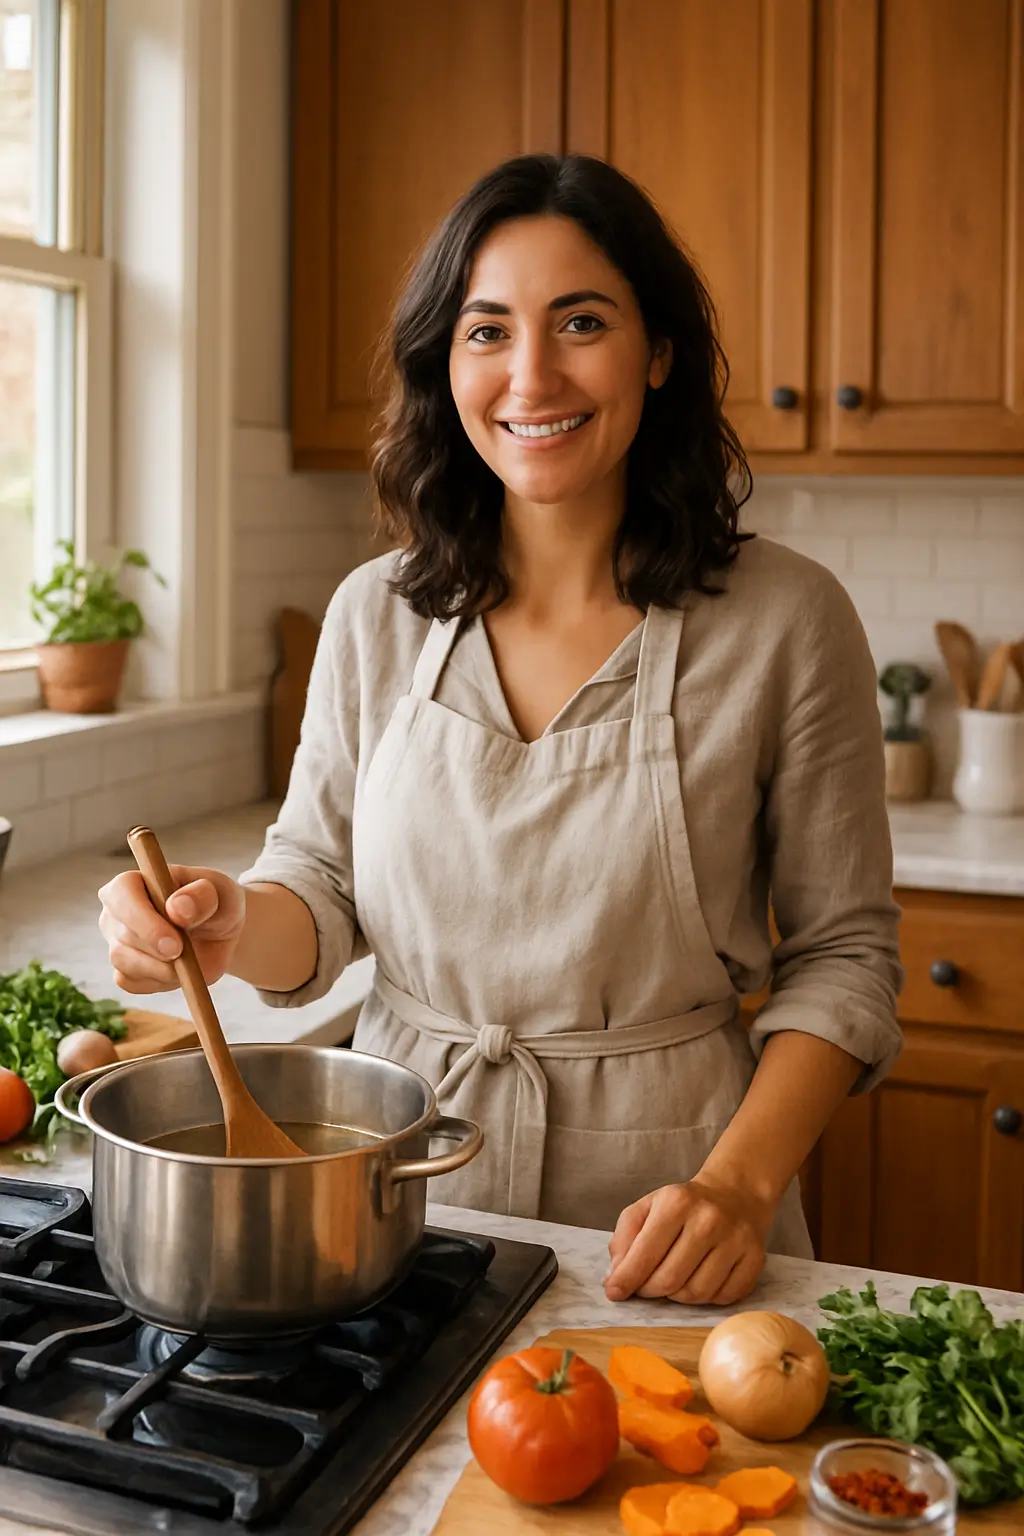
I’ve always found peace in the kitchen—it’s where I go to unwind, experiment, and reconnect. I started this blog because I wanted to share that feeling with others. My cooking journey started in a tiny apartment kitchen, with a second-hand skillet and a lot of trial and error.
Since then, I’ve learned that the best meals aren’t the most complicated—they’re the ones made with love (and maybe a little butter). Whether you’re a beginner or a kitchen pro, I hope you’ll feel right at home here.

