
The Ultimate Black Velvet Cake Recipe That’ll Make You Forget Red Velvet
You know that moment when you’re scrolling through social media and you see a cake so stunning it literally makes you stop mid-scroll? That’s exactly what happened to me the first time I saw a black velvet cake. I was sitting in my kitchen, coffee in hand, when this gorgeous, dramatic black cake popped up on my feed. It looked like something straight out of a fancy bakery, but I thought to myself, “There’s no way this is as complicated as it looks.”
Spoiler alert: I was right. This black velvet cake recipe has become my go-to showstopper dessert, and trust me, it’s way easier than people think. The first time I made it was for my sister’s birthday last year, and when I walked into the room carrying this deep, midnight-black cake, everyone went silent. Then the questions started flying: “Is it chocolate?” “How did you get it so black?” “Did you buy this from a bakery?”
The best part? It tastes incredible. Think of the most moist, tender chocolate cake you’ve ever had, but with this subtle cocoa richness that’s not overpowering. The black color comes from black cocoa powder, which gives it this amazing depth of flavor that regular cocoa just can’t match.
Table of Contents
Why You’ll Love This Black Velvet Cake
This isn’t just another chocolate cake recipe dressed up in dark colors. Black velvet cake has its own personality entirely. The texture is incredibly soft and velvety – hence the name – and it’s got this perfect balance of sweetness and rich cocoa flavor that makes it feel special without being too intense.
What I love most about this recipe is how it looks so professional but uses ingredients you probably already have in your pantry. The black cocoa powder is really the only specialty ingredient, and once you buy it, you’ll find yourself wanting to make this cake over and over again. I’ve made it for birthdays, dinner parties, and honestly, just random Tuesday nights when I needed something beautiful in my life.
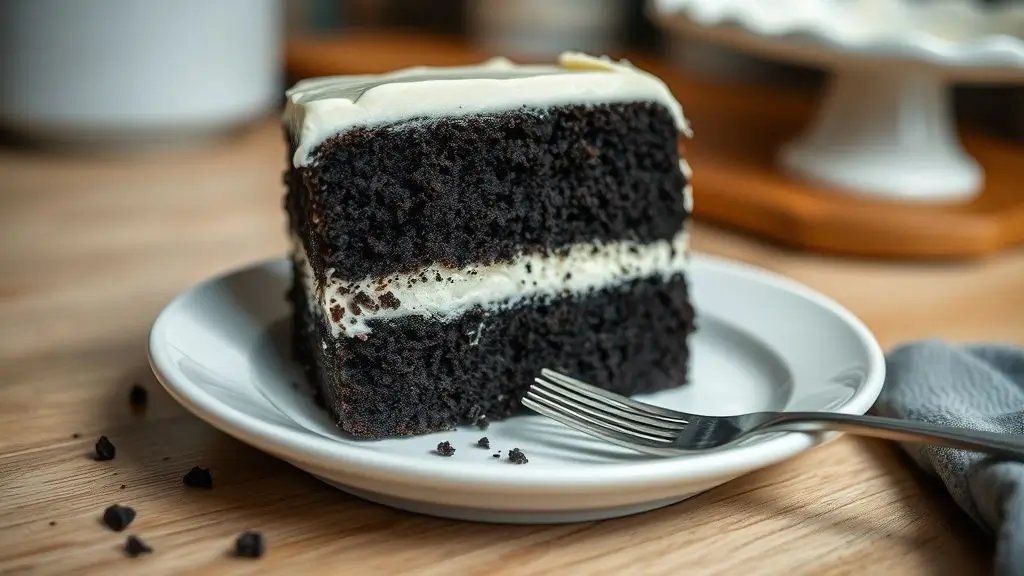
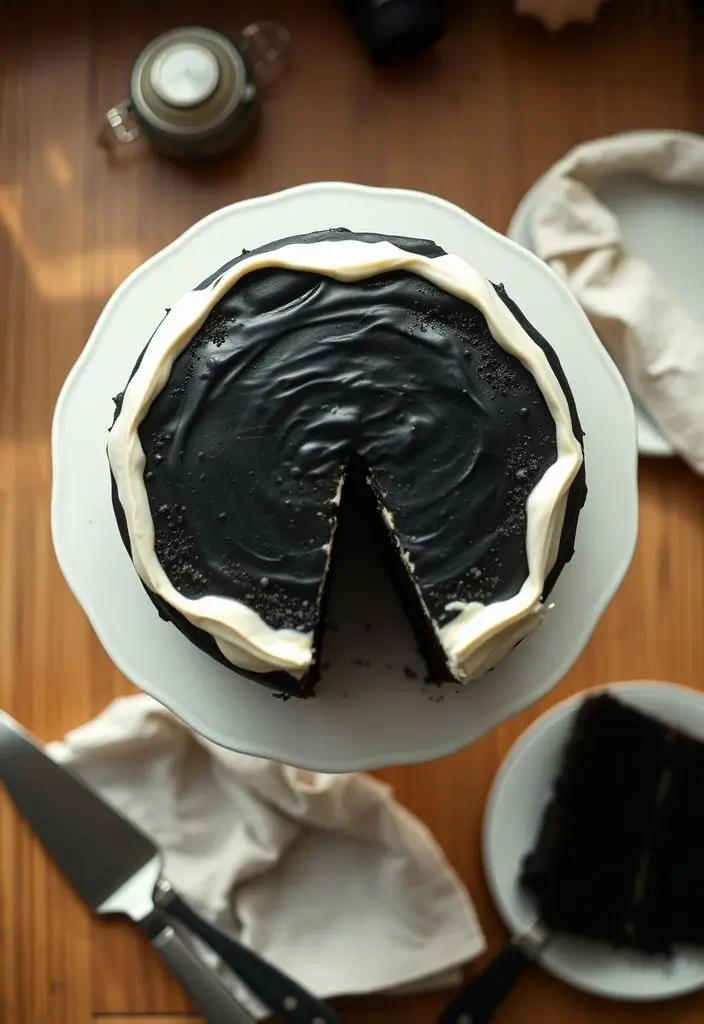
The contrast when you slice into it is absolutely stunning. That deep black exterior with whatever frosting color you choose – I’m partial to bright white cream cheese frosting or even a bold red buttercream for dramatic effect. It photographs like a dream too, which doesn’t hurt when you want to show off your baking skills.
What You’ll Need
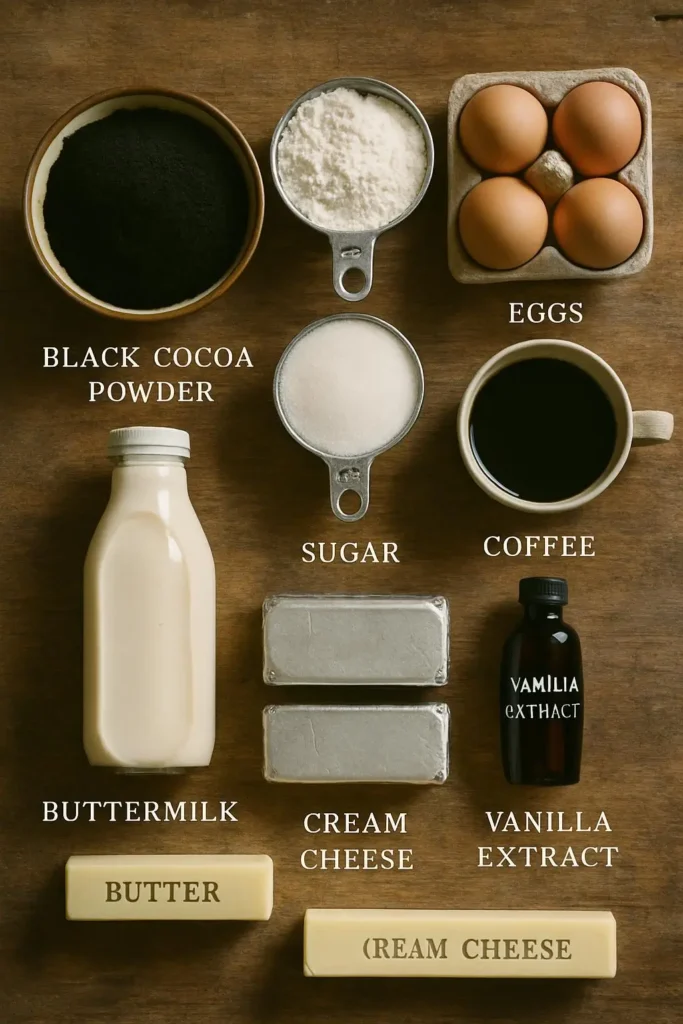
For the Black Velvet Cake:
- 2 cups all-purpose flour – I always use unbleached, but regular works perfectly fine
- 1¾ cups granulated sugar – don’t skimp on this; it helps create that tender crumb
- ¾ cup black cocoa powder – this is the star ingredient that gives the cake its dramatic color and unique flavor
- 2 teaspoons baking soda – make sure it’s fresh; old baking soda won’t give you the lift you need
- 1 teaspoon baking powder – double-check the expiration date on this one too
- 1 teaspoon salt – I use fine sea salt, but table salt works great
- 2 large eggs – room temperature works best for mixing
- 1 cup buttermilk – this is what makes the cake so incredibly moist
- 1 cup strong black coffee, cooled – don’t worry, you won’t taste coffee; it just enhances the chocolate flavor
- ½ cup vegetable oil – keeps the cake tender and moist
- 1 teaspoon vanilla extract – use the real stuff if you have it
For the Cream Cheese Frosting:
- 8 oz cream cheese, softened – leave it out for at least an hour before you start
- ½ cup butter, softened – same deal with the butter
- 4 cups powdered sugar – sift it if you want ultra-smooth frosting
- 2 teaspoons vanilla extract
- Pinch of salt
The black cocoa powder is definitely the key ingredient here. It’s different from regular cocoa powder – it’s been processed to remove more of the natural cocoa butter, which gives it that intense black color and slightly different flavor profile. I order mine online, but some specialty baking stores carry it. Trust me, it’s worth seeking out.
Let’s Make It
Step 1: Prep Your Pans and Oven
Preheat your oven to 350°F. I learned this the hard way – don’t skip the preheating step, even if you’re impatient like me. Grease two 9-inch round cake pans with butter, then dust them with a little black cocoa powder instead of flour. This prevents any white spots on your finished cake and keeps that dramatic black color intact.
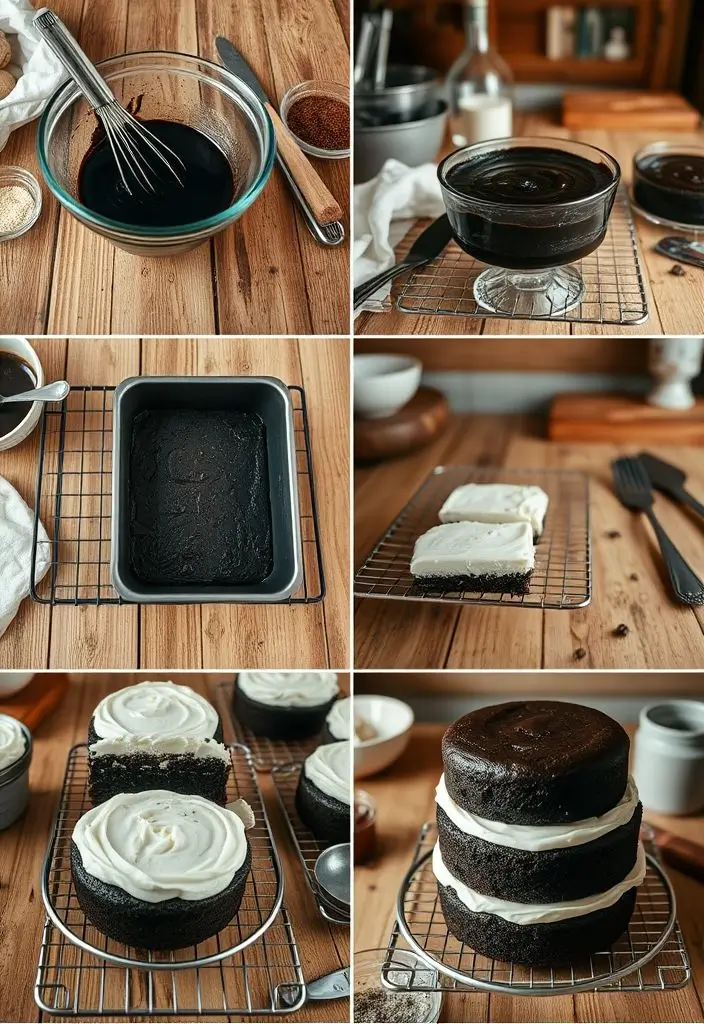
Step 2: Mix the Dry Ingredients
In a large bowl, whisk together the flour, sugar, black cocoa powder, baking soda, baking powder, and salt. I like to use a big mixing bowl for this because you’ll be adding wet ingredients to the same bowl. Make sure everything is well combined – sometimes the cocoa powder likes to clump, so give it a good whisk.
Step 3: Combine the Wet Ingredients
In a separate bowl, whisk together the eggs, buttermilk, coffee, oil, and vanilla. The mixture might look a little weird at first – that’s totally normal. The coffee will make everything look very dark and rich, which is exactly what we want.
Step 4: Bring It All Together
Pour the wet ingredients into the dry ingredients and mix until just combined. Don’t overmix – I made this mistake with my first attempt and ended up with a tough cake. You want to mix until you can’t see any dry flour, but don’t worry if there are a few small lumps. The batter will be quite thin, which might surprise you if you’re used to thicker cake batters.
Step 5: Bake to Perfection
Divide the batter evenly between your prepared pans. I use a kitchen scale to make sure they’re even, but eyeballing it works too. Bake for 28-32 minutes, or until a toothpick inserted in the center comes out with just a few moist crumbs clinging to it. Don’t overbake – this cake is supposed to be incredibly moist.
Step 6: Cool Completely
Let the cakes cool in their pans for about 10 minutes, then turn them out onto wire racks to cool completely. This is crucial – if you try to frost a warm cake, your frosting will melt into a mess. I learned this lesson the hard way on my second attempt.
Making the Perfect Cream Cheese Frosting
While your cakes are cooling, make the frosting. Beat the softened cream cheese and butter together until light and fluffy – this takes about 3-4 minutes with an electric mixer. Gradually add the powdered sugar, one cup at a time, beating well after each addition. Add the vanilla and salt, then beat for another minute until everything is smooth and creamy.
The key to perfect cream cheese frosting is making sure both the cream cheese and butter are properly softened. If they’re too cold, you’ll end up with lumps. If they’re too warm, the frosting will be too soft to pipe or spread nicely.
Assembly and Serving
Once your cakes are completely cool, place one layer on your serving plate. Spread about a third of the frosting on top, then add the second layer. Use the remaining frosting to cover the top and sides. I like to keep it somewhat rustic – perfect smooth frosting is overrated in my opinion.
The contrast between the deep black cake and white frosting is absolutely stunning. If you want to get fancy, you can pipe some decorative borders or add fresh berries on top. I’ve also made this with chocolate buttercream for a completely decadent, all-black presentation.
Tips from My Kitchen
Make it ahead: This cake actually tastes better the next day. The flavors meld together, and the texture becomes even more tender. I often make it the night before a party.
Storage: Keep it covered in the refrigerator for up to 5 days. The cream cheese frosting needs to stay cold, but let it come to room temperature for about 30 minutes before serving for the best texture.
Frosting consistency: If your frosting is too thick, add a tablespoon of milk or cream. If it’s too thin, add more powdered sugar a quarter cup at a time.
Coffee substitute: Don’t drink coffee? You can substitute hot water, but the coffee really does enhance the chocolate flavor without making the cake taste like coffee.
Cocoa powder storage: Store your black cocoa powder in an airtight container in a cool, dry place. It’ll keep for ages, and you’ll definitely want to make this cake again.
This black velvet cake has become my signature dessert, and I hope it becomes yours too. There’s something so satisfying about creating something that looks this impressive but is actually quite straightforward to make. Every time I serve it, I feel like I’m sharing a little piece of baking magic with the people I care about.

I’ve always found peace in the kitchen—it’s where I go to unwind, experiment, and reconnect. I started this blog because I wanted to share that feeling with others. My cooking journey started in a tiny apartment kitchen, with a second-hand skillet and a lot of trial and error.
Since then, I’ve learned that the best meals aren’t the most complicated—they’re the ones made with love (and maybe a little butter). Whether you’re a beginner or a kitchen pro, I hope you’ll feel right at home here.