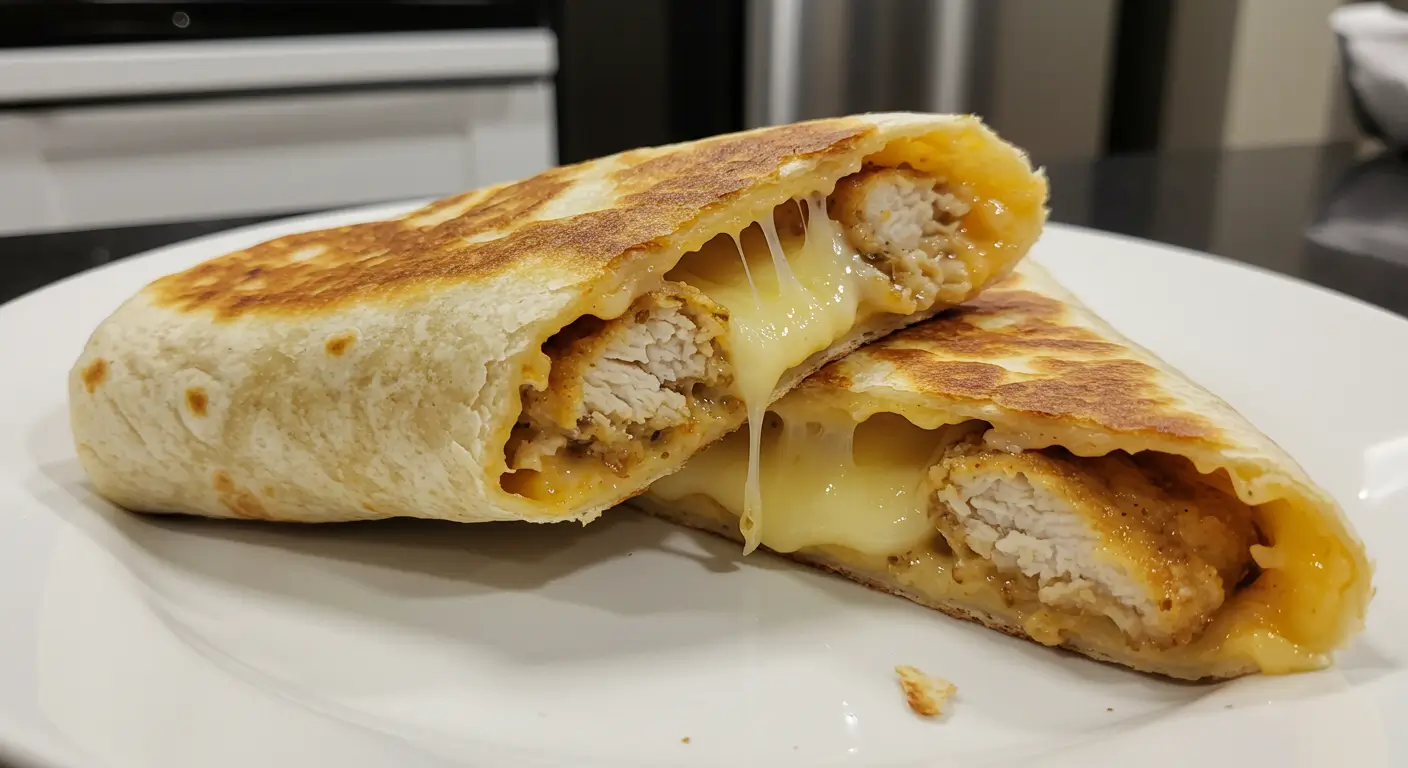
Ooey-Gooey Cheesy Garlic Chicken Wraps That’ll Make You Forget About Takeout
Okay, so I messed this up three times before getting it right. And honestly? I’m still not sure how I managed to nail it on attempt number four, but here we are.
Everyone keeps asking for this recipe after I posted that slightly blurry Instagram story last week (you know, the one where I was way too excited about melted cheese at 9 PM). So here goes nothing.
Look, I’m gonna be honest with you. I’m not a chef. I’m just someone who got really tired of spending twenty bucks on mediocre wraps from that place down the street. You know the one – they skimp on the chicken and their garlic sauce tastes like disappointment.
Table of Contents
How This Whole Thing Started (Spoiler: It Was Chaos)
This recipe came about because I had leftover rotisserie chicken that was about to go bad, some tortillas that were getting a little sad, and a serious craving for something cheesy and garlicky. I think I got the original idea from my aunt… or maybe it was Pinterest? Honestly can’t remember. My brain’s like a sieve sometimes.
The first attempt was basically cardboard wrapped in more cardboard. Disaster. Complete disaster.
Second try, I burned the garlic because my neighbor knocked on the door right at the worst possible moment. Have you ever smelled burnt garlic? It’s like disappointment mixed with regret.
Third time, I got distracted by a TikTok video (don’t judge me) and everything turned into some kind of weird, dry mess that even my dog wouldn’t touch. And she eats literal garbage sometimes.
But fourth time? Magic happened.
Now, here’s the thing about these chicken wraps – they’re not fancy. They won’t win any food photography contests. But they’re good. Like, really good. The kind of good that makes you do that little happy dance while you’re eating. My 8-year-old refuses to eat anything green, but somehow loves these wraps. Kids are weird.
What You’ll Need (Shopping List from Someone Who Actually Shops)
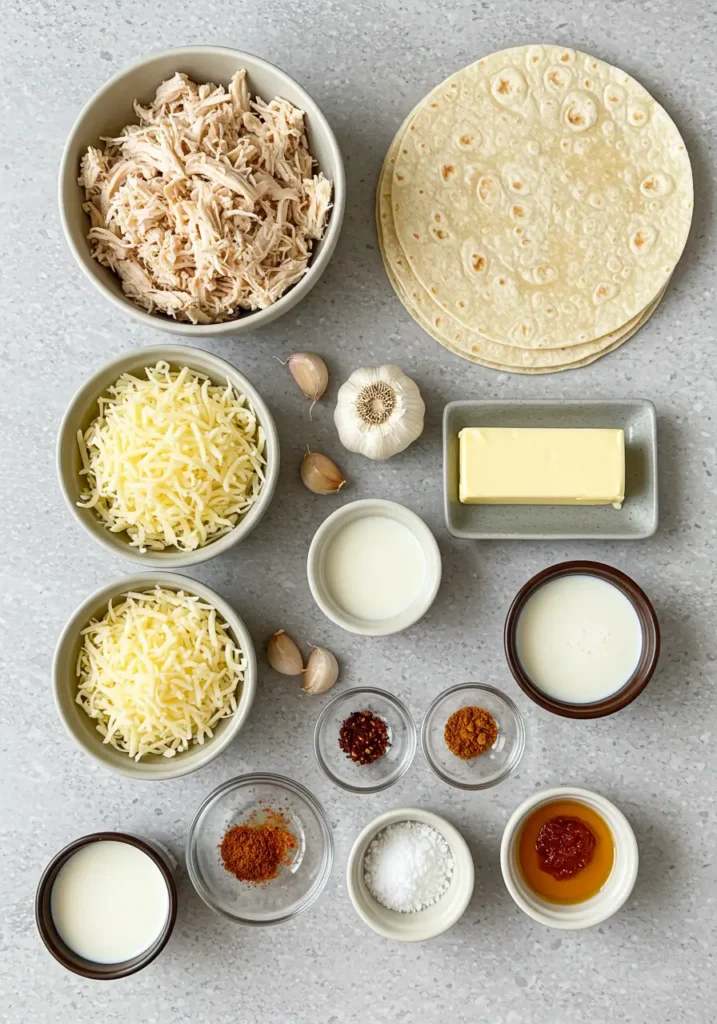
For the Chicken:
- 2 cups cooked chicken, shredded (rotisserie works great, or leftover grilled chicken)
- 3 cloves garlic, minced (I’m obsessed with garlic, so I use way more than called for)
- 2 tablespoons olive oil
- 1 teaspoon paprika
- 1/2 teaspoon onion powder
- Salt and pepper to taste
- 1 tablespoon butter (because butter makes everything better)
For the Cheese Sauce (This is Where the Magic Happens):
- 4 tablespoons butter
- 3 tablespoons all-purpose flour
- 1 1/2 cups whole milk (don’t use skim, trust me on this one)
- 1 1/2 cups shredded cheddar cheese (don’t buy pre-shredded cheese. Just don’t. It’s gross)
- 1/2 cup cream cheese, softened
- 2 cloves garlic, minced
- 1/4 teaspoon garlic powder (yes, more garlic, fight me)
- Pinch of cayenne pepper (optional, but recommended)
For Assembly:
- 6 large flour tortillas (the burrito-sized ones work best)
- 1 cup shredded mozzarella cheese
- 1/2 cup shredded cheddar cheese
- 2 tablespoons fresh parsley, chopped (or dried if you’re normal like me)
- Cooking spray or butter for the pan
Good luck finding decent tortillas this time of year – I swear they’re either too thick or they fall apart if you look at them wrong. I usually grab the Mission brand ones because they don’t completely disintegrate when you’re trying to wrap them.
Let’s Make These Wraps (Step-by-Step Kitchen Chaos)
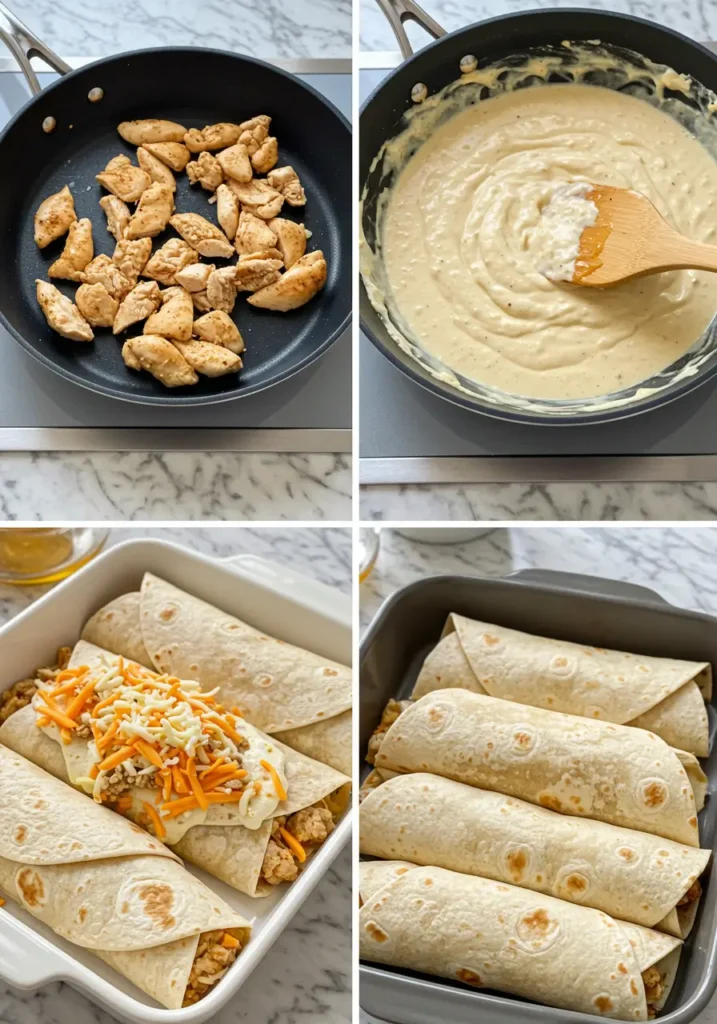
Step 1: Get Your Chicken Situation Sorted
First things first – if you’re using leftover chicken, great. If not, just grab a rotisserie chicken from the store. Life’s too short to cook chicken from scratch every time you want a decent meal.
Heat the olive oil in a large skillet over medium heat. Add the minced garlic and let it get all fragrant and amazing. Don’t walk away during this part! I learned this the hard way. Burnt garlic is the enemy of everything good in this world.
Toss in your shredded chicken, paprika, onion powder, salt, and pepper. Stir it around for about 3-4 minutes until everything’s heated through and smells incredible. Add that tablespoon of butter at the end because, again, butter makes everything better.
Set this aside and try not to eat it all with a fork like I did the first time.
Step 2: The Cheese Sauce (Don’t Panic)
Now, here’s where people usually freak out. Making cheese sauce sounds scary, but it’s really not that bad. Well, unless you’re me and you’ve burned it twice.
In the same skillet (don’t clean it – those flavor bits are gold), melt the 4 tablespoons of butter over medium-low heat. And I mean medium-LOW. Not medium. Not medium-high because you’re impatient. Low.
Whisk in the flour and cook for about a minute. It’ll look like paste. That’s normal. Don’t panic.
Slowly – and I mean SLOWLY – pour in the milk while whisking constantly. This is where I usually mess up because I get impatient and dump it all in at once. Don’t be like me. Take your time.
Keep whisking until the mixture thickens, about 3-5 minutes. It should coat the back of a spoon. Add the minced garlic and garlic powder, then remove from heat.
Stir in the cream cheese first (it melts easier), then gradually add the shredded cheddar. The key is—oh wait, I forgot to mention—the pan should be OFF the heat when you add the cheese. Otherwise, it gets all weird and grainy. Learned this the hard way.
Add that pinch of cayenne if you want a tiny bit of kick. Not enough to make it spicy, just enough to make people wonder what that flavor is.
Step 3: Assembly Time (This Is Where It Gets Messy)
Preheat your oven to 400°F. Or don’t preheat it and add five extra minutes to the cooking time. I’m not your mom.
Lay out your tortillas on a clean surface. Spread about 2-3 tablespoons of that gorgeous cheese sauce down the center of each tortilla. Don’t go crazy with it or you’ll have a leaky mess later.
Add about 1/3 cup of the garlic chicken mixture on top of the cheese sauce. Sprinkle some of the mozzarella and cheddar cheese over the chicken. Not too much or it won’t wrap properly.
Now comes the tricky part – rolling these things up without everything falling out. Start at one end and roll tightly, tucking in the sides as you go. It’s like wrapping a present, except the present is dinner and if you mess up, everyone’s hungry.
Step 4: The Final Magic
Spray a baking dish with cooking spray or grease it with butter. Place the wraps seam-side down in the dish. This is important – seam-side DOWN or they’ll unroll and you’ll have a casserole instead of wraps. Not that there’s anything wrong with casseroles, but that’s not what we’re making here.
Brush the tops with a little melted butter and sprinkle the remaining cheese over everything. Because more cheese is always the answer.
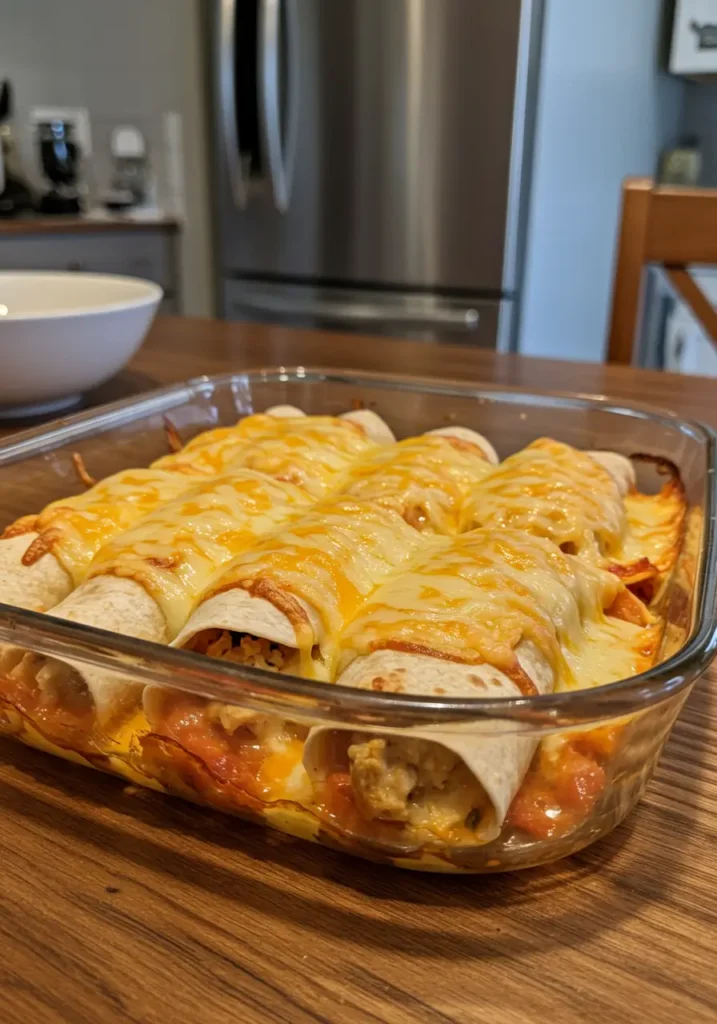
Bake for 15-20 minutes until the tops are golden brown and the cheese is all bubbly and gorgeous. Set timer for 15 minutes, then inevitably forget and panic at 20.
Let them cool for about 5 minutes before cutting. I know it’s torture, but if you cut them immediately, all the cheese will ooze out and you’ll have a delicious but ugly mess.
Tips From Someone Who’s Made Every Mistake Possible
About the Chicken: You can use any cooked chicken you want. Grilled, baked, rotisserie, leftover from last night’s dinner. I’ve even used those pre-cooked chicken strips from Costco when I was feeling lazy. No judgment here.
Cheese Situation: Use good cheese. I mean it. That pre-shredded stuff has anti-caking agents that make the sauce weird and grainy. Just buy a block and grate it yourself. Your arms can handle five minutes of grating.
Tortilla Talk: Make sure your tortillas are room temperature before you start wrapping. Cold tortillas crack, and nobody wants a cracked wrap. Trust me on this one.
Leftover Life: These actually reheat pretty well. Just wrap them in a damp paper towel and microwave for about a minute. Not as good as fresh, but still totally edible.
Kid-Friendly Modifications: My neighbor’s kids eat these with ranch dressing. Adults don’t ask why. Sometimes you just gotta pick your battles.
What Went Wrong (So You Don’t Have To)
First attempt: I used too much cheese sauce and not enough chicken. It was basically a cheese soup wrap. Messy and weird.
Second attempt: Burnt garlic. End of story.
Third attempt: I tried to make it “healthier” by using low-fat cheese and skim milk. Don’t do this. Just don’t. Some things aren’t meant to be healthy, and this is one of them.
Fourth attempt: Perfect. Well, mostly perfect. I may have gotten a little teary-eyed when my husband said it was better than the restaurant version we used to order.
The Real Talk Section
These wraps aren’t going to change your life or anything. They’re not fancy. They won’t impress your foodie friends who can’t stop talking about their sourdough starter.
But they’re good. Really good. The kind of good that makes you forget about ordering takeout. The kind of good that makes your kitchen smell amazing. The kind of good that makes you feel like maybe you’ve got this whole cooking thing figured out, at least for tonight.
And honestly? In a world where everything feels complicated and expensive, sometimes you just need something simple and cheesy and garlicky that makes you happy. This is that thing.
My whole family devours these things. Even my mother-in-law asked for the recipe, and she usually acts like my cooking is some kind of science experiment. So that’s saying something.
Serving Suggestions (From Real Life)
We usually eat these with some simple side salad because I feel like I should include something green. The kids eat them with ketchup (don’t ask me why), and honestly, they’re not wrong. Sometimes I serve them with some of those frozen sweet potato fries because I’m fancy like that.
They’re also great for meal prep if you’re into that sort of thing. Make a batch on Sunday, and you’ve got lunches for the week. Though they never last that long in my house.
Oh, and another thing – these are perfect for using up random leftovers. Got some leftover roasted vegetables? Throw them in. Some bacon bits? Why not. A handful of spinach to make yourself feel better about the cheese situation? Go for it.
Final Thoughts (Because I Ramble)
Look, I’m not saying these are the best wraps in the world. I’m just saying they’re really good, they’re easy to make once you get the hang of it, and they use ingredients you probably already have in your kitchen.
Plus, there’s something deeply satisfying about making something this delicious from scratch. Well, sort of from scratch. We’re using rotisserie chicken and pre-made tortillas, so let’s not get carried away.
If I can make these without burning down my kitchen (which, let’s be honest, was touch and go there for a while), anyone can make them.
Seriously, try these and let me know how yours turn out! Anyone else have tricks for making them even better? I’m always looking for ways to improve my limited cooking repertoire.
Happy cooking! (And may your smoke alarms stay quiet and your cheese sauce stay smooth)
Now I’m craving these again. Thanks a lot, brain. 😊
Ooey-Gooey Cheesy Garlic Chicken Wraps
These ooey-gooey cheesy garlic chicken wraps are loaded with seasoned chicken, homemade cheese sauce, and melted cheese wrapped in golden tortillas. Better than takeout and perfect for family dinners or meal prep.
Ingredients
- 2 cups cooked chicken, shredded
- 3 cloves garlic, minced
- 2 tablespoons olive oil
- 1 teaspoon paprika
- 1/2 teaspoon onion powder
- Salt and pepper to taste
- 1 tablespoon butter
- 4 tablespoons butter (for sauce)
- 3 tablespoons all-purpose flour
- 1 1/2 cups whole milk
- 1 1/2 cups shredded cheddar cheese
- 1/2 cup cream cheese, softened
- 2 cloves garlic, minced (for sauce)
- 1/4 teaspoon garlic powder
- Pinch of cayenne pepper (optional)
- 6 large flour tortillas
- 1 cup shredded mozzarella cheese
- 1/2 cup shredded cheddar cheese (for topping)
- 2 tablespoons fresh parsley, chopped
- Cooking spray or butter for the pan
Instructions
-
Step 1Preheat oven to 400°F (200°C). Heat olive oil in a large skillet over medium heat.
-
Step 2Add 3 minced garlic cloves to the skillet and cook until fragrant, about 30 seconds.
-
Step 3Add shredded chicken, paprika, onion powder, salt, and pepper. Cook for 3-4 minutes until heated through. Add 1 tablespoon butter and stir. Set aside.
-
Step 4In the same skillet, melt 4 tablespoons butter over medium-low heat. Whisk in flour and cook for 1 minute.
-
Step 5Slowly pour in milk while whisking constantly. Cook until thickened, about 3-5 minutes.
-
Step 6Remove from heat. Add minced garlic, garlic powder, cream cheese, and 1 1/2 cups cheddar cheese. Stir until smooth. Add cayenne if using.
-
Step 7Spread 2-3 tablespoons cheese sauce down the center of each tortilla. Add 1/3 cup chicken mixture and sprinkle with mozzarella and cheddar.
-
Step 8Roll tortillas tightly, tucking in sides. Place seam-side down in greased baking dish.
-
Step 9Brush tops with melted butter and sprinkle remaining cheese on top.
-
Step 10Bake for 15-20 minutes until golden brown and cheese is bubbly. Let cool 5 minutes before serving.

I’ve always found peace in the kitchen—it’s where I go to unwind, experiment, and reconnect. I started this blog because I wanted to share that feeling with others. My cooking journey started in a tiny apartment kitchen, with a second-hand skillet and a lot of trial and error.
Since then, I’ve learned that the best meals aren’t the most complicated—they’re the ones made with love (and maybe a little butter). Whether you’re a beginner or a kitchen pro, I hope you’ll feel right at home here.
