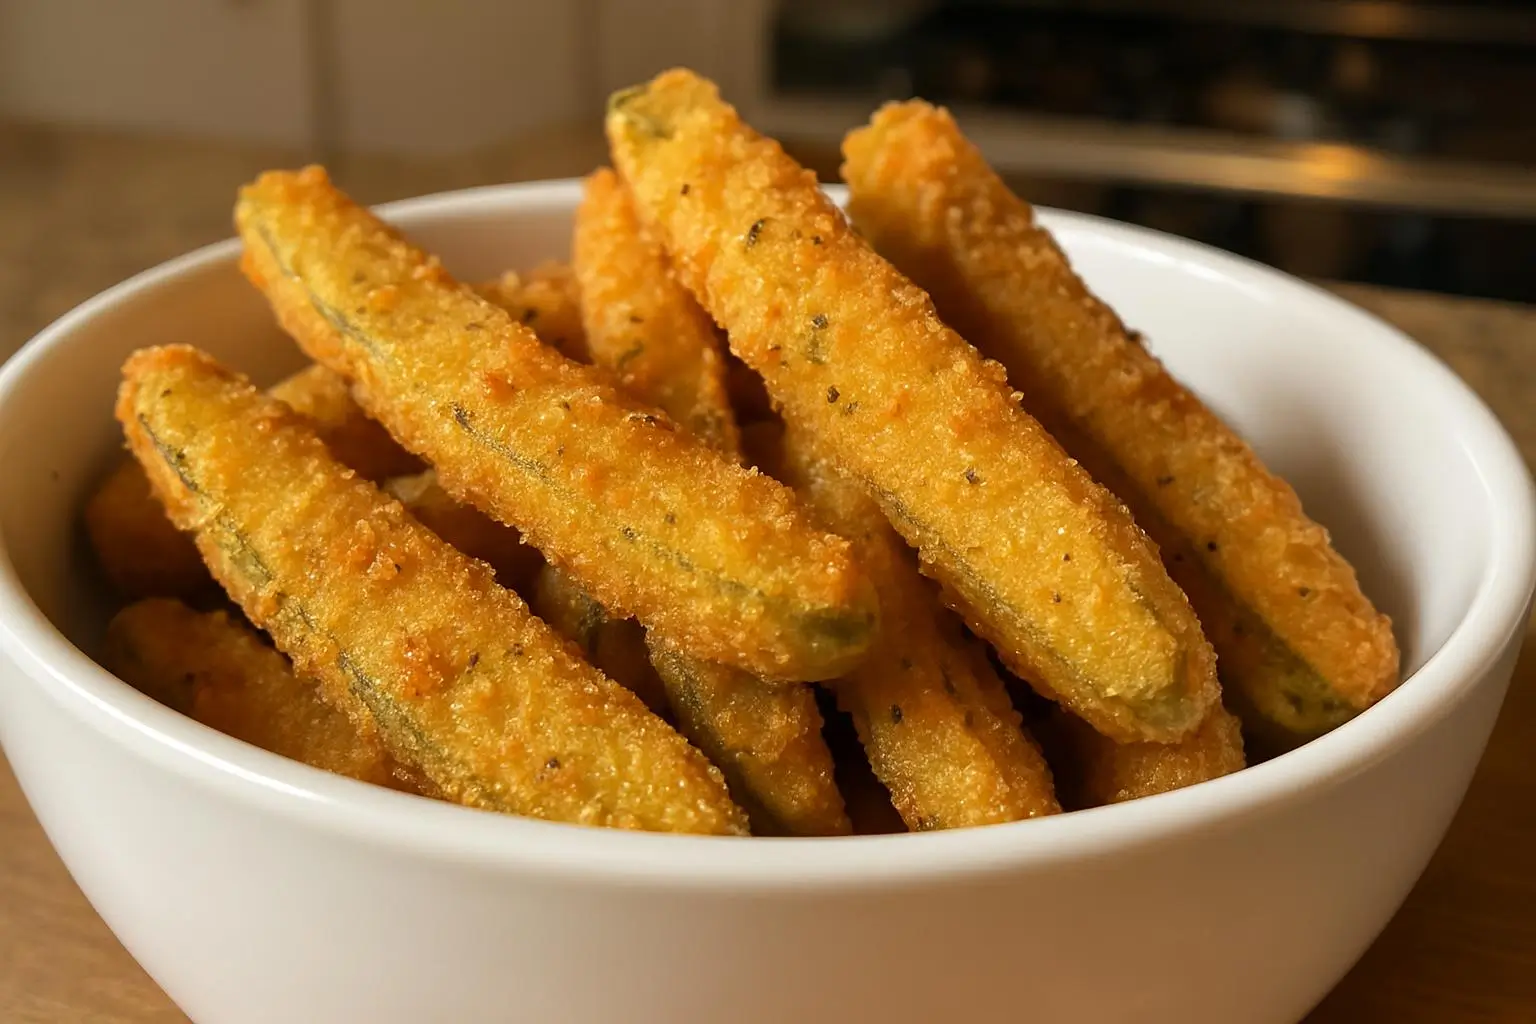
The Crispy Dill Pickle Fries That Broke My Kitchen (In the Best Way)
Okay, so I messed this up three times before getting it right. And by “messed up,” I mean my smoke alarm went off twice and I may have cried a little the first time. But everyone keeps asking for this recipe after I posted a blurry photo on Instagram last month, so here goes nothing.
Look, I’m gonna be honest with you. This whole thing started because I was craving something salty and crunchy at like 9 PM on a Tuesday, and all I had were these sad leftover pickle spears from last week’s burger night. My 8-year-old refuses to eat anything green, but somehow loves these crispy dill pickle fries. Go figure.
Table of Contents
How This Pickle Obsession Started
I think I got this idea from my aunt… or maybe it was Pinterest? Honestly can’t remember. What I do know is that the first version was basically cardboard with pickle juice. Disaster. Complete disaster.
The key is—oh wait, I forgot to mention—you need to get the moisture out of those pickles first. Last Tuesday, I completely skipped this step because my neighbor knocked on the door, and let me tell you, soggy pickle fries are not a thing you want to experience.
Now, here’s the thing about pickle fries. They’re not fancy. They’re not Instagram-perfect. But they’re addictive in that weird way where you eat one and suddenly the whole batch is gone. My husband calls them “bar food for people who don’t go to bars,” which is… actually pretty accurate.
What You’ll Need (Shopping Stories Included)
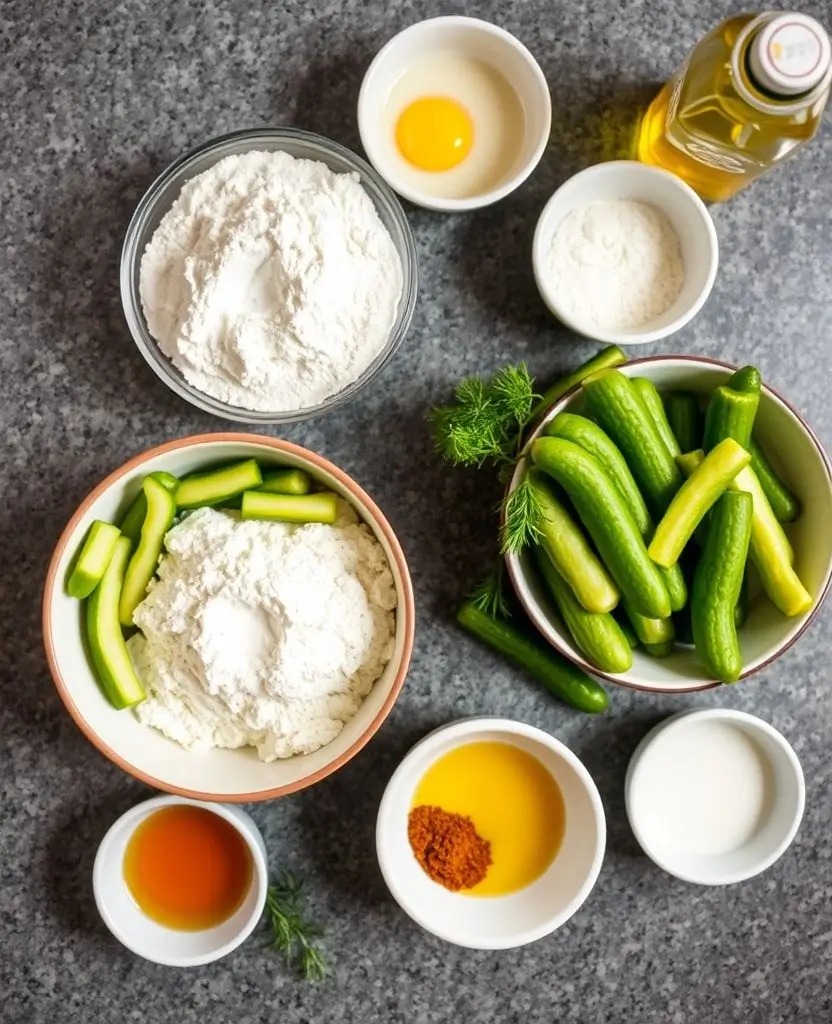
Don’t buy the tiny cocktail pickles for this. Just don’t. I tried once thinking “smaller = crispier” and ended up with pickle dust. Get the big dill spears – the cheap ones work fine. Good luck finding decent ones this time of year though; seems like every grocery store stocks the mushy ones in winter.
The Ingredients:
- 6-8 large dill pickle spears (drain them good)
- 1 cup all-purpose flour
- 1/2 cup cornmeal (this is what makes them CRISPY – don’t skip it)
- 1/2 cup buttermilk (or regular milk if you’re normal like me)
- 1 large egg
- 1 teaspoon garlic powder (I use way more because I’m obsessed with garlic)
- 1/2 teaspoon paprika
- 1/2 teaspoon onion powder
- Salt and pepper to taste
- Oil for frying (vegetable oil works great)
Used Greek yogurt once when I ran out of buttermilk. Worked fine, but the batter was thicker. Also tried with almond milk during my brief “healthy eating” phase last year. Don’t ask.
The Process (Real Kitchen Talk)
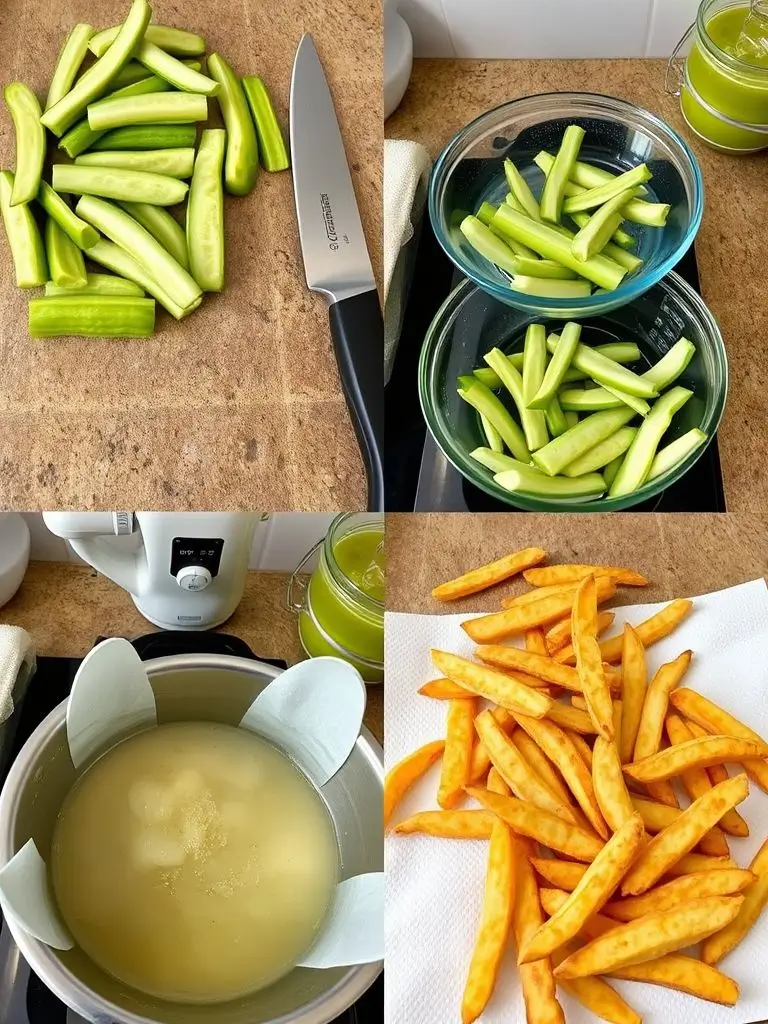
Step 1: Cut those pickles into fry-shaped strips. Not too thin or they’ll fall apart, not too thick or they won’t cook through. I learned this the hard way when my first batch looked like green logs.
Step 2: Pat them dry with paper towels. Like, really dry. I use about half a roll of paper towels for this step, and my environmentalist neighbor probably judges me, but it’s necessary.
Step 3: Mix your dry ingredients in one bowl. Don’t use a whisk for this. Trust me. Spoon works better and doesn’t create those annoying flour clouds that make you sneeze.
Step 4: In another bowl, whisk together buttermilk and egg. It’ll look weird at first, kinda lumpy and gross, but that’s normal. Keep whisking until smooth.
Step 5: Heat your oil to 350°F. If you don’t have a thermometer (I don’t), drop a tiny bit of batter in. If it sizzles immediately, you’re good. If it just sits there, wait longer. If it explodes, your oil is too hot and you should probably step back.
Step 6: Dip each pickle strip in the wet mixture, then roll in the dry mixture. Some pieces won’t coat perfectly. That’s fine. We’re going for “homemade charm,” not perfection.
Step 7: Carefully place coated pickles in hot oil. Don’t overcrowd them or they’ll stick together and you’ll have pickle clumps instead of fries. Set timer for 3-4 minutes, then inevitably forget and panic at 5 minutes.
Step 8: They’re done when golden brown and floating. Remove with slotted spoon and drain on paper towels. Salt them immediately while they’re hot – the salt sticks better this way.
The Things I Wish Someone Had Told Me
Actually, you know what? The coating falls off sometimes. Just accept it. I spent weeks trying to perfect the “restaurant-style” coating until I realized that slightly imperfect pickle fries taste just as good.
Also, make extra. I’m serious about this. The first batch disappears before the second batch is done cooking. It’s like some kind of pickle fry law.
Don’t try to reheat these in the microwave. They turn into sad, soggy disappointments. If you have leftovers (which you won’t), pop them in a 400°F oven for a few minutes to crisp them back up.
My Favorite Ways to Eat These
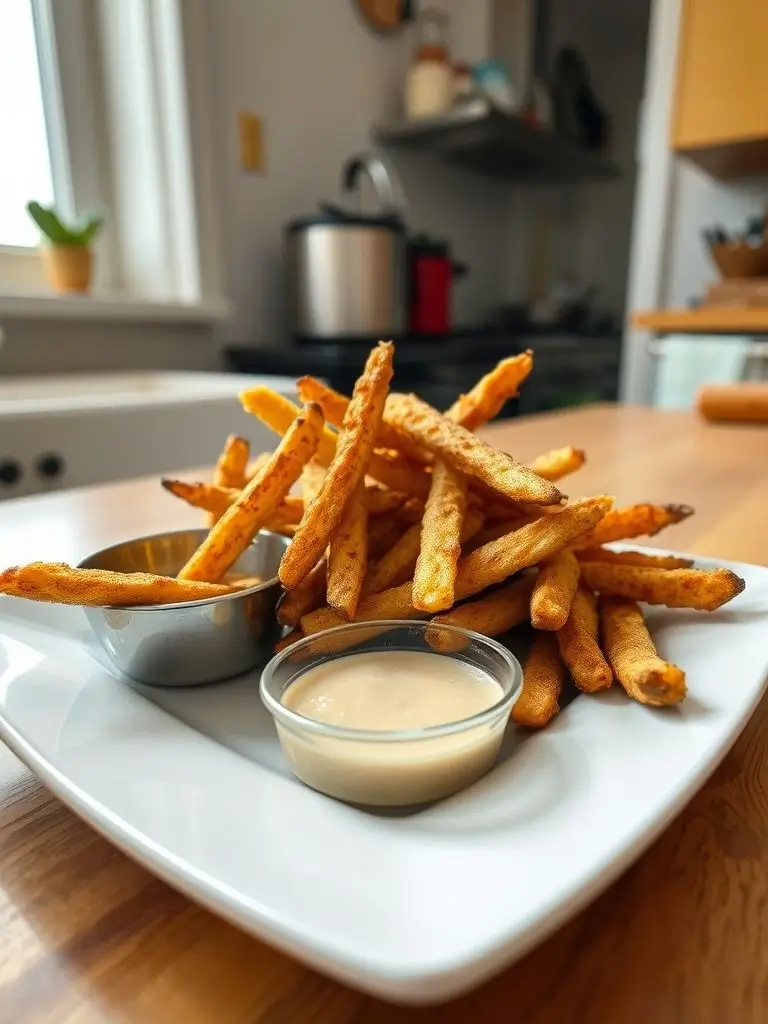
Kids eat these with ketchup. Adults don’t ask why. I personally love them with ranch dressing, but I also put ranch on pizza, so maybe don’t take my advice.
Speaking of sauces, have you tried them with comeback sauce? It’s this Southern thing my college roommate introduced me to. Mayo, ketchup, hot sauce, and some other stuff I can never remember. Divine with pickle fries.
Wait, I almost forgot the best part. These are amazing with burgers or as a side dish. Like, instead of regular fries, serve these alongside your burger and watch people’s minds explode. Found out by accident when I was too lazy to make regular fries one night.
When Things Go Wrong (Because They Will)
If you burn the bottom (been there), just scrape it off and keep going. The slightly charred bits actually add flavor, though don’t tell anyone I said that.
Oil too hot? Your pickles will be dark on the outside and cold in the middle. Turn down the heat and be patient. I know it’s hard, but trust me on this one.
Coating not sticking? Your pickles are probably too wet still. Pat them dry again and try coating them twice. Sometimes I do a light flour dusting first, then the wet mixture, then the main coating. It’s extra work but it helps.
The Honest Truth About These Fries
Are they healthy? Absolutely not. Are they worth the calories? Oh yeah. Will you make them again? Probably next weekend.
This drove me crazy until I figured out the moisture thing, but now I’m so proud when they turn out crispy that I get a little teary-eyed. My neighbor Sarah swears by adding a pinch of cayenne to the coating, but I like them as-is.
Anyway, if I can make these without burning down my kitchen (only happened once, and that was unrelated… mostly), anyone can. The key is not taking them too seriously. They’re pickle fries, not rocket science.
One Last Thing…
Am I the only one who thinks these would be amazing at tailgates? I’m planning to try them for our next football party, assuming I can transport them without the coating falling off. Still working on that logistics problem.
Let me know how yours turn out! Seriously, try this and tell me what you think. I’m curious if anyone else has tricks for making these even better.
Happy cooking! (and may your smoke alarms stay quiet) 😊
Recipe Card Summary
Prep Time: 15 minutes
Cook Time: 15 minutes
Total Time: 30 minutes
Serves: 4-6 people (or 2 very hungry people)
Perfect for game day, late-night cravings, or impressing people who think you’re fancy. Spoiler alert: you’re not, but they don’t need to know that.
Crispy Dill Pickle Fries
Irresistibly crispy dill pickle fries with a golden coating that's perfect for game day or late-night cravings. Easy homemade recipe using simple ingredients to create restaurant-quality pickle fries in your own kitchen.
Ingredients
- 6-8 large dill pickle spears, drained
- 1 cup all-purpose flour
- 1/2 cup cornmeal
- 1/2 cup buttermilk
- 1 large egg
- 1 teaspoon garlic powder
- 1/2 teaspoon paprika
- 1/2 teaspoon onion powder
- Salt and pepper to taste
- Vegetable oil for frying
Instructions
-
Step 1Cut pickle spears into fry-shaped strips and pat completely dry with paper towels.
-
Step 2In one bowl, mix flour, cornmeal, garlic powder, paprika, onion powder, salt, and pepper.
-
Step 3In another bowl, whisk together buttermilk and egg until smooth.
-
Step 4Heat oil to 350°F in a deep pan or fryer.
-
Step 5Dip each pickle strip in wet mixture, then coat thoroughly in dry mixture.
-
Step 6Carefully place coated pickles in hot oil, avoiding overcrowding.
-
Step 7Fry for 3-4 minutes until golden brown and floating.
-
Step 8Remove with slotted spoon and drain on paper towels.
-
Step 9Season immediately with salt while hot and serve with dipping sauce.
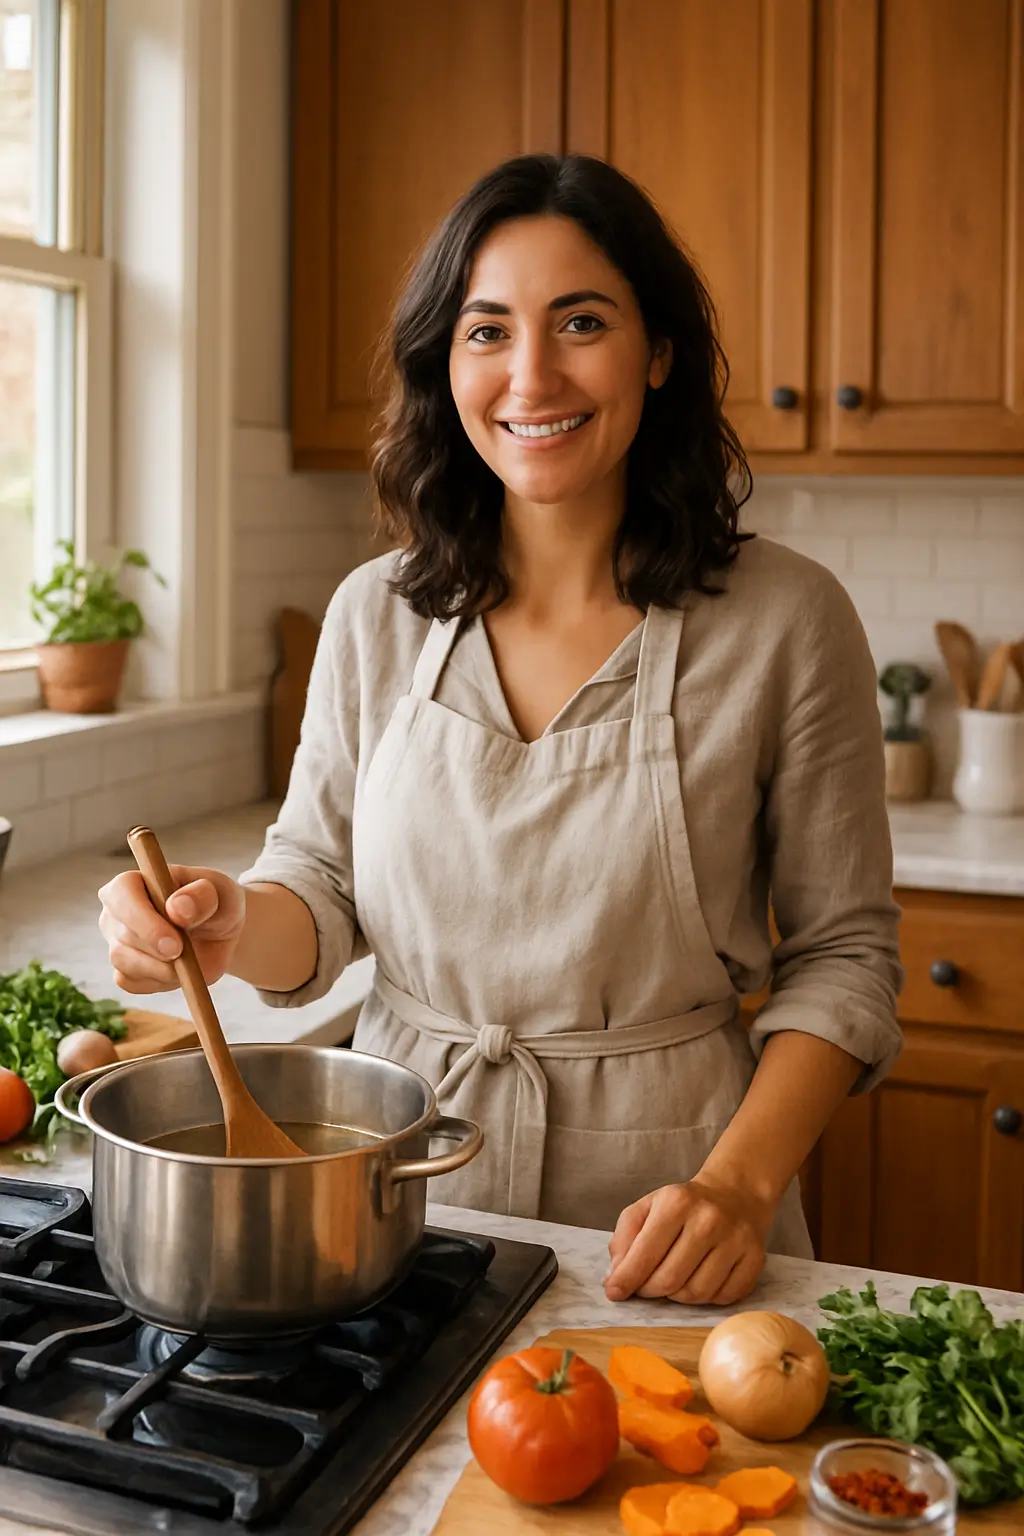
I’ve always found peace in the kitchen—it’s where I go to unwind, experiment, and reconnect. I started this blog because I wanted to share that feeling with others. My cooking journey started in a tiny apartment kitchen, with a second-hand skillet and a lot of trial and error.
Since then, I’ve learned that the best meals aren’t the most complicated—they’re the ones made with love (and maybe a little butter). Whether you’re a beginner or a kitchen pro, I hope you’ll feel right at home here.

