Crispy Potato Rings Recipe – The Ultimate Lunchbox Game-Changer
Okay, so here’s the deal – I was getting SO tired of packing the same boring lunches for my kid every single day. PB&J, goldfish crackers, apple slices… rinse and repeat. Sound familiar? And don’t even get me started on how expensive those pre-packaged snacks are getting. Like, $4 for a tiny bag of veggie chips? No thanks.
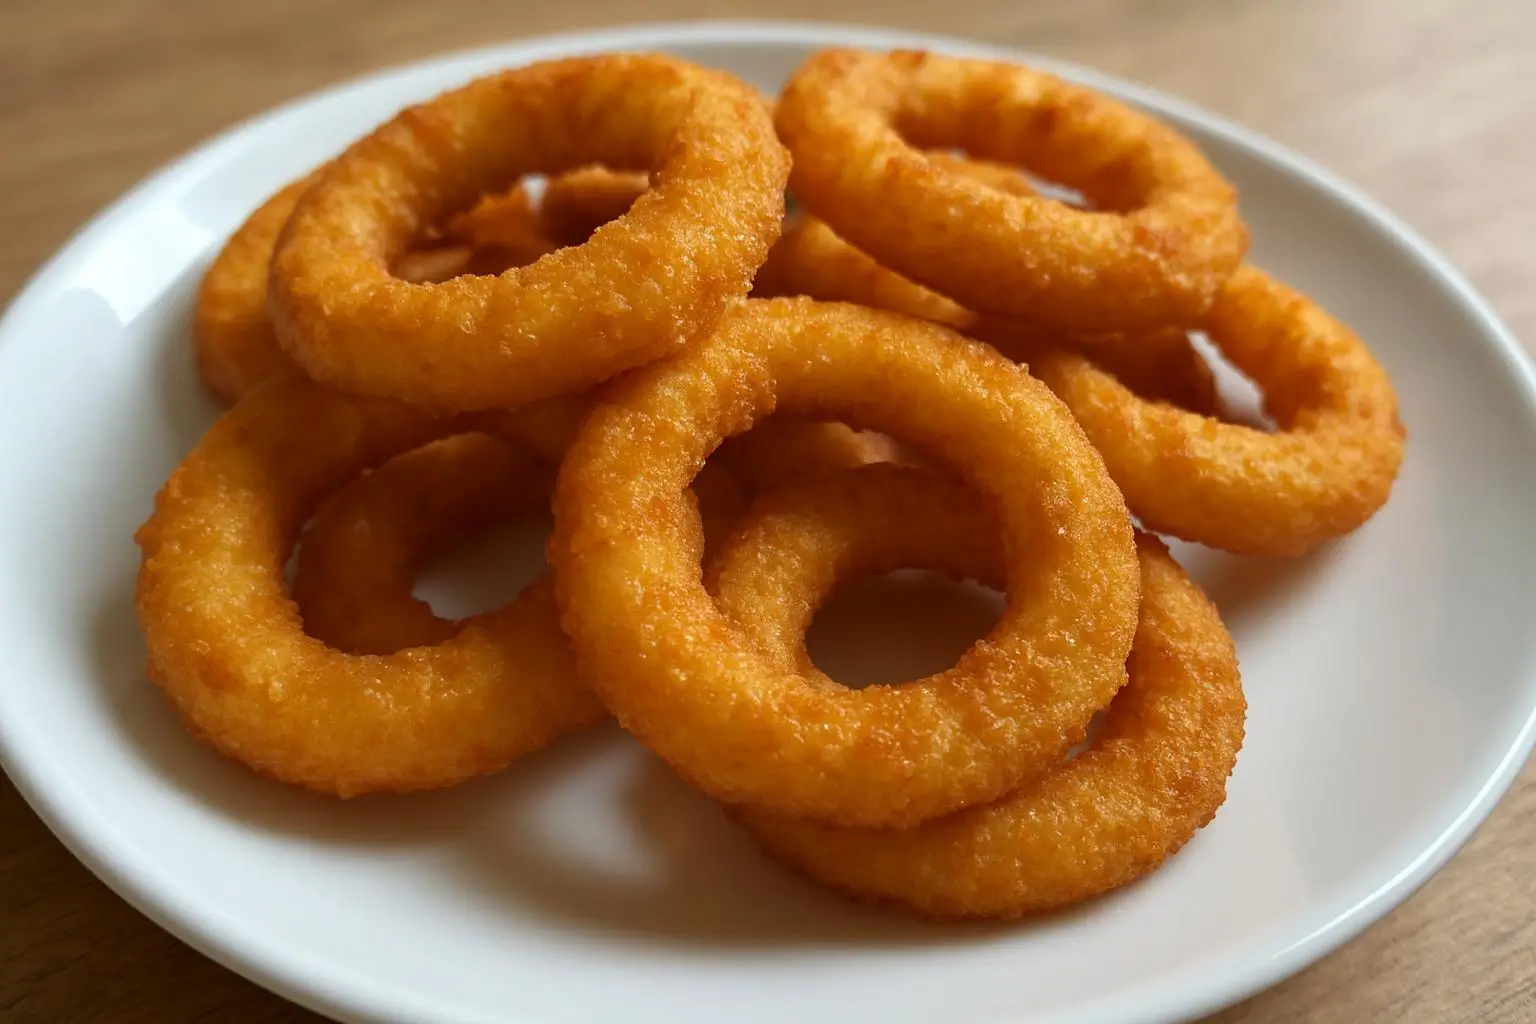
Then one day, I’m scrolling through Pinterest at midnight (don’t judge), and I see these golden, crispy potato rings. Something just clicked – these would be PERFECT for lunchboxes! Crunchy, satisfying, and way more exciting than regular chips or crackers.
But here’s the thing – it took me about six attempts to figure out how to make these actually work for packed lunches. The first few batches went soggy by lunchtime, which defeats the whole purpose, right? My 8-year-old came home and was like, “Mom, these taste like wet cardboard.” Ouch.
Table of Contents
Why These Crispy Potato Rings Are Lunchbox Gold
Look, I’m gonna be honest with you – finding snacks that actually stay crispy in a lunchbox is like finding a unicorn. But these potato rings? They’re the real deal. When I finally got the technique right, they stayed crunchy for HOURS. My daughter actually started trading them with her friends at lunch (sorry, other parents!).
Speaking of lunchboxes, did you know that most store-bought “crispy” snacks lose their crunch the second they hit humidity? I learned this the hard way after spending way too much money on fancy organic veggie chips that turned into expensive mush by noon.
These homemade crispy potato rings solve all of that. Plus, they’re way cheaper to make in bulk, and you know exactly what’s going into them. No weird preservatives or ingredients you can’t pronounce.
The Lunchbox-Friendly Version (Trial and Error Perfected)
I think the original recipe I found was meant for immediate eating… or maybe it was just a bad recipe? Honestly can’t remember where I even found it. But I had to completely rework the coating and technique to make these survive the lunchbox journey.
The secret? Double coating and proper cooling. Seriously, those two things changed everything. My neighbor Sarah thought I was crazy when I told her I was making homemade snacks for lunchboxes, but now she’s asking for the recipe every week.
What You’ll Need for Lunchbox Success

The Potato Stars:
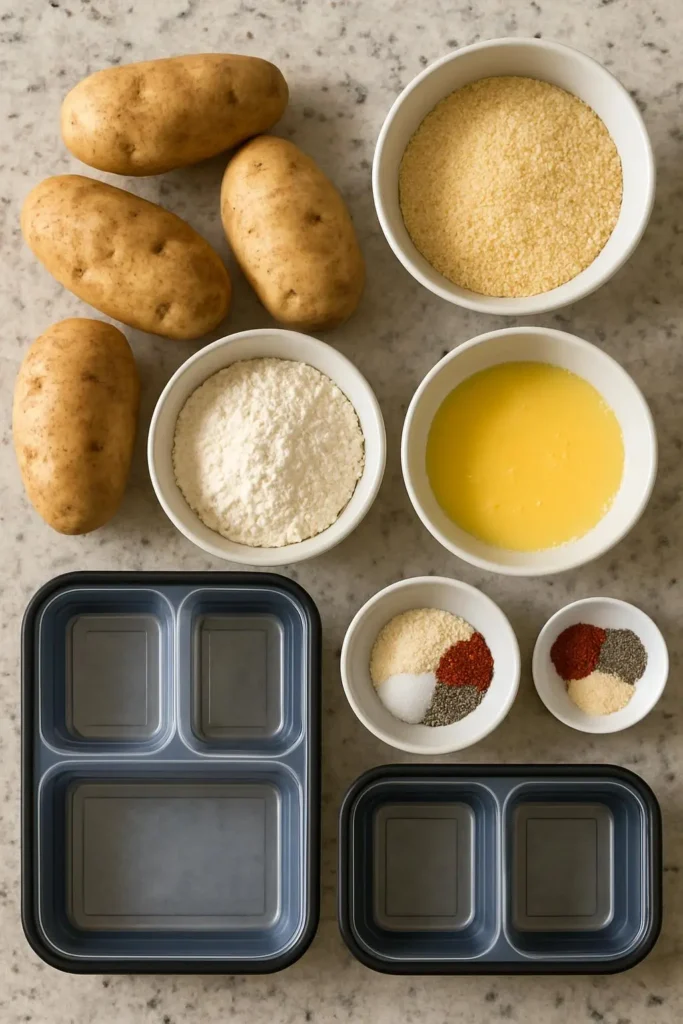
- 4-5 large russet potatoes (bigger potatoes = bigger rings = happier kids)
- Don’t waste money on those fancy “gourmet” potatoes. Regular russets work perfectly.
The Magic Coating Mix:
- 1 cup all-purpose flour
- 3/4 cup cornstarch (this is CRUCIAL for staying crispy)
- 1 1/2 teaspoons garlic powder
- 1 teaspoon onion powder
- 1 teaspoon paprika
- 1/2 teaspoon black pepper
- 1 1/2 teaspoons salt
- 1/2 teaspoon baking powder (secret weapon for extra crunch)
The Binding Squad:
- 1 1/4 cups buttermilk
- 2 large eggs
- 1 tablespoon hot sauce (optional, but my kids love the tiny kick)
For the Oil Bath:
- Vegetable oil for frying (don’t cheap out here)
Pro tip from my many failures: that extra cornstarch and the baking powder? Those weren’t in my original attempts. Added them after batch three turned into soggy disasters. Game changers.
The Step-by-Step Lunchbox Method

Step 1: Potato Prep (Do This the Night Before)
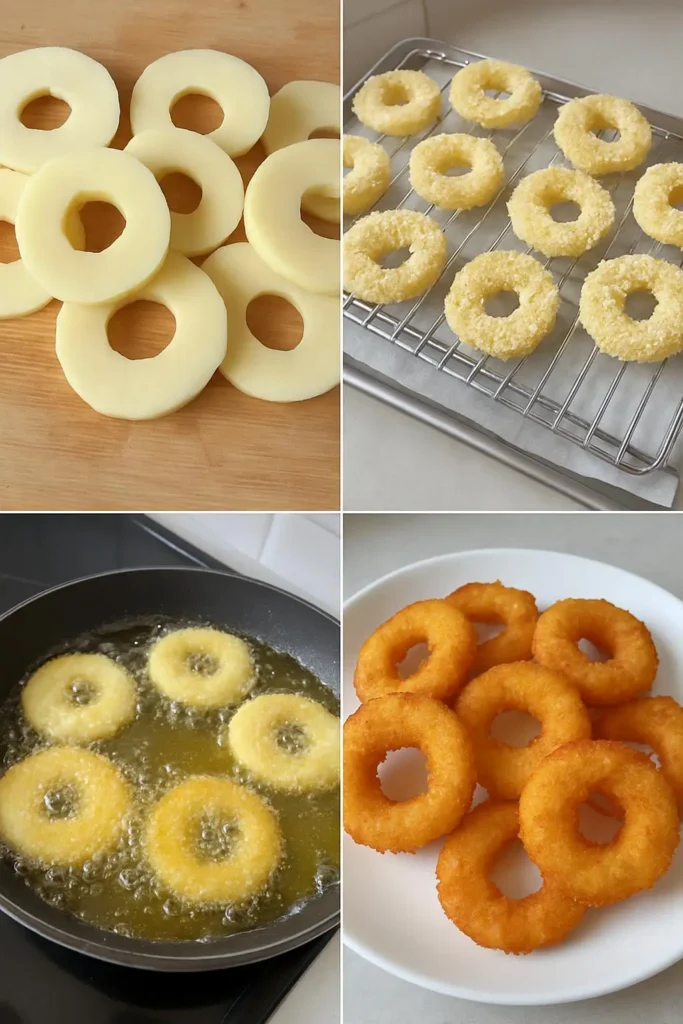
Wash those potatoes like your life depends on it. Cut them into thick slices – about 1 inch thick works best for lunchboxes. Thinner slices break too easily when kids are digging around in their lunch bags.
Use a round cookie cutter or even a large bottle cap to cut out the centers. Save those little circles! They make perfect “mini rings” that fit great in small containers.
Here’s what I wish someone had told me earlier – soak these overnight in salt water (1 tablespoon salt per cup of water). This removes way more starch than just plain water and helps them stay crispier longer.
Step 2: The Coating Station Setup
Mix all your dry ingredients in one big bowl. In another bowl, whisk the buttermilk, eggs, and hot sauce until smooth.
Actually, you know what? Use three bowls. Sounds excessive, but trust me. Dry mix, wet mix, then another bowl of dry mix for the final coat. This prevents the coating from getting all gluey and gross.
Step 3: The Double-Dip Technique (Don’t Skip This)
Pat those rings DRY. Like, really dry. Any water left on them will make the coating slide right off, and nobody wants naked potato rings in their lunchbox.
Dredge each ring: dry mix first, then buttermilk mixture (make sure every bit is coated), then back into clean dry mix. Press gently so it really sticks.
Let them rest on a wire rack for 15 minutes. This helps everything set up properly.
Step 4: The Frying Process (Temperature is Everything)
Heat oil to exactly 350°F. Not 340°, not 360°. I have a cheap thermometer from the dollar store that works perfectly fine.
Fry in small batches – about 4-5 rings at a time. They need space to get properly crispy. Each batch takes about 4-5 minutes until they’re deep golden brown.
Step 5: The Cooling Magic
Here’s where most people mess up the lunchbox thing – they don’t cool them properly. Drain on paper towels for 2 minutes, then transfer to a wire cooling rack. Let them cool COMPLETELY before packing.
Any trapped steam will make them soggy by lunchtime. I learned this the hard way after my kid’s teacher asked if everything was okay at home because I was sending “wet food” to school. Embarrassing.

Lunchbox Packing Secrets I Wish I’d Known Earlier
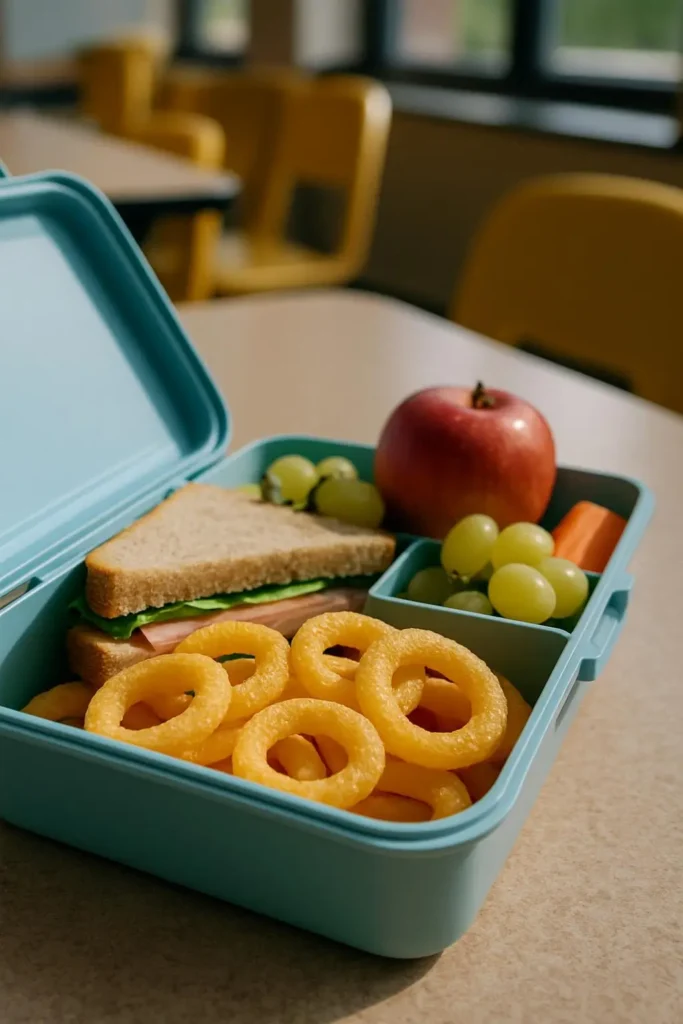
Container Choice Matters: Use containers with small ventilation holes or don’t seal them completely airtight. A little air circulation keeps them crispier. Those fancy bento boxes with the tight seals? Not great for crispy foods.
Pack Smart: Put these in a separate container from anything moist (like fruit or sandwiches). I made the mistake of putting them next to apple slices once. Disaster.
Size Considerations: Make rings that fit your kid’s mouth comfortably. Nothing worse than trying to eat oversized food during a 20-minute lunch break.
Temperature Timing: These actually taste best at room temperature, which is perfect for lunchboxes. Don’t worry about keeping them warm.
What My Kids (and Their Friends) Actually Think
My daughter calls these “fancy onion rings but better.” My son, who literally only eats beige food, inhales them. And apparently, half of my daughter’s third-grade class now knows me as “the mom who makes the good rings.”
Is it weird that I’m proud of being known for homemade lunchbox snacks? Probably. Do I care? Nope.
Make-Ahead Lunchbox Strategy
Sunday prep is your friend here. I make a huge batch every Sunday night and store them in an airtight container. They stay crispy for 3-4 days, which covers most of the school week.
You can also freeze the coated (but unfried) rings and fry them fresh when you need them. Just add an extra minute to the cooking time.
Other Lunchbox Wins with This Recipe
- They’re way cheaper than buying individual snack packs
- No weird preservatives or artificial colors
- Kids feel special having something “different”
- They actually fill kids up (unlike those tiny cheese crackers)
- Other parents will think you’re super organized (ha!)
Storage and Freshness Tips
Store completely cooled rings in a container lined with paper towels. The paper towels absorb any moisture that might develop.
Don’t refrigerate them unless you absolutely have to – it makes them lose their crunch faster.
If they do get a little soft, you can re-crisp them in a 400°F oven for 2-3 minutes. But honestly, if you follow my cooling method, this shouldn’t happen.
Final Thoughts on Lunchbox Success
Look, I’m not gonna pretend making homemade lunchbox snacks is always easy or that I do it every week. Sometimes life gets crazy and we’re back to store-bought everything. And that’s totally fine.
But when I do have time to make these crispy potato rings, it feels really good knowing my kids are getting something homemade and delicious. Plus, they’re actually excited about what’s in their lunchbox, which makes mornings a little easier.
These aren’t fancy or Instagram-worthy, but they work. They stay crispy, kids love them, and they’re way more interesting than another bag of chips.
Have you tried making homemade lunchbox snacks before? Let me know how it goes because honestly, I’m always looking for new ideas. My kids get bored easily, and I’m running out of creative steam over here!
Happy packing (and may your lunchboxes stay crunch-worthy)! 😊
Crispy Potato Rings Recipe for Lunchboxes
Homemade crispy potato rings perfect for school lunchboxes. These stay crunchy for hours and are kid-approved! Includes make-ahead tips and proper packing techniques for busy parents.
Ingredients
- 3-4 large russet potatoes
- 1 cup all-purpose flour
- 1/2 cup cornstarch
- 1 teaspoon garlic powder
- 1 teaspoon onion powder
- 1 teaspoon paprika
- 1/2 teaspoon black pepper
- 1 teaspoon salt
- 1 cup buttermilk
- 2 large eggs
- Hot sauce (optional)
- Vegetable oil for frying
Instructions
-
Step 1Wash potatoes thoroughly and cut into 3/4-inch thick slices. Use a small round cutter to remove centers, creating rings.
-
Step 2Soak potato rings in cold water for 30 minutes to remove excess starch.
-
Step 3Mix flour, cornstarch, garlic powder, onion powder, paprika, pepper, and salt in one bowl.
-
Step 4In another bowl, whisk together buttermilk, eggs, and hot sauce if using.
-
Step 5Pat potato rings completely dry with paper towels.
-
Step 6Dredge each ring in dry mixture, then wet mixture, then dry mixture again. Let sit on wire rack for 10 minutes.
-
Step 7Heat oil to 350°F (175°C) in heavy pot or deep fryer.
-
Step 8Fry rings in small batches for 3-4 minutes until golden brown and floating.
-
Step 9Drain on paper towels and season immediately with salt while hot.

I’ve always found peace in the kitchen—it’s where I go to unwind, experiment, and reconnect. I started this blog because I wanted to share that feeling with others. My cooking journey started in a tiny apartment kitchen, with a second-hand skillet and a lot of trial and error.
Since then, I’ve learned that the best meals aren’t the most complicated—they’re the ones made with love (and maybe a little butter). Whether you’re a beginner or a kitchen pro, I hope you’ll feel right at home here.

