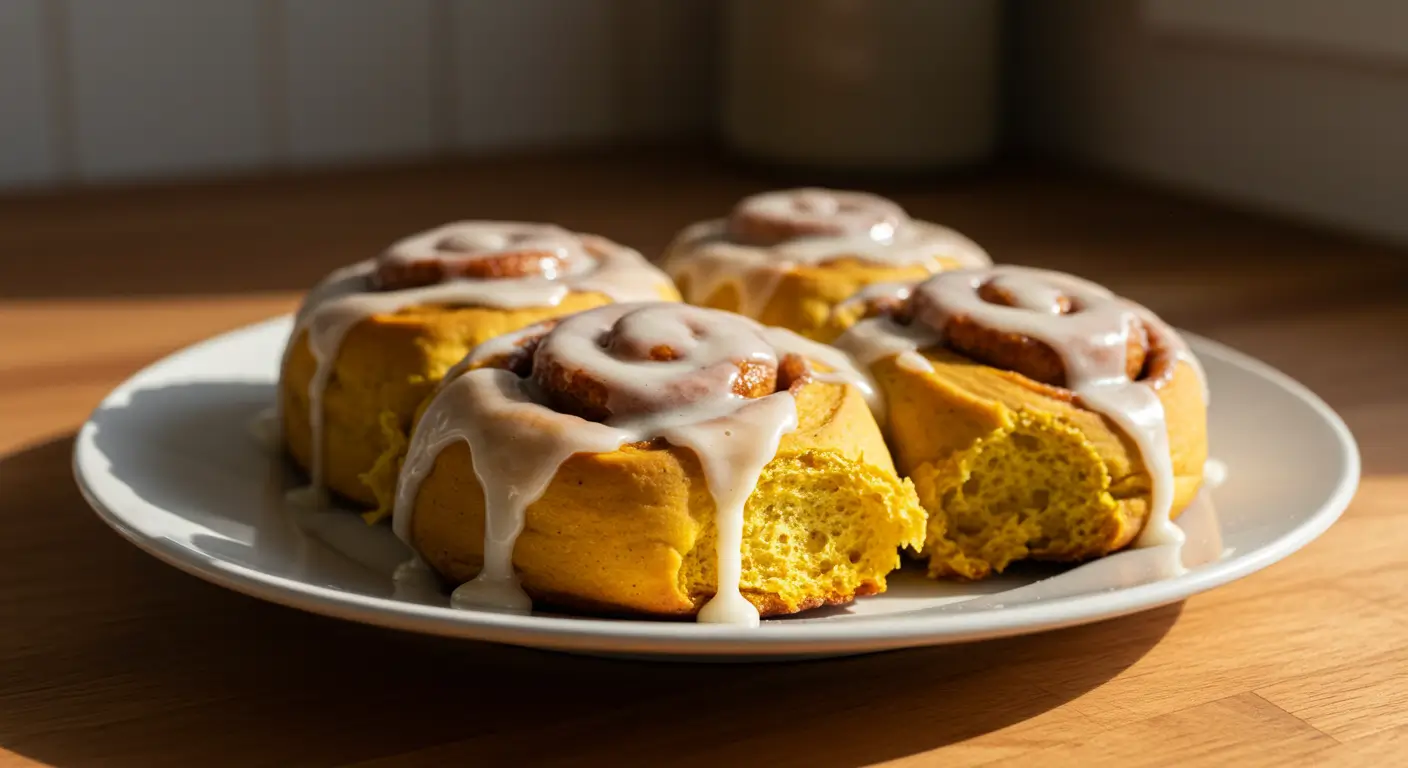
The Pumpkin Cinnamon Rolls That Made My Kitchen Smell Like Heaven (And Almost Burned Down My House)
Okay, so I messed this up three times before getting it right. THREE TIMES. But here’s the thing—every single disaster was worth it because now I have pumpkin cinnamon rolls that are so good, my neighbor Sarah literally knocked on my door at 7 AM asking for the recipe. True story.
Look, I’m gonna be honest with you. I’m not some fancy baker who went to culinary school or anything. I just really, really love cinnamon rolls, and when fall hits, I basically turn into a pumpkin-obsessed maniac. My 8-year-old refuses to eat anything orange (kid logic, right?), but somehow these pumpkin cinnamon rolls disappeared faster than Halloween candy in our house.
Table of Contents
How This Whole Thing Started (AKA My Kitchen Disasters)
This was back when everyone was making sourdough during lockdown, and I thought, “Hey, I can totally make homemade cinnamon rolls. How hard could it be?” Cue nervous laughter.
Version 1.0 was basically cardboard with sugar on top. I think I killed the yeast by using water that was too hot—learned that lesson the expensive way. Version 2.0 looked promising until I got distracted by my dog barking at the mail carrier and left the dough rising for THREE HOURS. It basically took over my entire counter like some kind of bread monster.
But version 3.0? That’s when I discovered the magic of pumpkin puree in the dough, and honestly got a little teary-eyed when my husband said it was better than Cinnabon. Don’t tell him I cried over cinnamon rolls. Actually, you know what? I don’t care. These are cry-worthy good.
The Ingredients (And My Shopping Disasters)
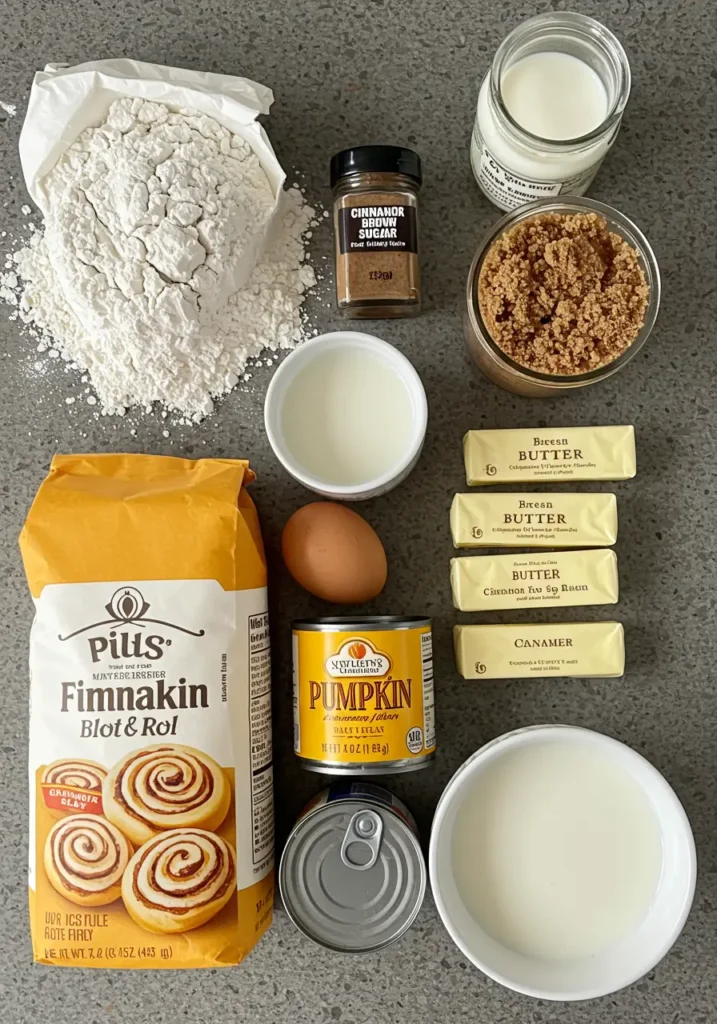
Here’s what you’ll need, and trust me, I’ve tried substitutions for pretty much everything:
For the Dough:
- 3 1/4 cups all-purpose flour (don’t use self-rising—been there, disaster)
- 1/4 cup granulated sugar
- 2 1/4 teaspoons instant yeast (one packet, basically)
- 1 teaspoon salt
- 3/4 cup whole milk, warmed (not hot! Learn from my mistakes)
- 1/2 cup pumpkin puree (I use Libby’s because I’m basic like that)
- 4 tablespoons butter, melted
- 1 large egg
For the Filling:
- 1/2 cup butter, softened (leave it out for like an hour, or microwave for 10 seconds if you’re impatient like me)
- 2/3 cup brown sugar (packed down good)
- 2 tablespoons ground cinnamon
- 1/2 teaspoon pumpkin pie spice (or make your own if you’re fancy)
- Pinch of salt (trust me on this one)
For the Glaze:
- 1 1/2 cups powdered sugar
- 3-4 tablespoons milk
- 1/2 teaspoon vanilla extract
- Pinch of cinnamon (because why not?)
Good luck finding decent pumpkin puree after Thanksgiving. I learned to stock up in October because apparently everyone else had the same brilliant idea I did.
The Process (Or: How Not To Have A Nervous Breakdown)
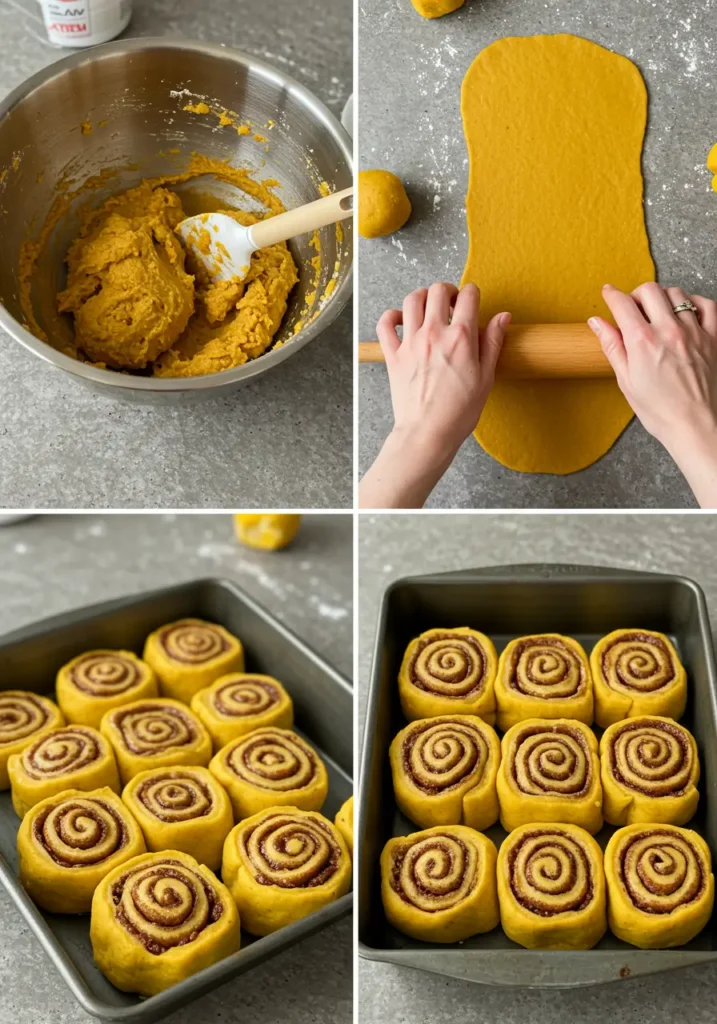
Step 1: Make the Dough (Don’t Panic)
In your biggest mixing bowl—and I mean the BIG one, not the medium one you think will work—whisk together the flour, sugar, yeast, and salt. I used to skip this step and just dump everything together, but mixing the dry stuff first actually matters. Who knew?
In a separate bowl (yes, you need another bowl, sorry), whisk together the warm milk, pumpkin puree, melted butter, and egg. The key is—oh wait, I forgot to mention—you need to make sure your milk isn’t too hot or it’ll kill the yeast. I test it with my wrist like you would baby formula. Weird? Maybe. Effective? Definitely.
Pour the wet ingredients into the dry stuff and stir until it forms a shaggy dough. It’ll look weird at first, kinda lumpy and gross, but that’s totally normal. Don’t freak out like I did the first time.
Step 2: Knead Like Your Life Depends On It
Turn the dough onto a floured surface and knead for about 8-10 minutes. Your arms will hurt. This is normal. I usually put on a good playlist and pretend I’m working out. (I’m not, but the delusion helps.)
The dough is ready when it’s smooth and springs back when you poke it. Mine never looks as perfect as those Instagram videos, but it works just fine.
Step 3: The First Rise (Practice Patience)
Put the dough in a greased bowl—I just use the same bowl I mixed it in because washing dishes is the worst—and cover with a damp towel. Let it rise in a warm place for about an hour until it doubles in size.
Here’s where I almost messed up again. “Warm place” doesn’t mean on top of your radiator or in direct sunlight. I learned this when my dough turned into a sad, overproofed mess. Just leave it on your counter if your kitchen is normal temperature.
Step 4: Roll It Out (The Fun Part)
Punch down the dough (so satisfying) and roll it into a rectangle. The recipe says 12×18 inches, but honestly, I just eyeball it. Don’t stress about perfect measurements—this isn’t engineering.
Step 5: The Filling Magic
Mix your softened butter, brown sugar, cinnamon, pumpkin pie spice, and that pinch of salt in a bowl. Spread it all over the dough, leaving about a half-inch border on one of the long sides.
Pro tip: Use an offset spatula if you have one, or just your hands if you don’t. I’m obsessed with getting every corner covered because I hate biting into a roll that’s all dough and no filling.
Step 6: Roll and Cut (Don’t Overthink It)
Starting from the long side WITHOUT the border, roll the dough up tightly. Try to keep the seam side down when you’re done.
Cut into 12 pieces using a sharp knife or—and this is a game-changer—unflavored dental floss. Sounds weird, works amazing. Just slide the floss under the roll, cross it over the top, and pull. Clean cuts every time.
Step 7: Second Rise (More Waiting, Sorry)
Place the rolls in a greased 9×13 pan. They should be touching but not smooshed together. Cover and let rise for another 30-45 minutes.
Set a timer for 30 minutes, then inevitably forget and panic at 45. This is the way.
Step 8: Bake These Beautiful Things
Preheat your oven to 375°F. Bake for 20-25 minutes until they’re golden brown on top. They’ll smell absolutely incredible, and you’ll question why you ever bought store-bought cinnamon rolls.
Step 9: The Glaze (Don’t Skip This)
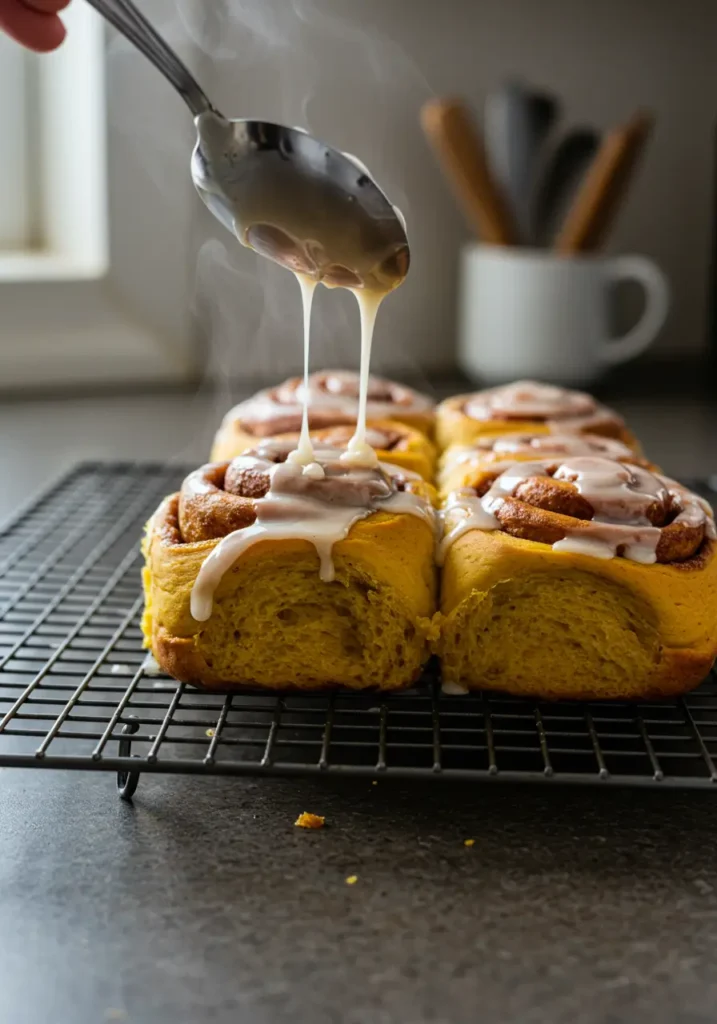
While they’re cooling for about 10 minutes—and I mean it, wait the full 10 minutes or the glaze will just melt into nothing—whisk together your powdered sugar, milk, vanilla, and cinnamon.
Drizzle it all over the warm rolls. I’m generous with the glaze because life’s too short for skimpy icing.
What I Learned (The Hard Way)
Actually, you know what? Here’s the stuff I wish someone had told me before I started this whole pumpkin cinnamon rolls journey:
Don’t use pre-shredded anything if you can help it. It’s got weird coating stuff that makes everything taste off. Found out by accident that adding a splash of vanilla to the dough makes everything better—not in the recipe, just something I tried when I was feeling fancy.
The dough will be a little stickier than regular cinnamon roll dough because of the pumpkin. That’s normal. Don’t keep adding flour or you’ll end up with hockey pucks.
Oh, and another thing—these are way better the next day if you can manage not to eat them all immediately. Store them covered and just pop one in the microwave for 15 seconds. Chef’s kiss
The Real Talk Section
Is this recipe perfect? Nope. Will it take you most of a Saturday morning? Yep. Is it worth every single messy minute? Absolutely.
I don’t care what anyone says about store-bought being “just as good.” It’s not. These homemade pumpkin cinnamon rolls are in a completely different league. They’re soft, gooey, perfectly spiced, and they make your whole house smell like fall threw up in the best possible way.
My neighbor Sarah now comes over every weekend hoping I’m making another batch. My mailman has started timing his route around when these come out of the oven. I’m not even exaggerating.
Anyway…
Last Tuesday, I made a double batch because my sister was coming to visit, and honestly, they were gone in two days. TWO DAYS. I hid half of them in the freezer (they freeze beautifully, by the way), and my family still found them.
People keep asking for the recipe, so I guess I did something right. It’s not fancy, but it’s good and that’s what matters. Plus, there’s something really satisfying about making something completely from scratch that makes people happy.
Wait, I almost forgot—if you’re thinking about making these for a holiday brunch or something, you can make them the night before. Just do everything up to the second rise, cover them in the fridge overnight, then let them come to room temperature in the morning before baking. Game changer for busy mornings.
Let me know how yours turn out! Seriously, try this and tell me what you think. Am I the only one who thinks homemade is always better, or does everyone feel this way about cinnamon rolls?
Happy cooking! (And may your yeast be alive and your oven timer actually work) 🎃
If this dessert brought a little joy to your day, why stop here? I’ve got a whole collection of indulgent treats and easy bakes waiting for you to try. Take a peek at more of my favorite desserts Here
P.S. – If you burn the bottom like I did on attempt number two, just scrape it off and keep going. Nobody will know, and they’ll still taste amazing. Trust me on this one.
Homemade Pumpkin Cinnamon Rolls
These soft, gooey homemade pumpkin cinnamon rolls are bursting with fall flavors and topped with sweet glaze. Perfect for weekend mornings and holiday brunches, this recipe uses pumpkin puree in the dough for extra moisture and seasonal taste.
Ingredients
- 3 1/4 cups all-purpose flour
- 1/4 cup granulated sugar
- 2 1/4 teaspoons instant yeast
- 1 teaspoon salt
- 3/4 cup whole milk, warmed
- 1/2 cup pumpkin puree
- 4 tablespoons butter, melted
- 1 large egg
- 1/2 cup butter, softened
- 2/3 cup brown sugar, packed
- 2 tablespoons ground cinnamon
- 1/2 teaspoon pumpkin pie spice
- 1 1/2 cups powdered sugar
- 3-4 tablespoons milk
- 1/2 teaspoon vanilla extract
Instructions
-
Step 1In a large mixing bowl, whisk together flour, granulated sugar, yeast, and salt.
-
Step 2In separate bowl, whisk together warm milk, pumpkin puree, melted butter, and egg.
-
Step 3Pour wet ingredients into dry ingredients and stir until shaggy dough forms.
-
Step 4Turn dough onto floured surface and knead for 8-10 minutes until smooth and elastic.
-
Step 5Place dough in greased bowl, cover with damp towel, and let rise 1 hour until doubled.
-
Step 6Mix softened butter, brown sugar, cinnamon, pumpkin pie spice, and pinch of salt for filling.
-
Step 7Punch down dough and roll into 12x18 inch rectangle.
-
Step 8Spread filling evenly over dough, leaving 1/2 inch border on one long side.
-
Step 9Roll up tightly from long side without border and cut into 12 pieces.
-
Step 10Place rolls in greased 9x13 pan, cover, and let rise 30-45 minutes.
-
Step 11Preheat oven to 375°F. Bake rolls for 20-25 minutes until golden brown.
-
Step 12Cool for 10 minutes. Whisk together powdered sugar, milk, vanilla, and cinnamon for glaze. Drizzle over warm rolls.
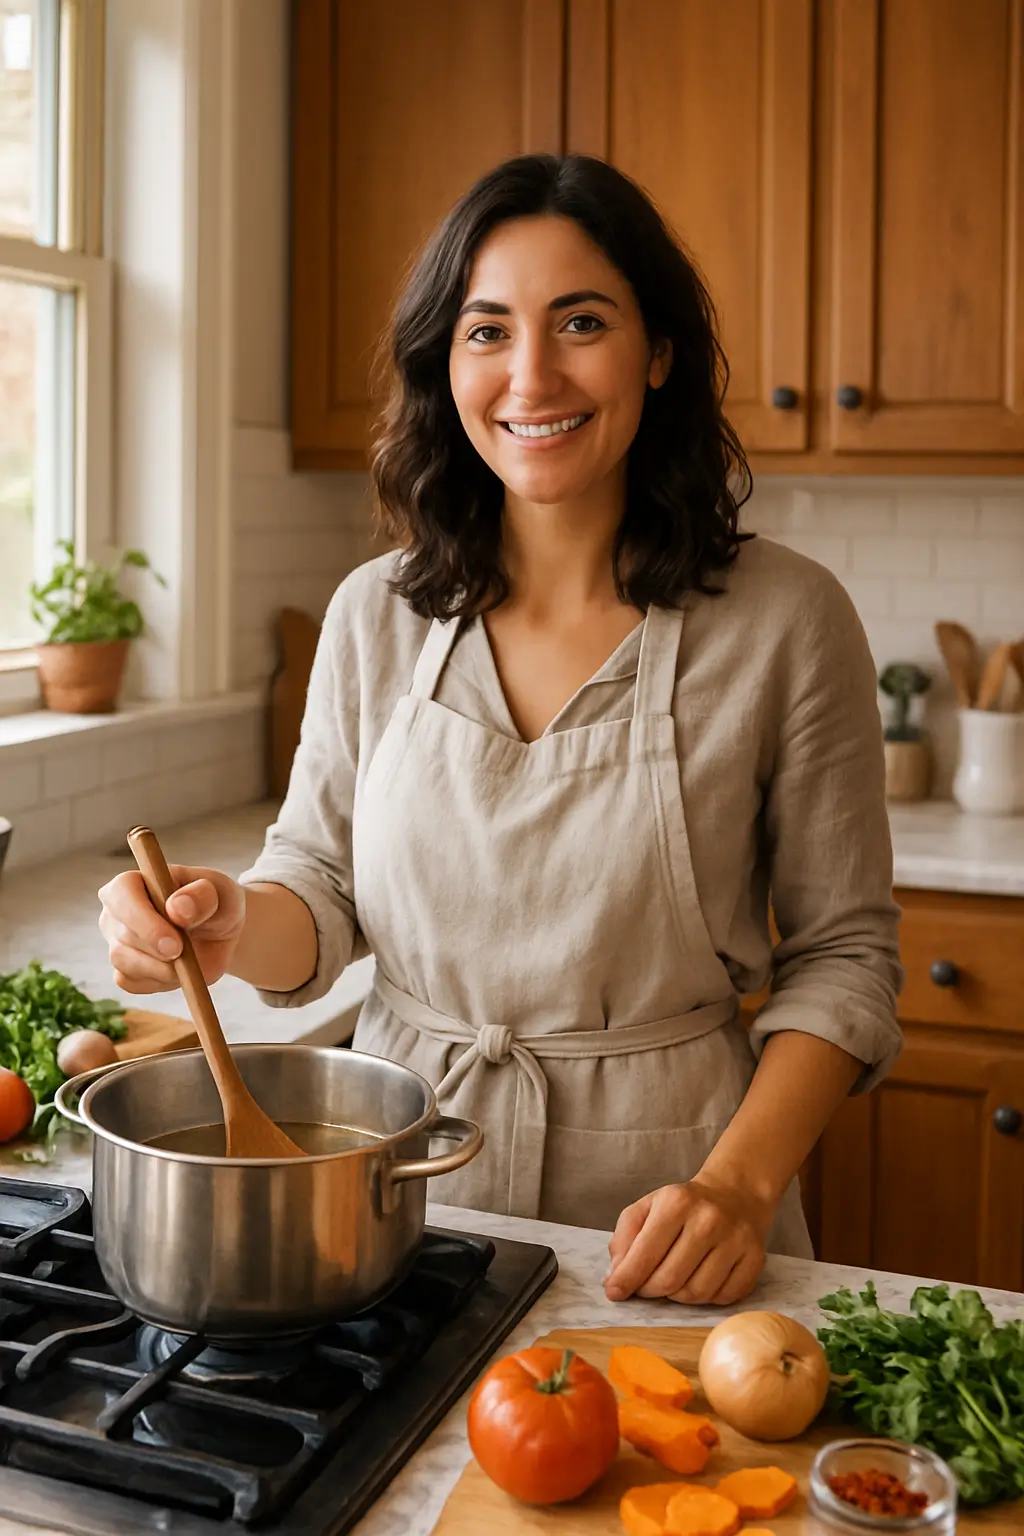
I’ve always found peace in the kitchen—it’s where I go to unwind, experiment, and reconnect. I started this blog because I wanted to share that feeling with others. My cooking journey started in a tiny apartment kitchen, with a second-hand skillet and a lot of trial and error.
Since then, I’ve learned that the best meals aren’t the most complicated—they’re the ones made with love (and maybe a little butter). Whether you’re a beginner or a kitchen pro, I hope you’ll feel right at home here.

