
Soft Baked Maple Donut Bars That’ll Make Your Kitchen Smell Like Heaven
Look, I’m gonna be honest with you—I’ve screwed up this recipe more times than I care to admit. But after what feels like a dozen attempts (and way too much wasted flour), I finally nailed it. And now my family won’t stop asking me to make these things.
So here’s the deal. Everyone keeps telling me I should share this recipe, so here goes nothing. These aren’t your fancy bakery donuts. They’re better. They’re like… if a donut and a soft cookie had a baby, and that baby was obsessed with maple syrup.
Table of Contents
How This Whole Thing Started
Okay, so this all started because my 8-year-old decided regular donuts weren’t “special enough” for his birthday breakfast. Kids, right? Anyway, I was scrolling through Pinterest at like 11 PM (don’t judge), and I found this recipe that looked promising. Spoiler alert: it was terrible. The bars were dry, the maple flavor was basically nonexistent, and my kid took one bite and asked for cereal instead.
That was attempt number one.
Attempt number two involved me thinking I could just add more maple syrup to the original recipe. Disaster. Complete disaster. They turned into gooey, sticky messes that wouldn’t cook through no matter how long I left them in the oven. My neighbor Sarah still brings this up when she wants to tease me about my cooking.
But you know what they say—third time’s the charm. Well, actually it was more like the seventh time, but who’s counting?
The Secret (That Isn’t Really a Secret)
Here’s the thing nobody tells you about maple-flavored anything: you need REAL maple syrup. Not the fake stuff. I learned this the hard way after my mother-in-law tasted my fourth attempt and made this face… you know the one. The “this is fine but not really” face.
So I splurged on the good stuff—actual Grade A maple syrup from Vermont. Game changer. Like, completely different recipe kind of game changer.
Oh, and another thing—don’t skip the maple extract. I know, I know, it seems redundant when you’re already using maple syrup. But trust me on this one. The extract gives it that deeper, richer maple flavor that makes people go “mmm” when they take their first bite.
What You’ll Need (And My Shopping Disasters)
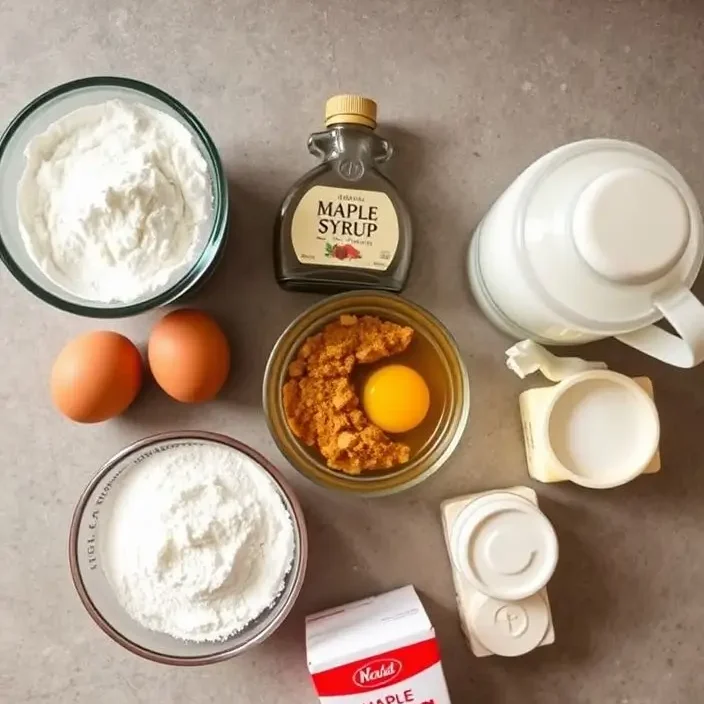
For the bars:
- 2 cups all-purpose flour
- 1/2 cup brown sugar (packed—and I mean really packed)
- 1/4 cup granulated sugar
- 1 teaspoon baking powder
- 1/2 teaspoon salt
- 1/2 cup unsalted butter, melted
- 2 large eggs
- 3/4 cup whole milk
- 1/3 cup pure maple syrup (don’t cheap out here)
- 1 teaspoon maple extract
- 1 teaspoon vanilla extract
For the glaze:
- 1 1/2 cups powdered sugar
- 3-4 tablespoons pure maple syrup
- 2-3 tablespoons milk
- Pinch of salt
Quick story about the butter—last month I was at the store and grabbed salted butter by mistake. Didn’t realize until I was halfway through making these. They were still good, but definitely saltier than intended. My husband actually preferred them that way, but I stick with unsalted now so I can control the salt level.
And please, for the love of all that’s holy, make sure your baking powder isn’t expired. I once made a batch with baking powder that was probably older than my nephew, and they came out flat as pancakes. Not cute.
Making These Magic Bars (Step by Step)

Step 1: Preheat your oven to 350°F. Line a 9×13 inch pan with parchment paper. I used to skip the parchment paper because I’m lazy, but then I spent 20 minutes trying to scrape stuck bars out of the pan. Learn from my mistakes.
Step 2: In a large bowl, whisk together flour, both sugars, baking powder, and salt. Don’t just dump everything in there—actually whisk it. I made the mistake of not mixing the dry ingredients well once, and ended up with pockets of pure salt. Not pleasant.
Step 3: In another bowl, mix the melted butter, eggs, milk, maple syrup, and both extracts. Here’s where it gets a little weird—the mixture might look slightly curdled. Don’t panic. That’s normal. I freaked out the first time and almost threw the whole thing away.
Step 4: Pour the wet ingredients into the dry ingredients and stir until just combined. And I mean JUST combined. Overmixing is the enemy here. The batter should look a little lumpy and that’s perfectly fine.
Step 5: Spread the batter into your prepared pan. It’ll be thick—thicker than you think it should be. That’s good. Use a spatula to spread it evenly, but don’t stress too much about making it perfect.
Step 6: Bake for 22-25 minutes, until the top is golden and a toothpick comes out with just a few moist crumbs. Do NOT overbake these. I repeat: do not overbake. They’ll continue cooking a bit after you take them out.
Now here’s where I messed up multiple times—I kept thinking they needed more time because they looked so soft. But soft is what we want! They firm up as they cool.
The Glaze (The Best Part)
While the bars are cooling, make the glaze. Whisk together the powdered sugar, maple syrup, milk, and that pinch of salt. Start with less milk and add more until you get the consistency you want. I like mine a little thicker so it doesn’t just run off the bars.
Wait until the bars are completely cool before glazing. I know it’s tempting to glaze them while they’re warm (been there), but the glaze will just melt and disappear. Trust the process.

Random Tips from My Kitchen Disasters
Actually, you know what? Let me just tell you about the time I decided to double the recipe for a bake sale. Bad idea. My oven isn’t big enough for two 9×13 pans, so I tried to bake them one after the other. The first batch was perfect. The second batch? Completely different texture because the batter sat around for 25 minutes while the first batch baked. Just make multiple single batches if you need more.
Oh, and if you’re like me and always forget to take eggs out to come to room temperature, just put them in a bowl of warm water for 10 minutes. Works every time.
These bars are best eaten within two days, but they’ll keep covered for about a week. They also freeze really well if you wrap them individually. My kids love finding them in their lunch boxes—makes me feel like mom of the year.
The Family Verdict
My husband, who usually doesn’t care about desserts, ate four of these the first day I made them. My daughter, who’s going through a “I don’t like sweet things” phase, asked if she could take some to school to share with her friends. And my youngest, the one who started this whole maple donut obsession? He hugged me after trying them and said they were “better than the donut store.”
So yeah, I’d say they’re a hit.
Final Thoughts
Look, these aren’t going to win any beauty contests. They’re rustic and homey and a little imperfect. But sometimes that’s exactly what you want. They taste like Saturday mornings and lazy weekends and all the good stuff that makes home feel like home.
Give them a try and let me know how yours turn out! Seriously, I’m always curious to hear if other people have the same disasters I did or if I’m just exceptionally talented at messing up recipes.
And if you burn them a little around the edges like I did the first few times? Just cut those parts off and pretend it never happened. We’ve all been there.
Happy baking! (And may your smoke alarms stay quiet) 😊
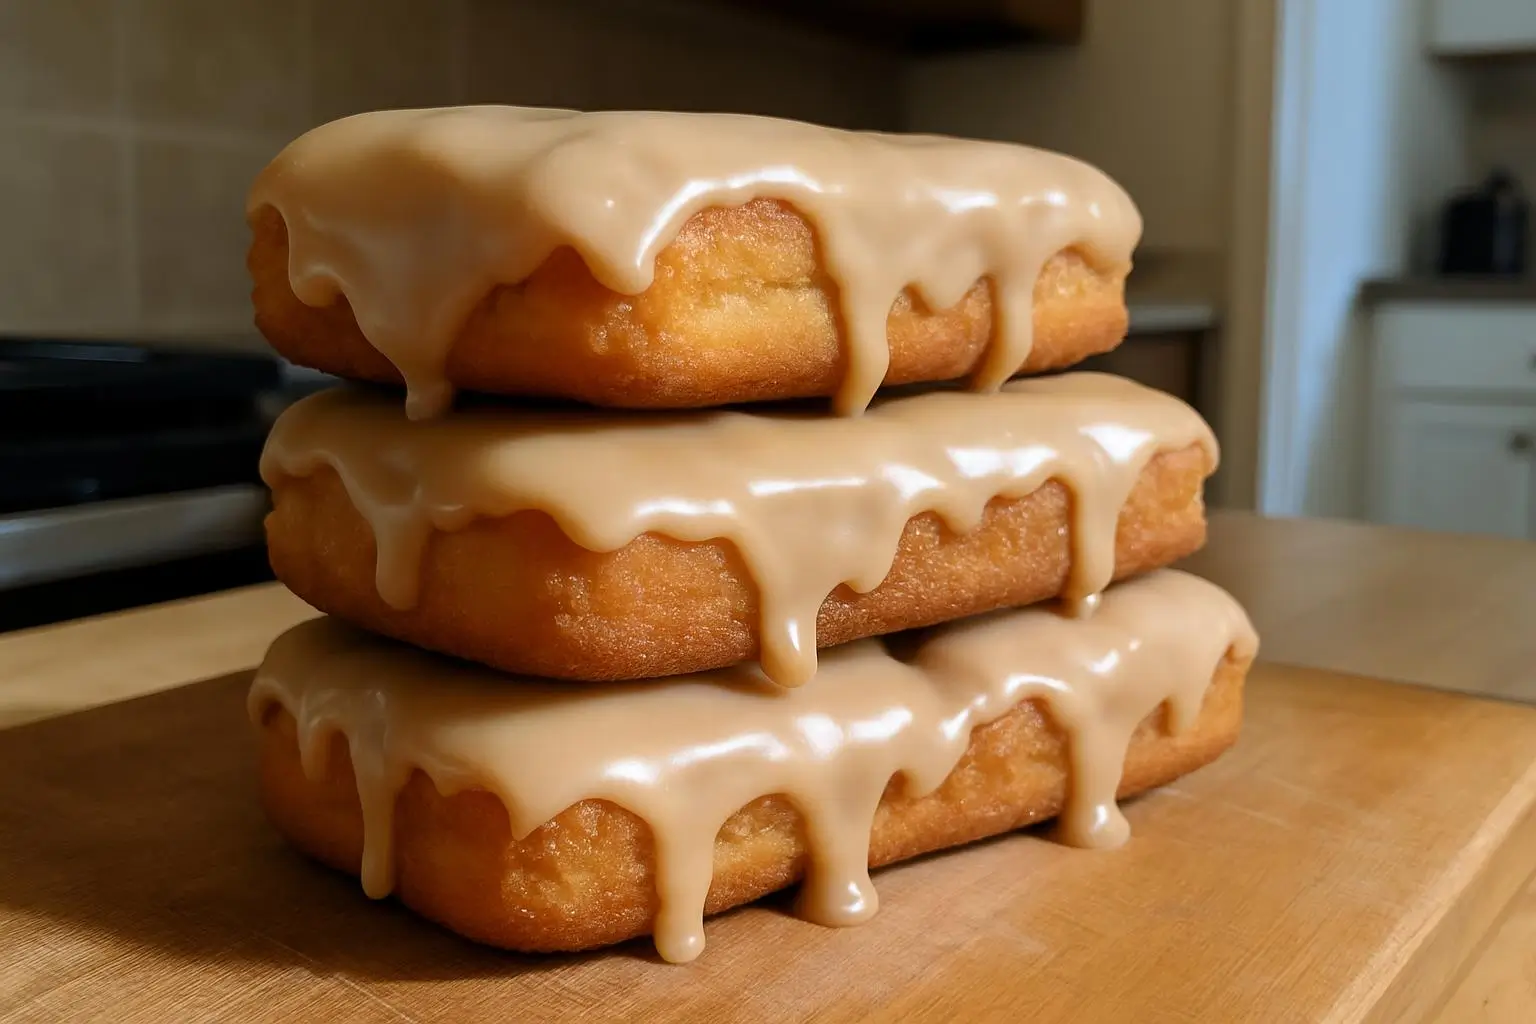
Soft Baked Maple Donut Bars
Soft, fluffy maple donut bars with real maple syrup and a sweet maple glaze. These homemade bars taste like Saturday mornings and are perfect for breakfast, dessert, or any maple lover's craving.
Ingredients
- 2 cups all-purpose flour
- 1/2 cup brown sugar, packed
- 1/4 cup granulated sugar
- 1 teaspoon baking powder
- 1/2 teaspoon salt
- 1/2 cup unsalted butter, melted
- 2 large eggs
- 3/4 cup whole milk
- 1/3 cup pure maple syrup
- 1 teaspoon maple extract
- 1 teaspoon vanilla extract
- 1 1/2 cups powdered sugar
- 3-4 tablespoons pure maple syrup (for glaze)
- 2-3 tablespoons milk (for glaze)
- Pinch of salt (for glaze)
Instructions
-
Step 1Preheat oven to 350°F (175°C). Line a 9x13 inch pan with parchment paper.
-
Step 2In a large bowl, whisk together flour, brown sugar, granulated sugar, baking powder, and salt.
-
Step 3In another bowl, mix melted butter, eggs, milk, maple syrup, maple extract, and vanilla extract.
-
Step 4Pour wet ingredients into dry ingredients and stir until just combined. Batter will be thick and slightly lumpy.
-
Step 5Spread batter evenly into prepared pan using a spatula.
-
Step 6Bake for 22-25 minutes until golden and a toothpick comes out with few moist crumbs.
-
Step 7Cool completely in pan before glazing.
-
Step 8For glaze: whisk together powdered sugar, maple syrup, milk, and salt until smooth.
-
Step 9Drizzle glaze over cooled bars and let set before cutting into squares.

I’ve always found peace in the kitchen—it’s where I go to unwind, experiment, and reconnect. I started this blog because I wanted to share that feeling with others. My cooking journey started in a tiny apartment kitchen, with a second-hand skillet and a lot of trial and error.
Since then, I’ve learned that the best meals aren’t the most complicated—they’re the ones made with love (and maybe a little butter). Whether you’re a beginner or a kitchen pro, I hope you’ll feel right at home here.