The Best Homemade Pineapple Ice Cream (After Three Epic Failures)
Okay, so I messed this up three times before getting it right. And I mean really messed up. Like, the first attempt was basically chunky pineapple soup that never froze properly. My kids still bring it up during family dinners.
But here’s the thing—now that I’ve figured it out, this homemade pineapple ice cream is absolutely incredible. Better than anything you can buy at the store, and that’s not just me being proud of my kitchen disasters turned victories.
Table of Contents
Why I Started Making This (Spoiler: It Wasn’t by Choice)
My neighbor Sarah brought over this amazing pineapple ice cream from some fancy gelato place downtown. Twenty-three dollars for a tiny container. TWENTY-THREE DOLLARS. I took one bite and thought, “I can make this.” Famous last words, right?
The whole obsession started because my 8-year-old refuses to eat most fruits, but somehow devours anything pineapple-flavored. Don’t ask me to explain kid logic—I gave up trying years ago.
The Learning Curve (AKA My Kitchen Disasters)
Version 1.0 was basically cardboard. I used canned pineapple juice and way too much sugar. Tasted like artificial pineapple candy that someone left in the sun.
Version 2.0? Too ambitious. I tried adding fresh pineapple chunks without cooking them down first. The ice crystals were massive, and every bite was like chewing frozen pineapple rocks. My husband took one spoonful and diplomatically said, “It’s… interesting.”
Version 3.0 almost worked, but I got impatient and didn’t let the custard base cool completely before churning. The result was this weird, grainy texture that made everyone’s teeth hurt.
But version 4.0? Chef’s kiss Perfect creamy texture with that bright, tropical pineapple flavor that actually tastes like real fruit.
What You’ll Need (And What NOT to Buy)

For the pineapple base:
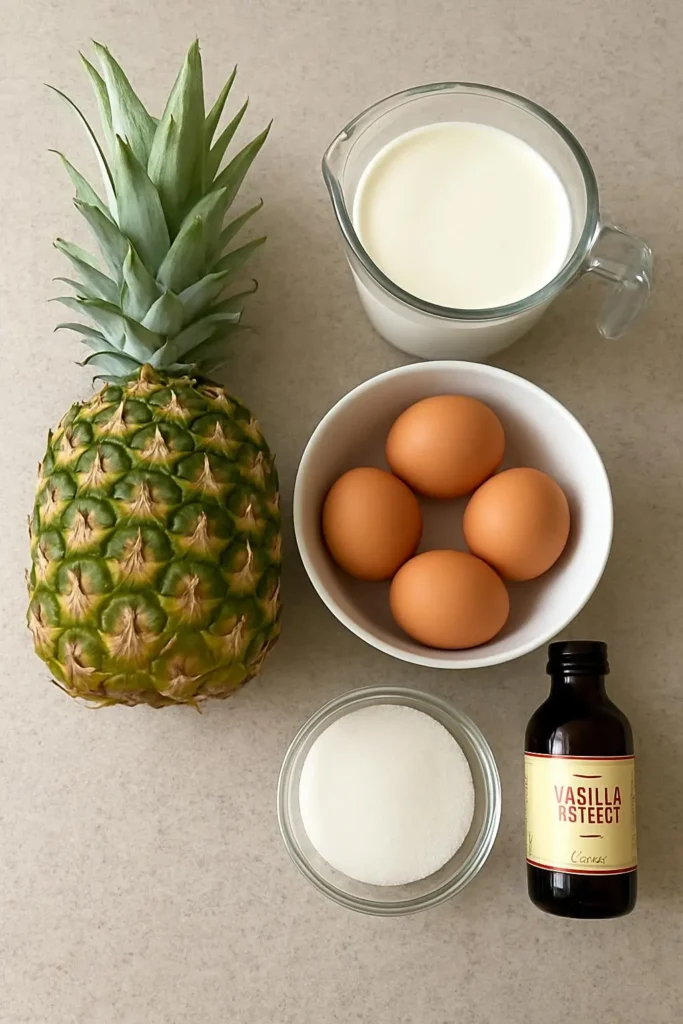
- 1 large fresh pineapple (don’t even think about using canned—trust me on this)
- 1/4 cup granulated sugar
- 2 tablespoons fresh lime juice (bottled works too, whatever)
For the ice cream custard:
- 2 cups heavy cream
- 1 cup whole milk (I’ve tried 2%, it’s not the same)
- 3/4 cup sugar
- 6 large egg yolks
- 1/4 teaspoon vanilla extract
- Pinch of salt
Good luck finding a decent fresh pineapple this time of year if you’re reading this in winter. I learned this the hard way in February when every pineapple at three different stores was basically a rock with spikes.
Pro tip: The pineapple should smell sweet at the bottom and give slightly when you press on it. If it smells fermented or has dark spots, keep looking. Also, don’t buy pre-cut pineapple. It’s convenient but tastes like disappointment.
The Secret to Getting It Right

Here’s what I wish someone had told me from the beginning: you have to cook down the pineapple first. I know, I know—seems obvious now, but I’m stubborn and thought fresh fruit would just work better raw.
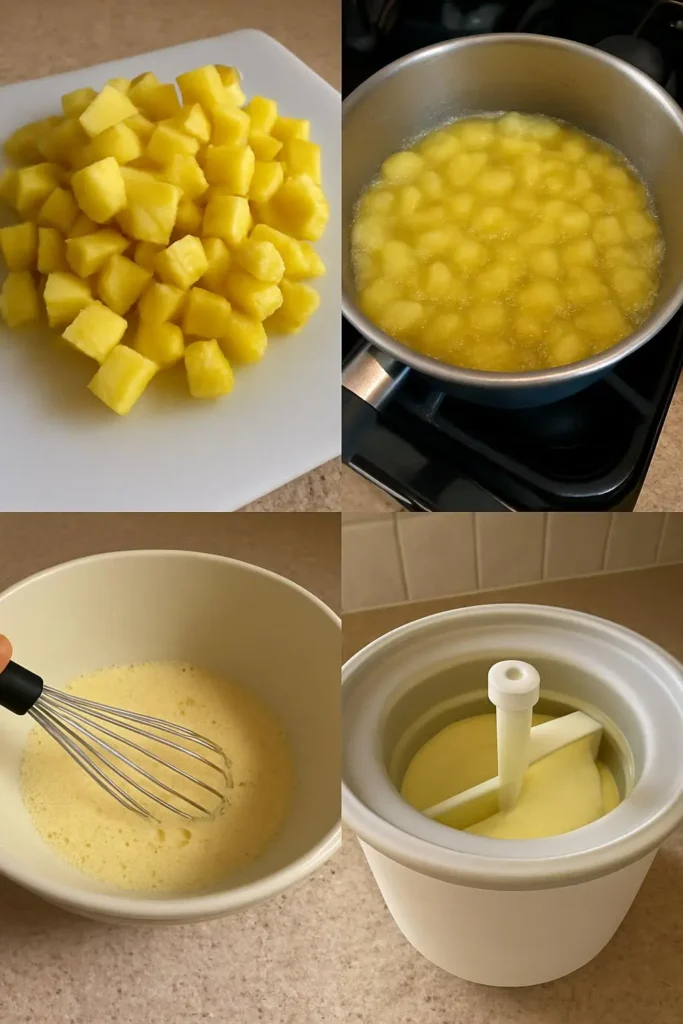
Step 1: Prep the pineapple Cut your pineapple into chunks (save the core—I’ll explain why later). You’ll end up with roughly 3 cups of fruit. Toss it in a heavy-bottomed pan with the 1/4 cup sugar and lime juice.
Step 2: Cook it down Cook over medium heat for about 15-20 minutes, stirring occasionally. It’ll look weird at first, kinda lumpy and gross, but that’s normal. The pineapple will break down and get jammy. You want most of the liquid to evaporate.
Actually, you know what? Save that pineapple core. Blend it with some water and strain it—makes an amazing drink. My kids think I’m a genius when I do this. Sometimes the simple things impress them most.
Step 3: Cool and blend Let the cooked pineapple cool completely, then blend until smooth. This is your flavor base, and it should taste intensely pineapple-y. If it doesn’t make your mouth water, add more fruit next time.
Making the Custard Base (Don’t Panic)
Now here’s where I lost my mind the first few times. Making custard isn’t hard, but it requires patience. And I was wearing my unlucky apron—the one with the mysterious stain that won’t come out.
Step 4: Heat the dairy Combine cream and milk in a saucepan over medium heat. Heat until it’s steaming and tiny bubbles form around the edges. Don’t let it boil—learned this the hard way when I got distracted by the neighbor’s dog barking at a squirrel.
Step 5: Egg magic Whisk egg yolks with the remaining 3/4 cup sugar until pale and thick. This takes longer than you think—like 3-4 minutes of actual whisking. Your arm will get tired. Push through it.
Step 6: Tempering (the scary part) Slowly—and I mean SLOWLY—pour about 1/2 cup of the hot cream mixture into the egg yolks while whisking constantly. This is called tempering, and if you rush it, you’ll have scrambled eggs. Been there, cried about it.
Add another 1/2 cup, still whisking. Then pour everything back into the saucepan.
Step 7: The final stretch Cook over medium-low heat, stirring constantly with a wooden spoon, until the mixture coats the back of the spoon. It should register 170°F if you have a thermometer. If not, the finger test works—dip your finger in the custard, then draw a line through it on the spoon. If the line stays, you’re done.
Bringing It All Together
Strain the custard through a fine-mesh sieve into a bowl (this catches any lumps—there shouldn’t be many, but better safe than sorry). Stir in the vanilla, salt, and your beautiful pineapple puree.
Cover with plastic wrap pressed directly onto the surface to prevent a skin from forming. Refrigerate for at least 4 hours, but overnight is better. I usually make this the day before I want to churn it.
Churning Day (The Fun Part)
Churn according to your ice cream maker’s instructions. Mine takes about 20-25 minutes. The finished ice cream will be soft-serve consistency—perfect for immediate gratification or further freezing.
For firmer ice cream, transfer to an airtight container and freeze for at least 2 hours. I like to press parchment paper directly on the surface before putting the lid on. Prevents ice crystals.

What I’ve Learned Along the Way
This ice cream is best eaten within a week. After that, the texture starts getting icy. Not terrible, just not as perfect as those first few days.
My kids eat this straight from the container while standing in front of the open freezer. Adults pretend they don’t do the same thing at midnight.
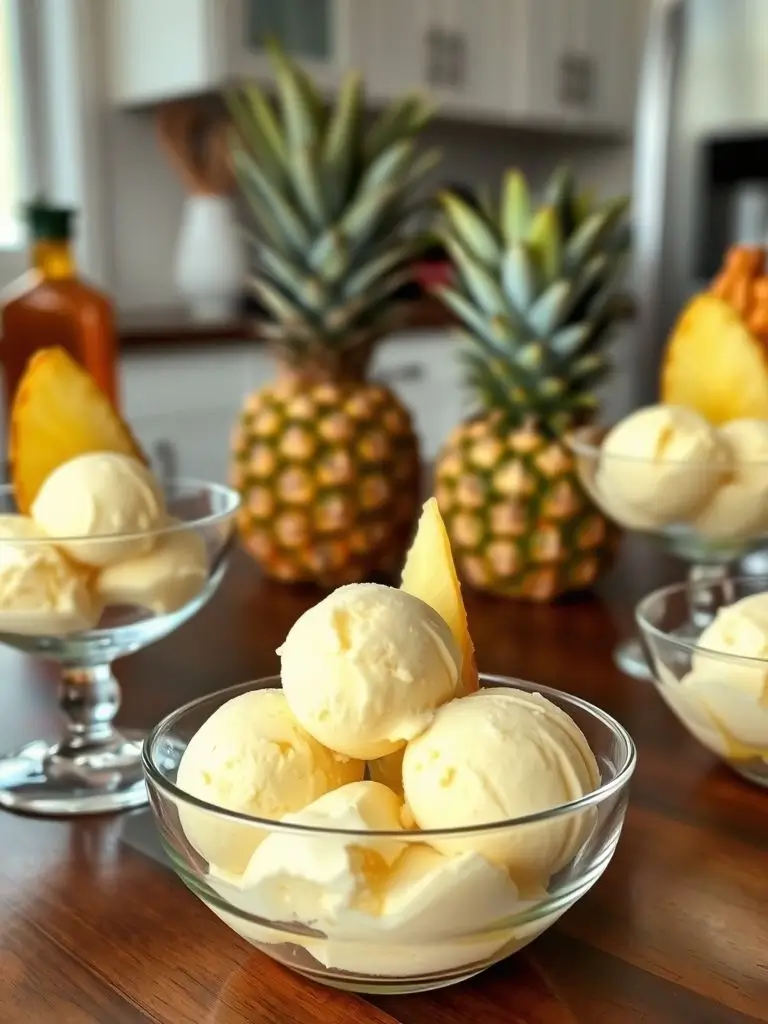
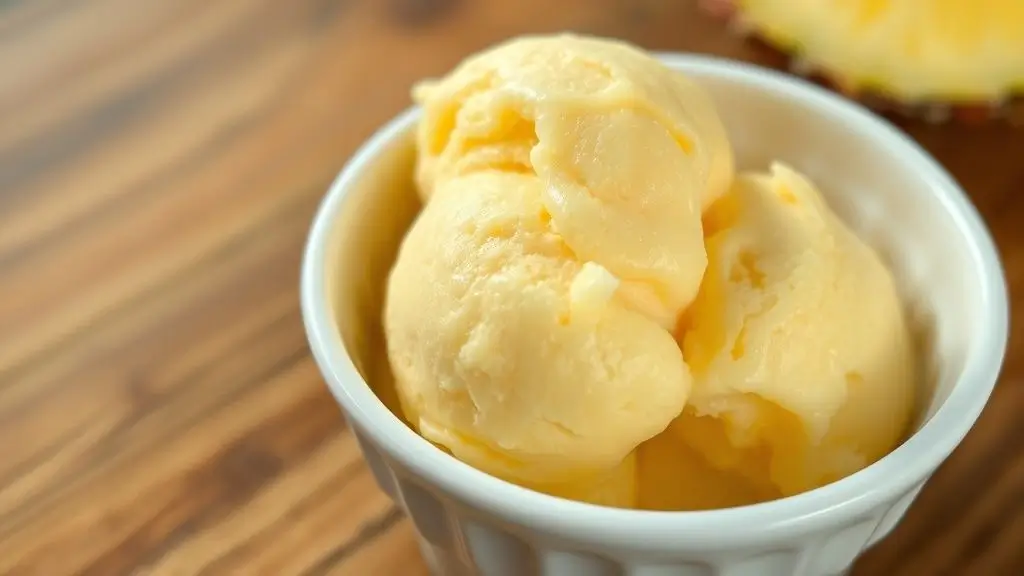
The flavor is bright and tropical without being fake-tasting. It reminds me of vacation, even when I’m dealing with laundry and grocery lists.
Final Thoughts
Is it easier to buy ice cream? Obviously. But there’s something satisfying about making it yourself, especially after failing so spectacularly at first. Plus, you know exactly what’s in it—no weird stabilizers or artificial flavors.
If I can make this without burning down my kitchen (again), anyone can. The key is patience with the custard and not skipping the pineapple cooking step, no matter how much of a shortcut it seems to skip it.
Let me know how yours turns out! Seriously, try this and tell me what you think. I’m always looking for ways to make it even better.
Happy churning! (and may your custard never curdle) 🍍
Homemade Pineapple Ice Cream
The best homemade pineapple ice cream with fresh pineapple and creamy custard base. This tested recipe creates restaurant-quality tropical ice cream at home with step-by-step instructions and troubleshooting tips.
Ingredients
- 1 large fresh pineapple
- 1/4 cup granulated sugar (for pineapple)
- 2 tablespoons fresh lime juice
- 2 cups heavy cream
- 1 cup whole milk
- 3/4 cup granulated sugar (for custard)
- 6 large egg yolks
- 1/4 teaspoon vanilla extract
- Pinch of salt
Instructions
-
Step 1Cut fresh pineapple into chunks, removing core and skin. You should have about 3 cups of fruit.
-
Step 2Cook pineapple chunks with 1/4 cup sugar and lime juice in heavy-bottomed pan over medium heat for 15-20 minutes until jammy and most liquid evaporates.
-
Step 3Cool cooked pineapple completely, then blend until smooth to create flavor base.
-
Step 4Heat cream and milk in saucepan over medium heat until steaming with small bubbles around edges. Do not boil.
-
Step 5Whisk egg yolks with remaining 3/4 cup sugar until pale and thick, about 3-4 minutes.
-
Step 6Slowly temper egg mixture by adding 1/2 cup hot cream while whisking constantly, then another 1/2 cup.
-
Step 7Return mixture to saucepan and cook over medium-low heat, stirring constantly, until mixture coats spoon and reaches 170°F.
-
Step 8Strain custard through fine-mesh sieve, then stir in vanilla, salt, and pineapple puree.
-
Step 9Cover with plastic wrap pressed directly on surface and refrigerate at least 4 hours or overnight.
-
Step 10Churn in ice cream maker according to manufacturer's instructions, about 20-25 minutes.
-
Step 11Transfer to airtight container and freeze for at least 2 hours for firmer texture.

I’ve always found peace in the kitchen—it’s where I go to unwind, experiment, and reconnect. I started this blog because I wanted to share that feeling with others. My cooking journey started in a tiny apartment kitchen, with a second-hand skillet and a lot of trial and error.
Since then, I’ve learned that the best meals aren’t the most complicated—they’re the ones made with love (and maybe a little butter). Whether you’re a beginner or a kitchen pro, I hope you’ll feel right at home here.

